The nuances of making the head of the bed, how you can do it yourself
The bed is the main subject of the bedroom set. Today, there are many different models of beds, one of the first places is occupied by options with soft headboards. The cost of such products is quite high, but to make a headboard with your own hands will not be difficult. This will not only save on work, but also provide an opportunity to experiment with decoration.
Content
Preparation of material and tools
The original headboard serves as the final stage of any berth. With it, the bed looks spectacular and beautiful, it gives the bedroom a unique style and originality. How to make the head of the bed with your own hands is a question for those who want to create new or update old furniture on their own. For this work, a certain time is needed, a special set of devices, materials and diagrams, drawings of making a bed with your own hands.
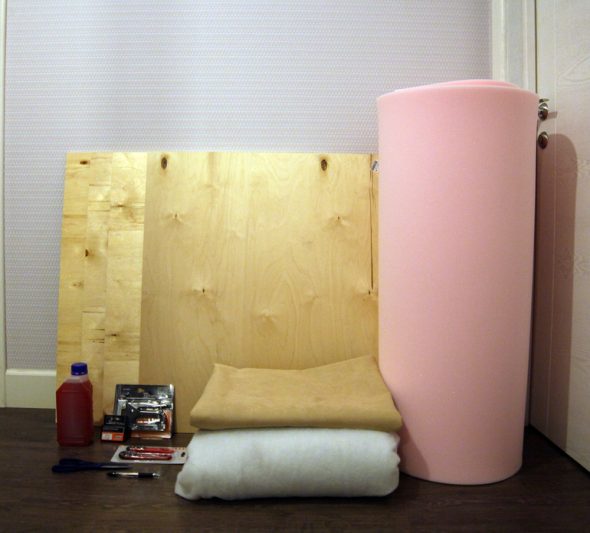
This will require materials:
- sheets of plywood of medium thickness - it is advisable to take a furniture option;
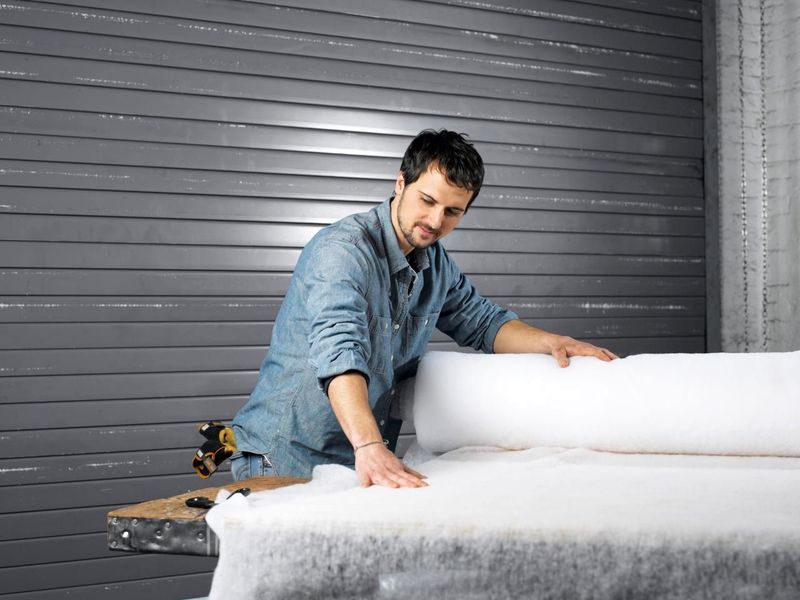
- foam rubber, batting, necessary for a soft headboard for a bed with your own hands;
- nails - preferably 1.5 inches thick;
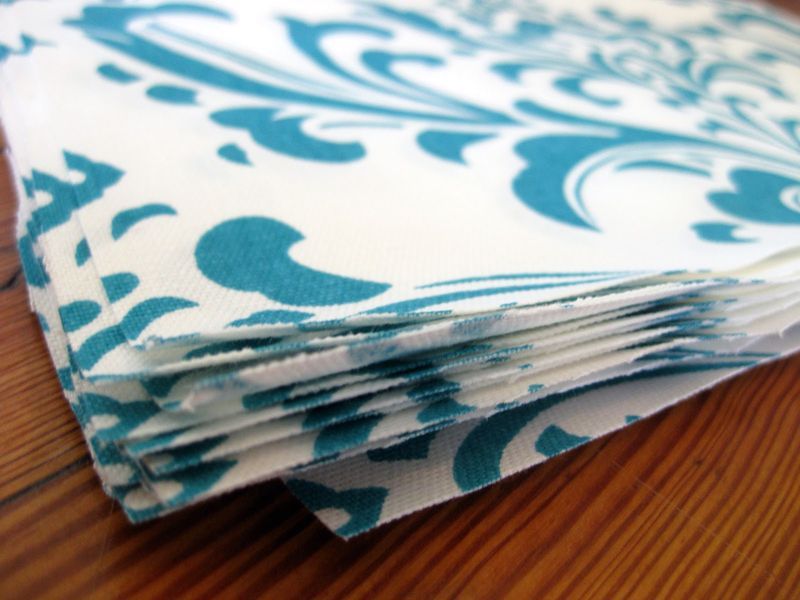
- decorative fabric - you need to buy it in furniture stores. The cut size is selected based on the area of the product, but do not forget about the margin for the turn;
- a complete set of bolts and hinges with which the head is attached to the wall or bed frame;
- the required number of buttons, buttons. It is better to dwell on metal ones, since plastic buttons have impractical legs. You will need ordinary buttons with holes to fix on the wrong side;
- needles are thick and strong;
- threads - nylon fit, they are quite durable.
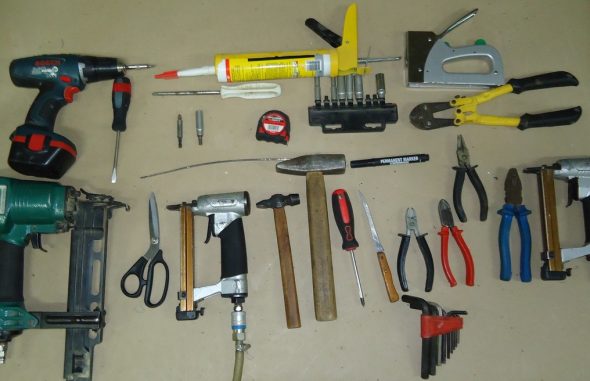
Of the tools required:
- a jigsaw is a necessary tool when you need to make a curly headboard with your own hands;
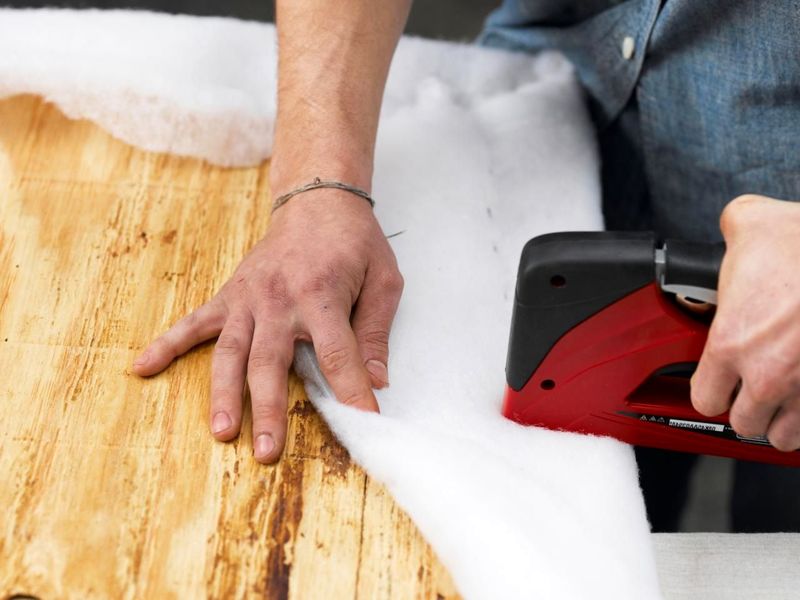
- furniture stapler - it is more reliable to take a metal stapler, with a device for staples of different sizes;
- drill and drills - without them it is impossible to make the necessary holes;
- construction goats - useful for the dissolution of large sheets of plywood;
- wide blade knife and scissors;
- ordinary hammer and screwdriver;
- a set of sewing accessories - necessary when decorating.
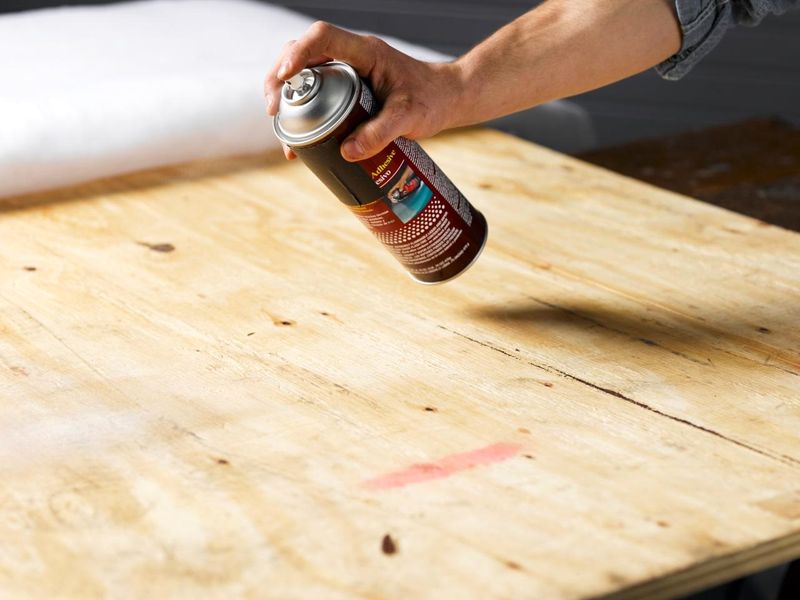
Base treatment
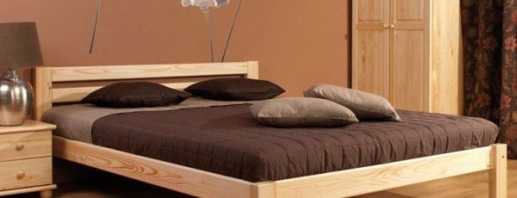
To make the head of the bed with your own hands, it is necessary to process the base. If the basis is an old bed, first of all you need to rid the frame of the old casing. Then, from the inside, along the length, boards are bolted or plywood cut along the contour. If desired, you can increase the length of the headboard with the help of special bars, putting them on the staples for soft lining. Do not add a lot of details.If you need to make a wooden headboard with your own hands, then wooden boards are used as a material for the back, which can be arranged in any order.
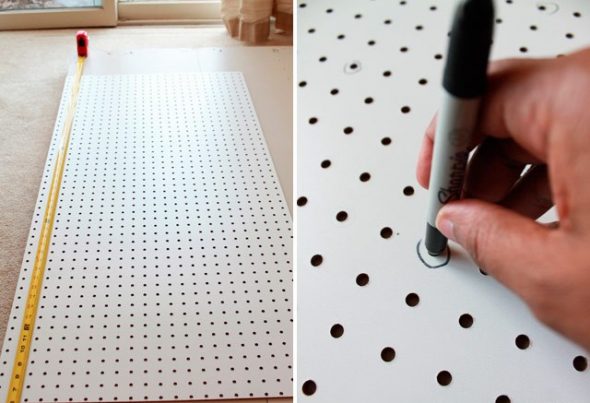
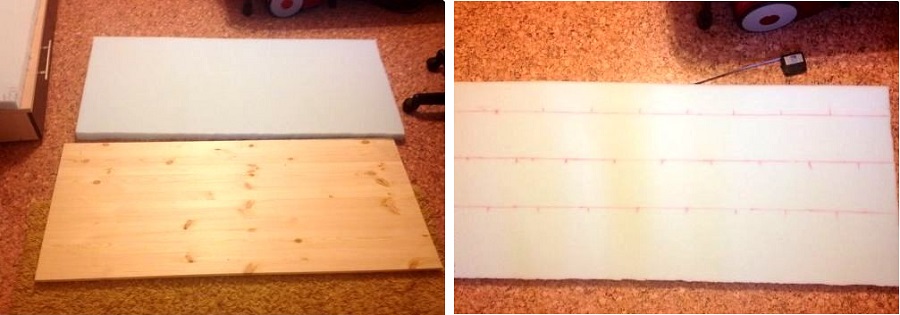
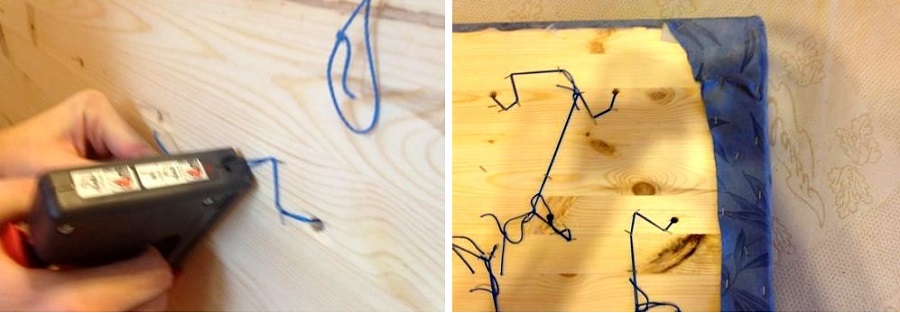
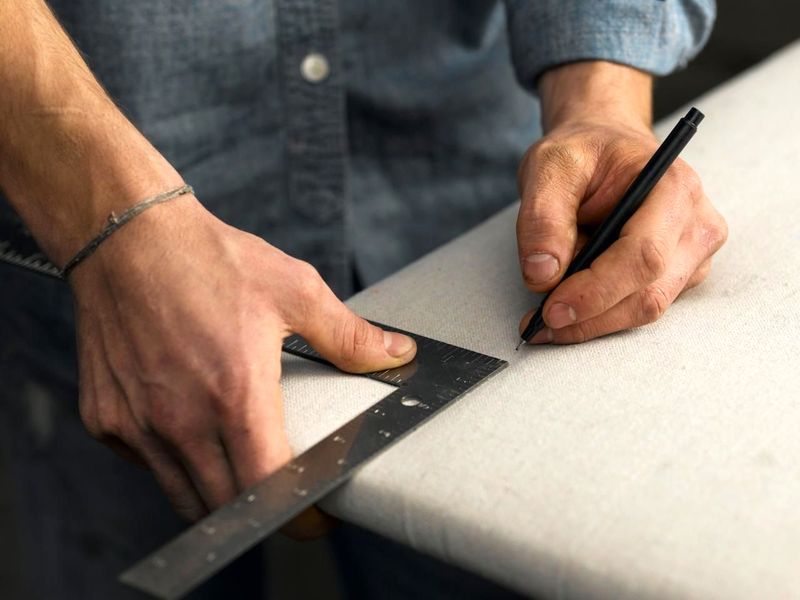
Then you need to make a hole at the head with a drill. To do this, you can use the perforated panel on which the marks are visible. But these devices have a high price, quickly become worthless, and it is irrational to use them for marking the right places.
Do-it-yourself master class on making a bed demonstrates all the stages of work. The stages of production are as follows:
- determine the main point of the head of the bed;
- connect the found point with the middle hole on the perforated mesh;
- four rows back down from this place - the application should begin from here;
- through the holes with a marker to put marks on the right places;
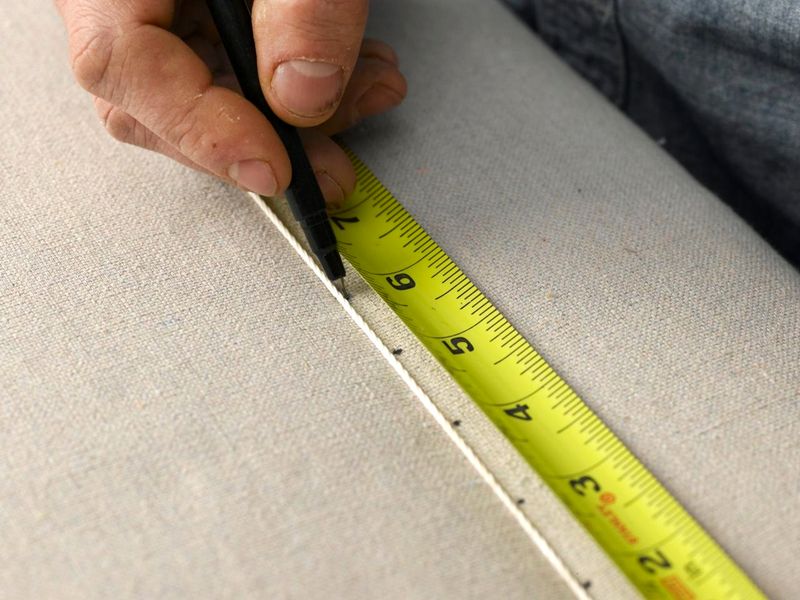
- first point must be noted. She is considered fourth down from the center. Then you need to find the eighth point - it is at the eighth horizontal mark. So mark the points to the end of the row in both directions, then make such marks vertically;
- the entire headboard should be marked in this way in a checkerboard pattern, while you need to retreat four points horizontally and vertically from the marked ones;
- marks must be placed on the entire top of the head of the head;
- around the perimeter of the headboard you need to leave 10 centimeters;
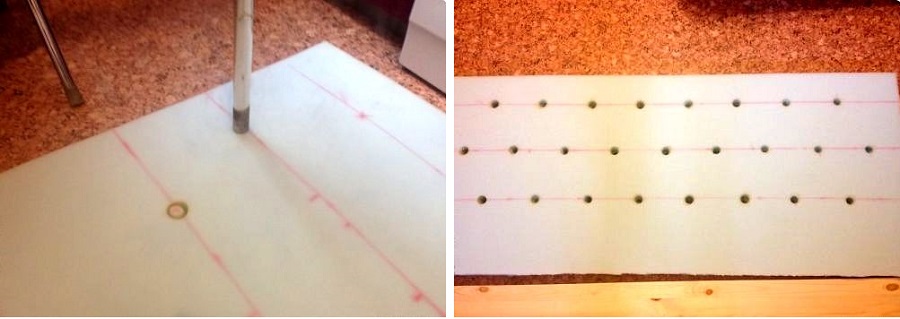
- Using a drill, we begin to drill holes. Do not make them too large, enough diameter the size of a needle. If there is a frame at the back of the product, it must be drilled.

Work taking into account the type of soft headboard
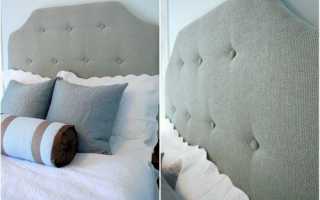
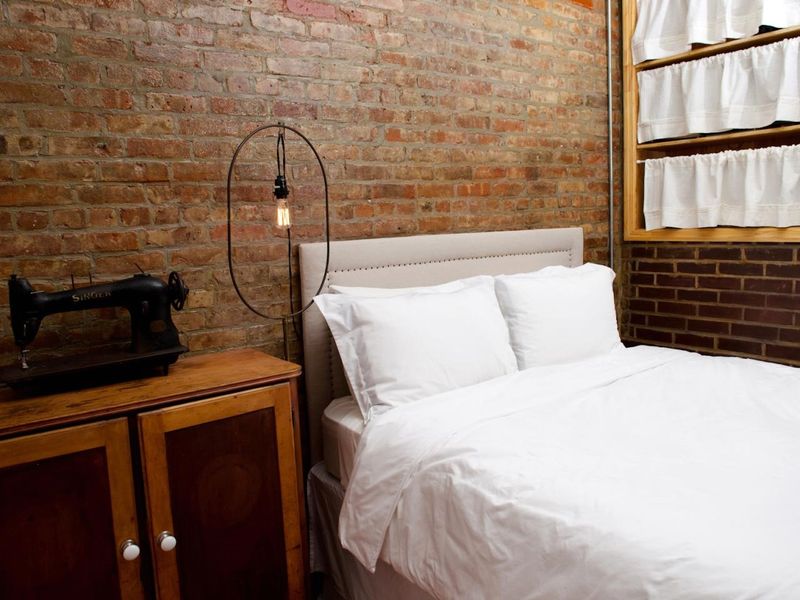
To make the bedroom look new, it is enough to update a certain element of the bed, in particular, it will be enough to update the head of the bed, making this element with your own hands. Today, the soft front of the bed remains the most popular, with which the berth looks comfortable and cozy. There are several options for how to make a wooden bed with your own hands and elements for it.
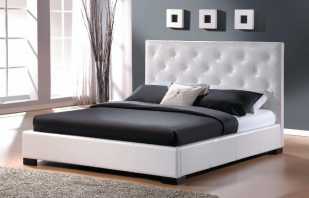
Carriage coupler technique
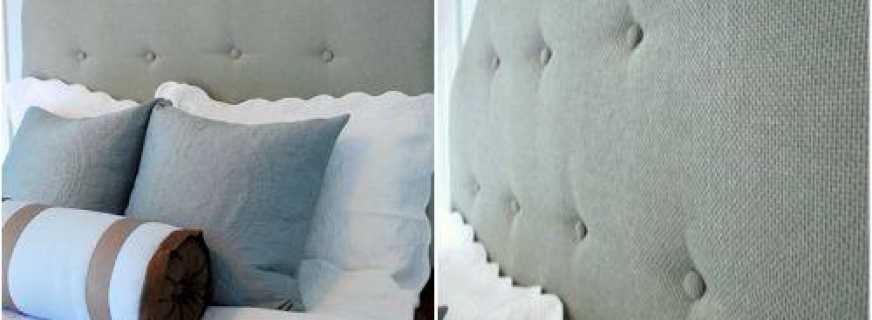
The name of this method is rooted in the distant past when carriages were decorated with such decoration. Today it is successfully used to decorate various pieces of furniture. The effect of this finish manifests itself if a dense fabric is used as the material, which looks great in the form of folds. Carriage screed involves the execution of a pattern in the manner of rhombuses or squares. Large buttons, studded with the same fabric, and large beads are used as rivets.
To make a do-it-yourself carriage bed headboard with a coupler, you will need:
- plywood sheet - the basis of the product;
- fabric for decoration;
- thick foam rubber, synthetic winterizer;
- buttons on the rivet foot,
- drill for drilling holes;
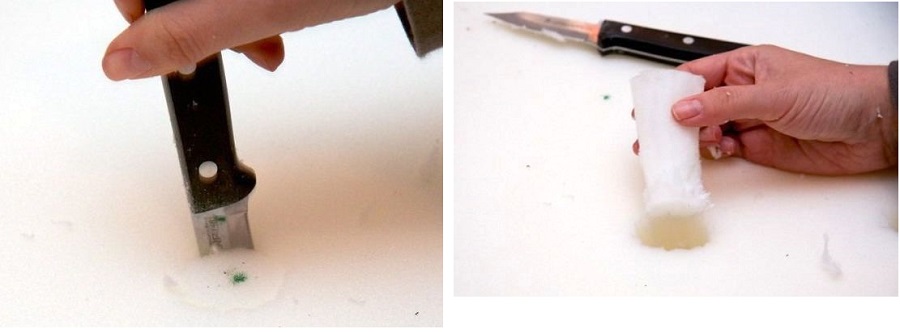
- pointed knife;
- furniture stapler with staples;
- fasteners and screws;
- nylon threads, twine;
- scissors, glue, crochet hook.
These devices will help the craftsmen in creating not only individual parts of the bed, but also in making the bed.
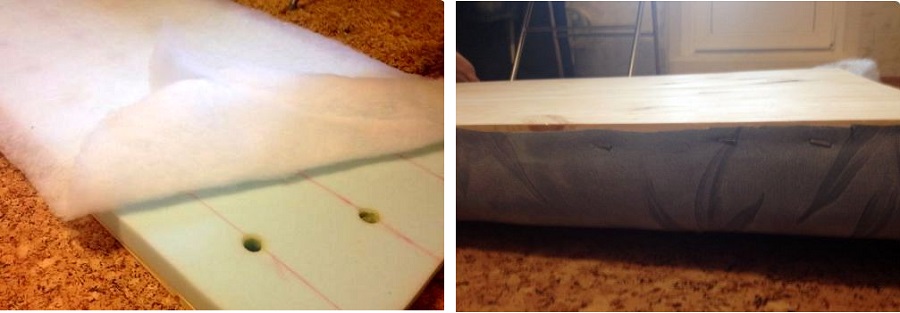
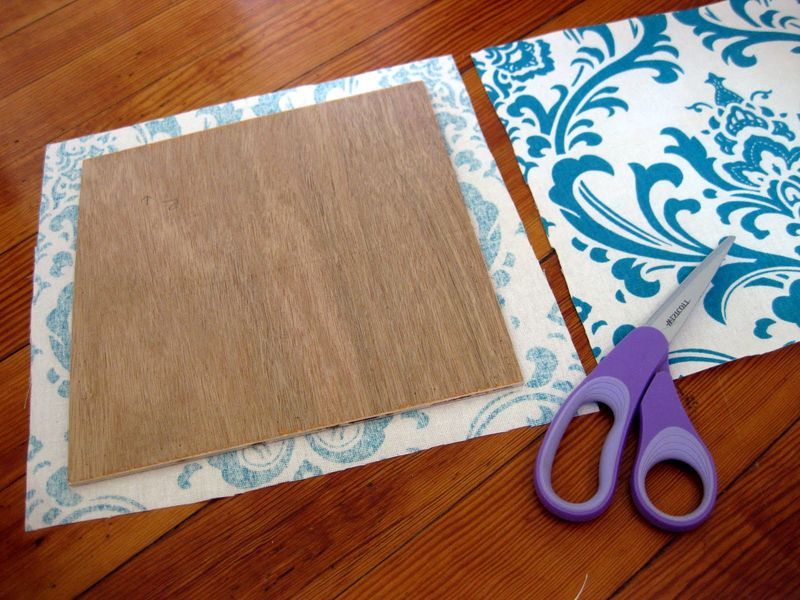
First you need to take a sheet of plywood, from which, if necessary, the shape of the product itself is created. Next, cut the foam on the workpiece. It makes markings in a checkerboard pattern of the places where the buttons will be located. With the help of a knife edge, holes are cut in these places. Experts recommend making such holes with a metal pipe. The pipe is heated, applied to the right places, and two holes are obtained at once.
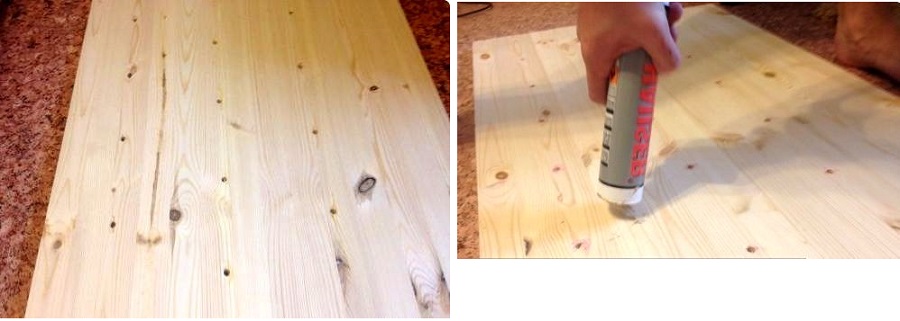
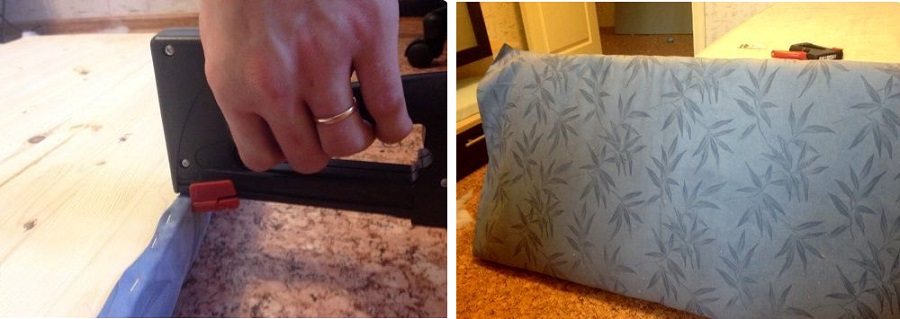
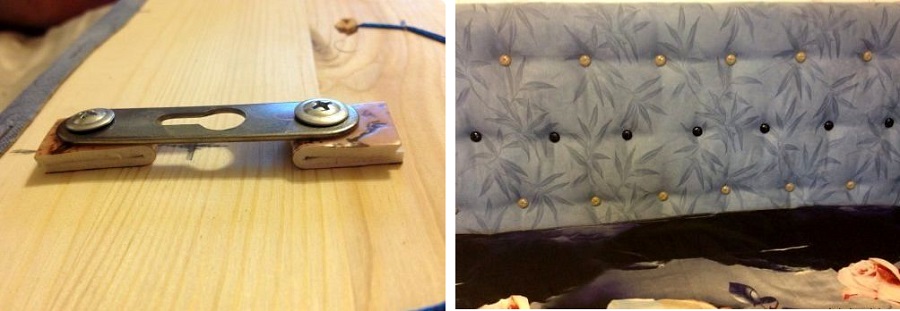
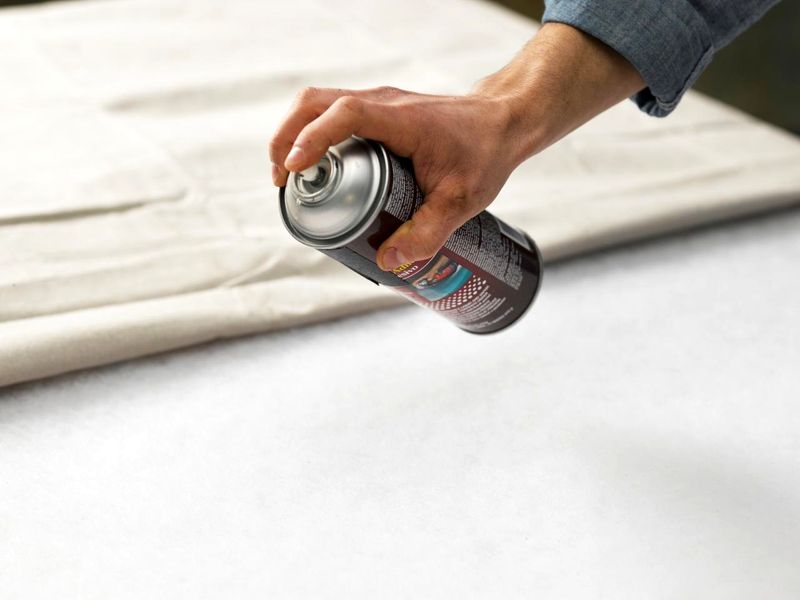
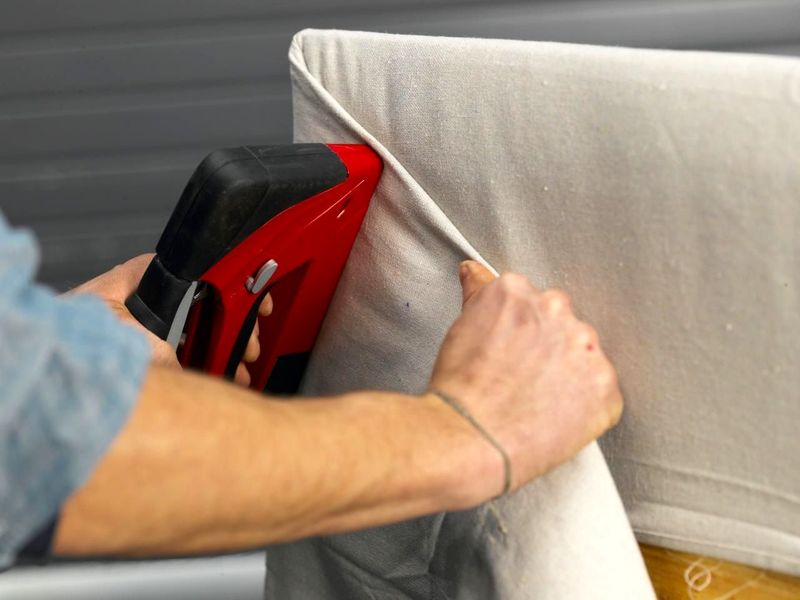
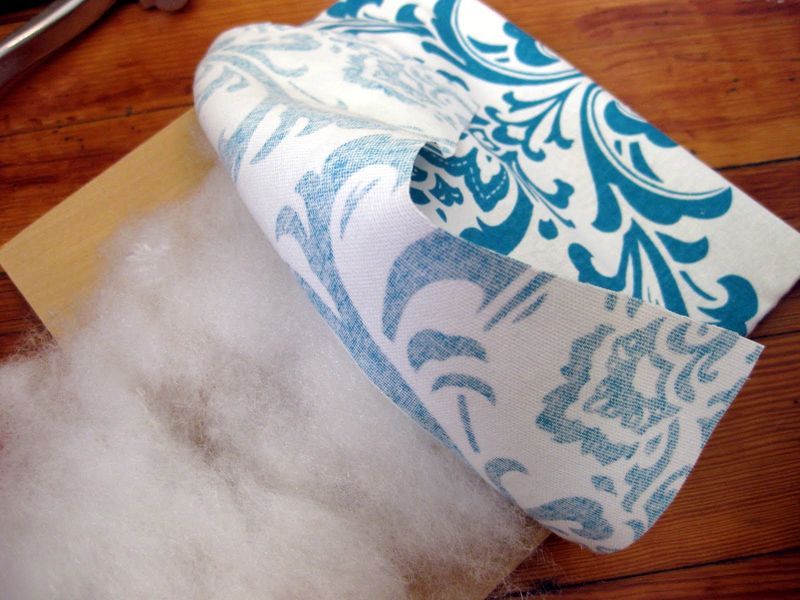
We put foam on the base and mark the places for making holes with a marker. In these places we make holes with a diameter of not more than 8 mm. We glue the foam on the plywood so that the holes on these two materials completely coincide.We put a synthetic winterizer with a margin on top so that it is 5 cm larger at the edges. We place the main fabric with a margin of about 10 cm around the entire perimeter. We turn the plywood with all the materials on it, and with the help of a furniture stapler we fix the fabric from the inside.
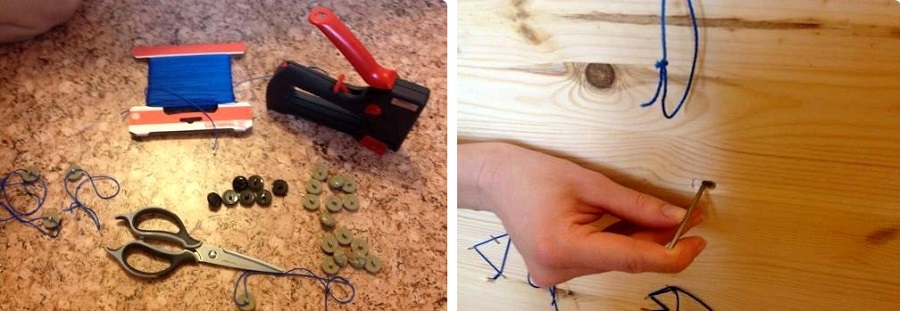
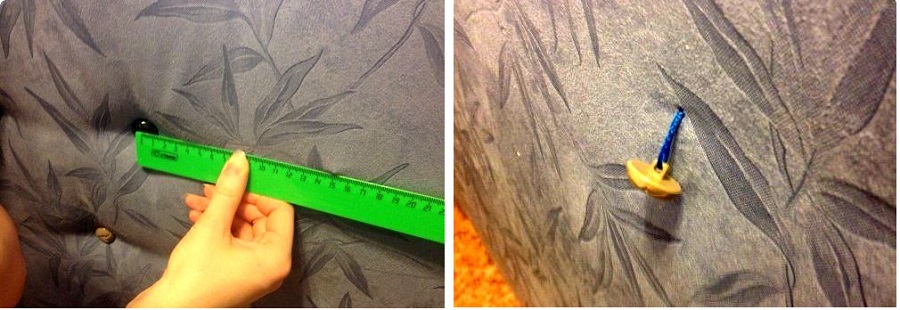
It is advisable to use buttons on the leg, into which it will be possible to thread a lace 15 cm long and tie a knot. We put the button with the lace to the desired hole and insert the crochet hook from the side of the plywood. We catch the lace and thread it into the desired hole. Maximize the button and fasten with brackets. We take this step with all the buttons. When the headboard is completely covered, with the help of screws we fasten the fasteners and hang on the wall. Following the technology, the masters will be able to get recommendations on the question - how to do the head of the bed with your own hands, to cover with leather or other dense material.

Ornament of nails
You can also make a bed with your own headboard with a soft headboard using the nails ornament method for the front part. The bed will look original and will not require large material and physical costs. The appearance of the circuit is similar to the carriage coupler method.
For work, you need such materials and tools:
- plywood sheet of a certain thickness;
- upholstery fabric;
- nails
- scissors and glue;
- soft materials - synthetic winterizer or batting;
- stapler with a set of staples.
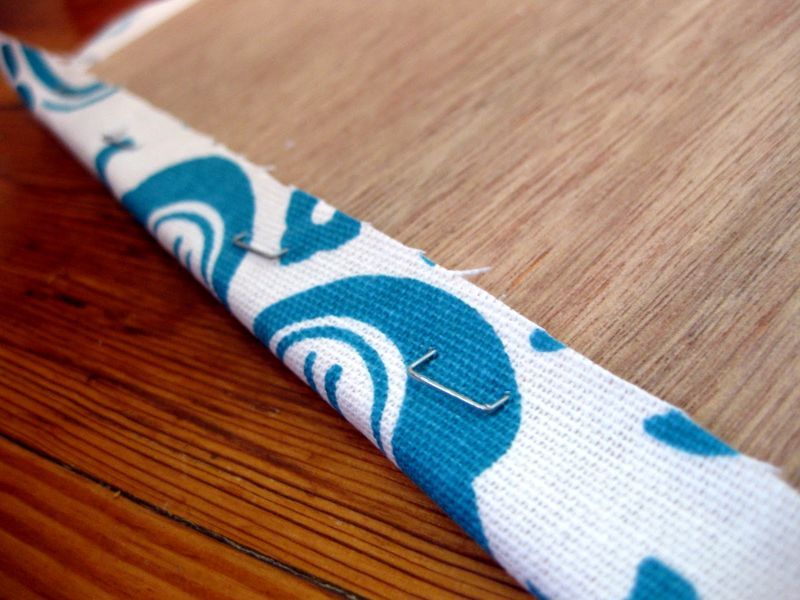
From plywood, the necessary size for the head should be cut. On top we fit several layers of soft material with a margin around the perimeter. Glue each layer together. On the wrong side of the stapler we attach glued batting and pull it. Apply a layer of glue to the surface, and gently apply the main fabric. It must be properly smoothed and crushed to avoid bumps and bubbles. When the fabric adheres and dries, the back of the fabric must be secured with brackets.
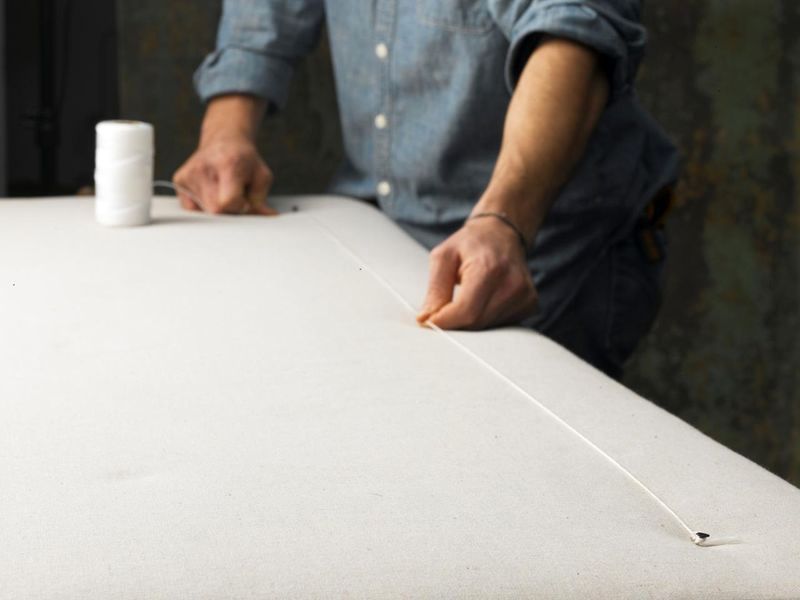
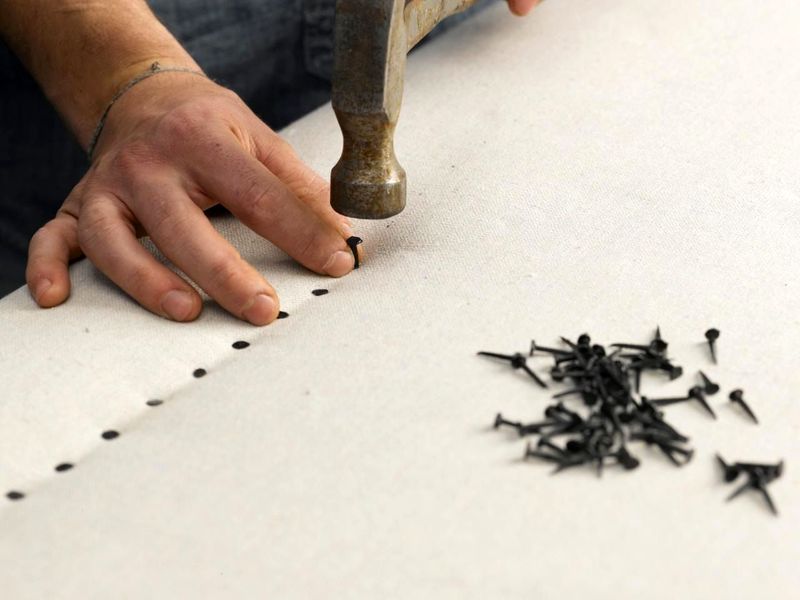
The upholstery of the head of the bed with your own hands can be decorated with a pattern of nails. For this purpose, on the front of the bed we make a frame around the entire perimeter. Put a mark for two points in opposite corners at the same distance. We drive in nails here, tie a lace on the hats and stretch it. It turns out a flat line, which will play the role of a slope. On this line we make marks at the required distance for the remaining nails. They can be made in a checkerboard pattern, or in any arrangement. We hammer nails or furniture buttons into marked places. If the headboard will be hung on the wall, install the necessary fasteners. For those craftsmen who can make a bed with their own hands, this algorithm will not be a problem.
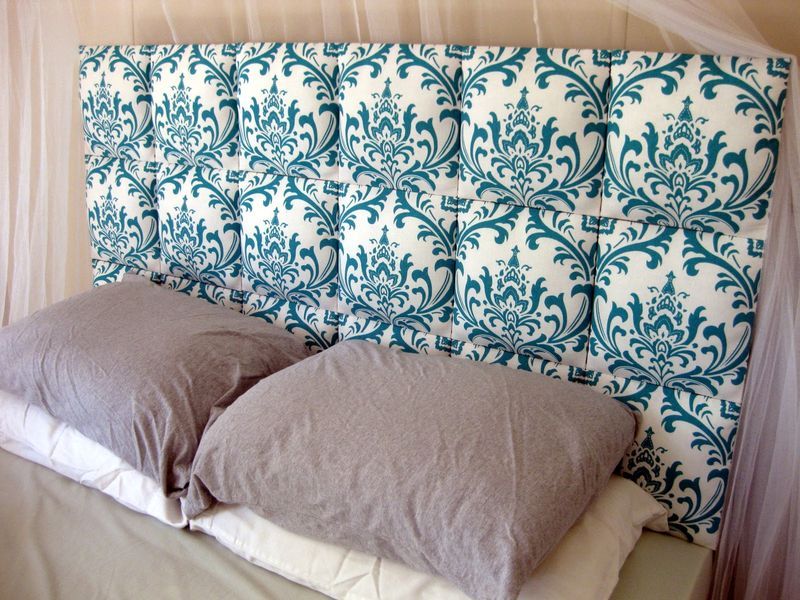
In the form of soft squares
Making a bed with your own hands will look unusual if the headboard is made in the form of soft squares.This technology will require an additional sheet of plywood, but in finished form the product will look very original. Necessary materials:
- for the base of the head - a sheet of plywood;
- optionally plywood squares;
- fabric for upholstery;
- synthetic winterizer section;
- stapler with staples;
- scissors and glue.
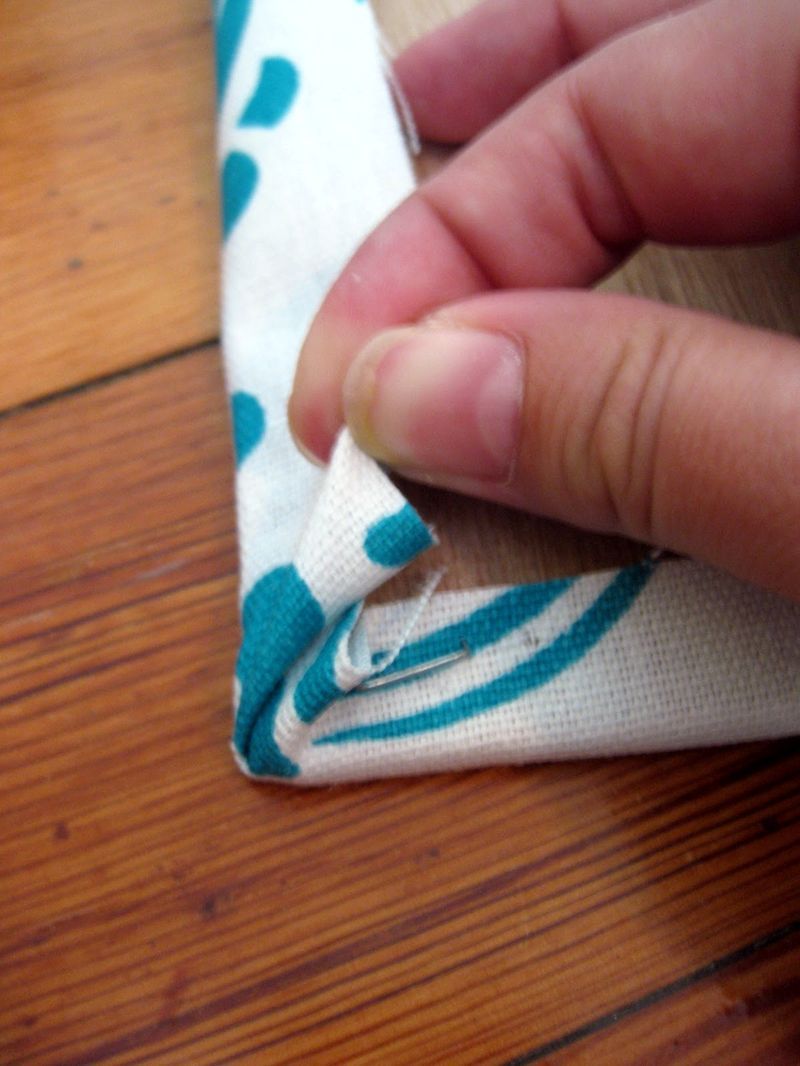
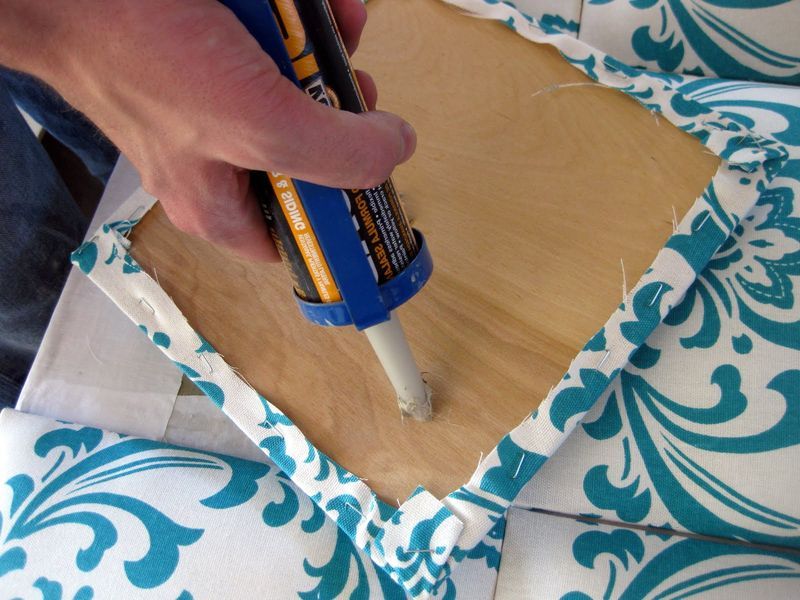
Many people are interested in the question - how to make a soft headboard for the bed with your own hands, so that it decorates the bed, provides the bedroom with comfort and coziness. First of all, it is necessary to prepare elements from plywood. Cut the main part for the head. We calculate how many squares can be placed on it. Cut the required amount, making a small margin around the perimeter.
Lays squares of plywood on the fabric, attaching them on one side. We stretch the fabric, while making a fold and attach the corners with brackets. We get the headboard in the form of a "pocket", fixed on one side and at two angles. We fix the remaining sides and fill the empty space between plywood and fabric with soft material. Batting must be distributed evenly across the cells so that the surface is even. Brace the sides and corners that were open.
The fabric for decoration is suitable both monophonic and multi-colored, but do not take too dense fabric, it will be poorly fastened. When all the fabric squares are filled with padding polyester and fixed, we glue them on the main plywood. The squares on the head should be evenly spaced.
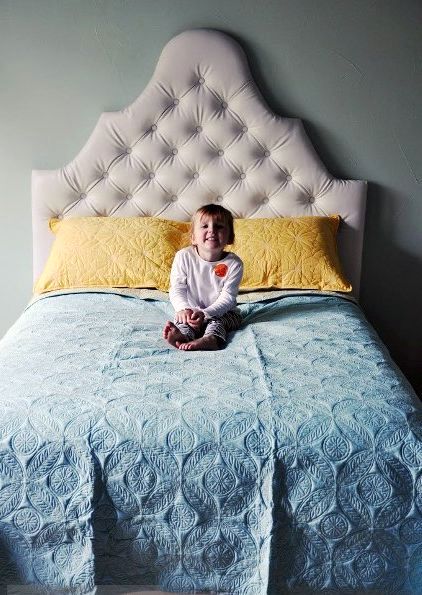
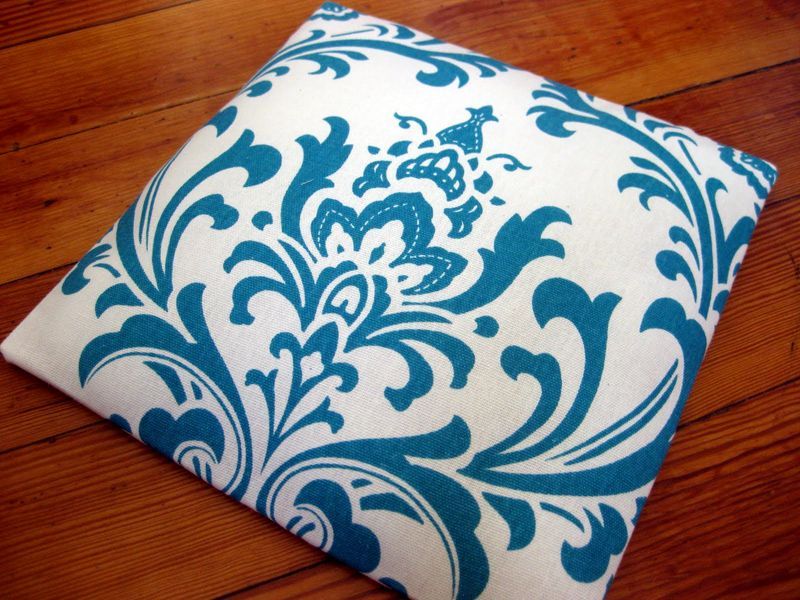
The above methods demonstrate in detail how to make a headboard with your own hands, to fit an element of a berth using a variety of methods. The soft headboard will give special comfort and coziness to the bedroom and set you up for a relaxing holiday.
Rear trim
When the headboard upholstery is completed, care must be taken to close the back side. You can take a piece of dense fabric and several nails. We cut the fabric around the perimeter of our headboard, leaving a little to the hem. We spread the fabric for the back from the back. We drive in nails at a distance from each other, which will make it possible to easily remove the back if necessary.If over time one of the buttons on the fabric weakens, it can be pulled up. To do this, take out a pair of carnations, find the desired part, tighten it, fasten with a bracket, and attach the back trim to the back.
How to make a soft headboard with your own hands - photos, ideas for backs can be found in the selection below. Even novice experts, using the tips, make a bed with their own hands from wood. This will help them in the future to make an original model of a berth, without spending extra money on it.
Video