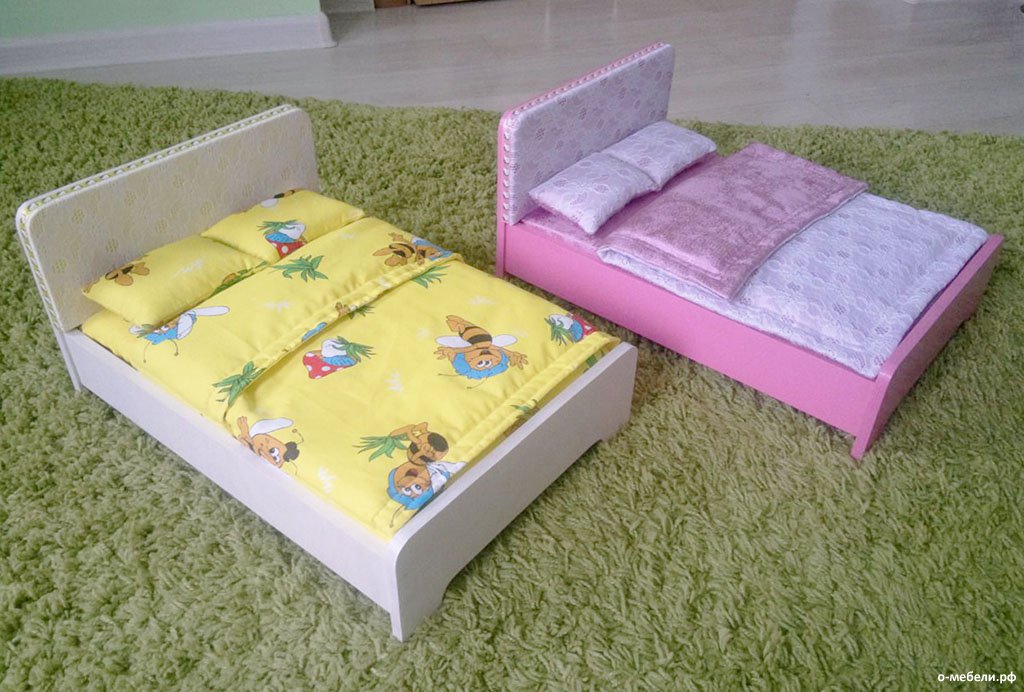
Beautiful and practical beds for dolls, how to do it yourself
Children, especially girls, love to take care of dolls. For these purposes, whole sets of doll furniture and interior items have been developed. But to make a bed for a doll yourself or with a child is more economical and interesting. To know how to make a bed for dolls yourself, first consider all manufacturing options and choose the right one.
Content
What materials can be made
DIY doll beds are made from different materials. They can be both less durable and strong, reliable, serving for a long time. If only a bed is made for a doll, simple materials are preferred, if a series of furniture is planned, reliable and strong elements are used. The same principle applies if, after the eldest child, younger children play with dolls and furniture.
What materials can be made of such furniture:
- paper;
- colored paper;
- cardboard;
- whatman;
- old boxes;
- shoe boxes;
- Styrofoam;
- polystyrene foam;
- plywood;
- wood;
- plastic;
- foam rubber.
What will be required when creating furniture:
- glue;
- scissors;
- self-tapping screws;
- stapler;
- staples;
- simple pencils;
- markers, fabric;
- yarn;
- paints.
For simple options use paper, whatman, glue, and the finished product is decorated with colored pencils, markers, felt-tip pens, oil pencils.
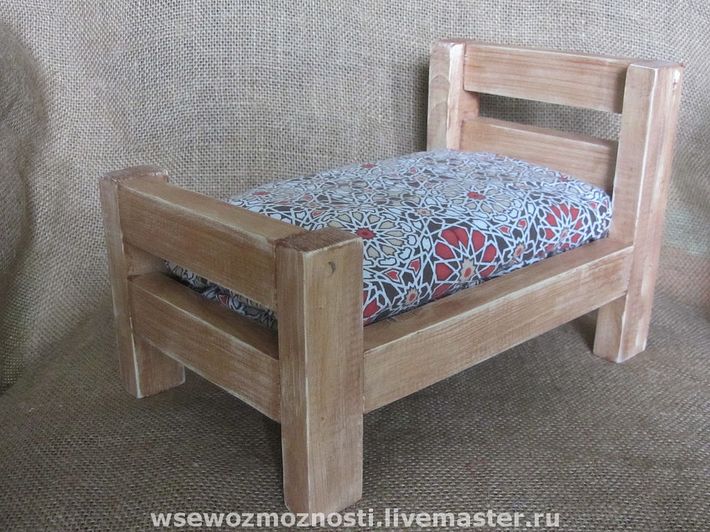
Making furniture with their own hands from plywood or wood, they use self-tapping screws, a stapler with staples, and a mattress is made of foam rubber. They also sew fabric bedding for a miniature doll bed.
Manufacturing technology
This section will describe three options for making beds for dolls. Options from cardboard and boxes are simple, they are made together with the child. A bed of ice cream sticks requires more time, perseverance and accuracy, but the appearance of the finished product will be beautiful and colorful.
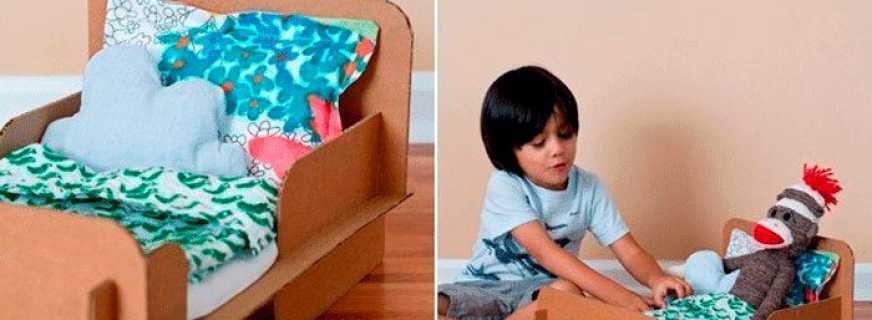
From cardboard
It’s easiest to make a doll bed out of cardboard. For the manufacture of such furniture, you can attract a child, because the work is very simple, does not take much time. Another advantage of the manufacture of such furniture is that in the absence of the necessary space for storing doll furniture, it is taken apart. When folded, several sheets of cardboard take up little space.
To understand how to make a bed for a doll from cardboard, you need to understand what materials are needed to make this furniture:
- cardboard;
- materials for decor to choose from.
What tools are needed to make this furniture:
- scissors;
- stationery knife;
- a simple pencil;
- A4 sheet of white paper for the manufacture of a pattern - several pieces.
How to make a doll bed:
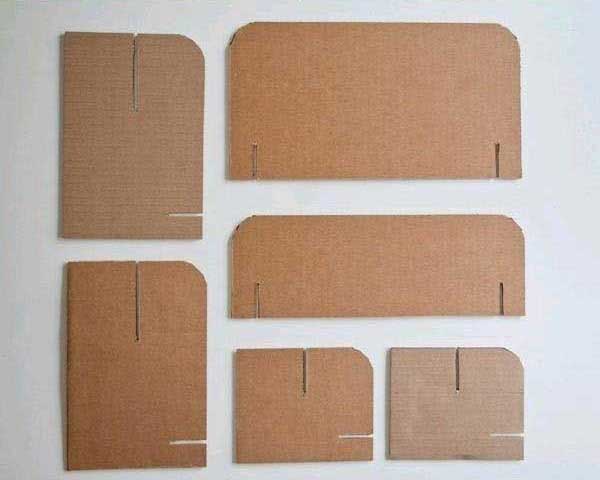
- the bed model described below has dimensions 13 * 20 cm, and is more suitable for a sweetie than for a Barbie doll. But the sizes can be varied according to your wishes. The side walls consist of each of two parts. This provides additional reliability of fastening parts;
- In total, seven details are required: the headboard, foot, 2 side parts on 2 sides, the base of the bed. On a white sheet of A4, you need to make patterns. Using a pencil and a ruler, a base 13x20 cm is drawn. The dimensions of the foot are 13x4.5 centimeters, the headboard is 13x7 cm. These details are also cut out of paper. It is necessary to draw two side parts measuring 6x8 cm and 2 parts measuring 6x6 cm. If desired, the dimensions of the sides are made different;
- each part is cut out of paper, applied to a sheet of cardboard, encircled with a simple pencil and cut out. After that, a cut is made for each part on the mount. 4 incisions are made on the base of the bed. All of them will be held along the long side, so the incisions are made from the side of the head and foot. On the side where you plan to install the head, it is necessary to make an incision at a distance of 1 cm from the edge of the base. The incision depth should be 5.5 cm. The exact same incision is made on the other side. At the foot of the bed, exactly the same cuts should be made, but with a depth of 3 cm. The base of the bed is ready;
- on the part that is attached from the side of the doll’s legs, it is also necessary to make two cuts on the side, the length of which is 13 cm. The cuts are made at a distance of 1 cm from the edge of the cardboard blank. The depth of the cut is 1.5 cm. Exactly the same cuts are made at the head;
- further processed side parts. The large side should be incised in two places. On the side 8 cm in size, at a distance of 1 cm from the edge of the six centimeter side, it is necessary to make cuts with a depth of 1.5 cm. From the other end of this part, it is necessary to divide the six-centimeter side into two parts - 3 cm each. A 3.5 cm incision must be made along the dividing line. It is also necessary to enter the second part of the same size;
- the smaller side, 6x6 cm, is cut approximately the same. One incision is made in the center of one of the sides, but with a shallower depth of 2 cm. On the adjacent side, located at an angle of 90 °, it is necessary to make an incision 1 cm from the edge with a depth of 1.5 cm. The second side is also cut;
- for a beautiful and neat appearance of the bed, the protruding edges are trimmed with scissors. All parts are connected along the notch line. Together they will hold each other. First, all sides are attached to the bed base: both large and small. Then, in the deep incisions are placed the head and foot. No folds are carried out. After that, the bed is decorated by any means.
By teaching a child to independently fold and unroll such a bed, you can create him an additional element for games. Having made a mattress from foam rubber, and made of bedding from a fabric, the child will learn to fold and make the bed himself.


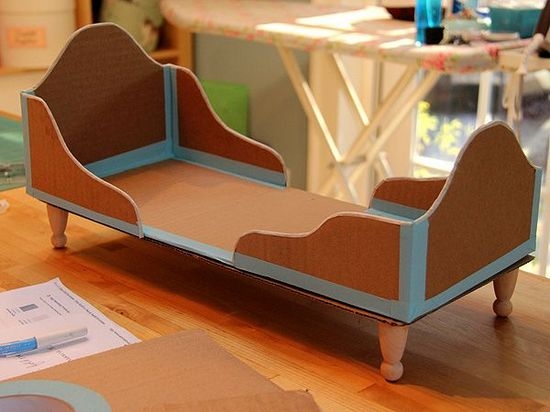
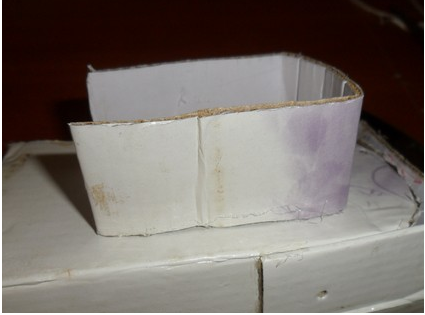
From the box
When making furniture for dolls out of the box, they use an old shoe box in which it is not stored. It is desirable that the box is in good condition, but if it is not, then its appearance is corrected by pasting it with colored paper, Whatman paper, or white paper, which is then painted manually.
What materials are needed to make a bed for dolls with your own hands:
- cardboard box;
- glue;
- White paper;
- colored paper.
What tools are needed:
- pencil;
- ruler;
- scissors;
- stationery knife;
- centimeter ribbon;
- the doll itself.
Work procedure:
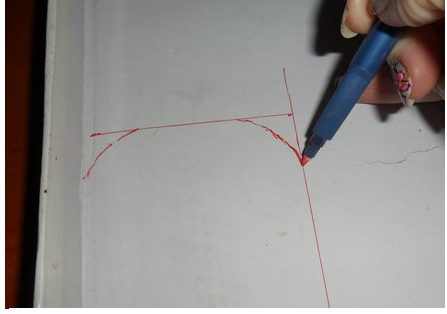
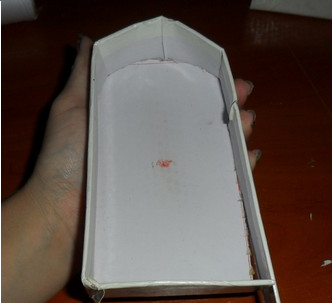
- measured approximately the height of the doll and the place that it occupies in the width of the lying. Given these sizes, the size of the base is selected. Since the doll’s bed is very small, it’s difficult to redo the sizes, therefore they are determined in advance;
- adding a few centimeters in length and width, the size of the base of the bed is obtained. Using a ruler and a pencil, it is necessary to outline the sides of this size on a cardboard box. Then you need to add a few centimeters along the length of this part on both sides. They are designed so that when the cardboard is folded along these lines, legs are formed on which the bed will stand. This entire side with two fold lines must be cut out of cardboard with scissors and a knife. Cardboard is folded along the fold lines indicated in advance;
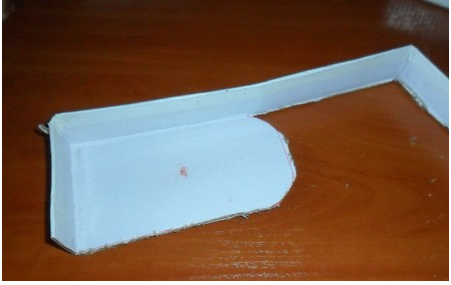
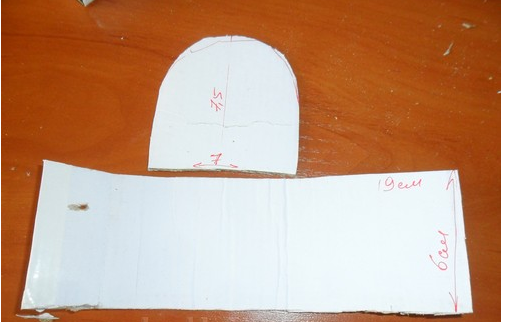
- now for the bed they make side parts, a headboard, and a small wall near the doll’s legs. The height of the cardboard part, which is glued to the head of the head, should be two times greater than the leg of the bed, formed by folding the base;
- the part that will be on the bed near the doll’s legs should be 1 cm higher than the bed leg formed by the fold line. The side parts should be the same length as the bed base. Their height can be different, it can cover either only the space under the bed, or form low sides. The height of the side walls is selected depending on personal preference;
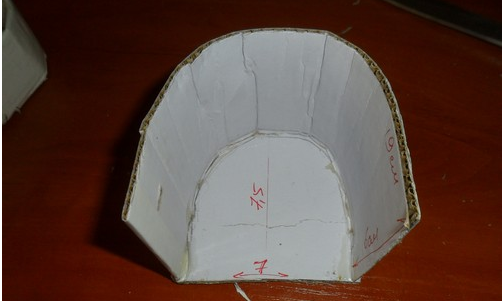
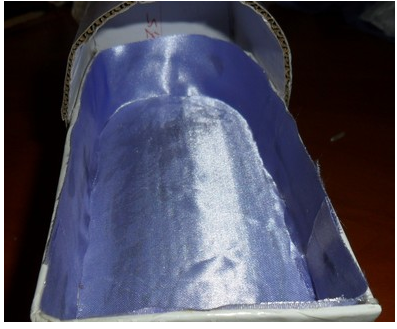
- All these parts are attached to each other using ordinary PVA glue. After gluing, it is advisable to leave the cardboard blank for at least one day, so that it hardens and hardens properly;
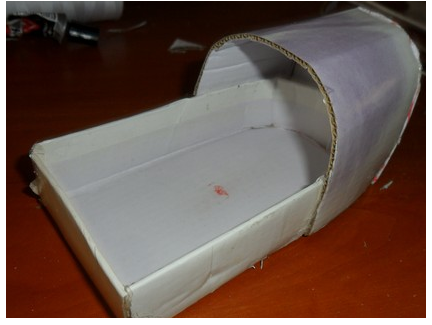
- then it is necessary to glue all the details of the bed using white paper. This will strengthen the workpiece and make it neat and beautiful, smooth out all the lines of cuts and bends. For gluing use white paper. She is torn with her hands into small pieces, and then glued to the surface of the bed from all sides so that there are no gaps. Paste the cardboard in two layers. After that, it should dry completely;
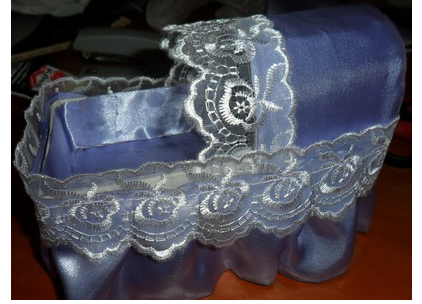
- a bed made this way for a Barbie doll is decorated with colored paper using its own hands. Using parts of different sizes and colors create furniture of a unique color scheme.

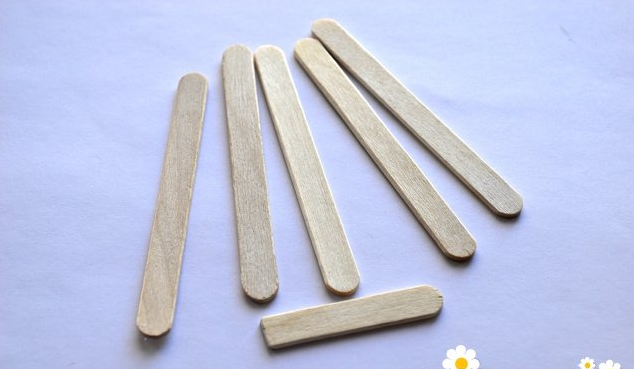
From ice cream sticks
The most chic doll furniture is created from ice cream sticks. To make the bed strong, it is advisable to use a glue gun. To make the simplest bed, you only need 18 sticks.
Before work, the sticks are washed with running tap water and a detergent that removes stickiness. The sticks are thoroughly dried on paper towels and wiped dry before starting work. For better adhesion of the parts with glue, the sticks are degreased with alcohol, vodka, nail acetone or a solvent.
Stages of making a bed:
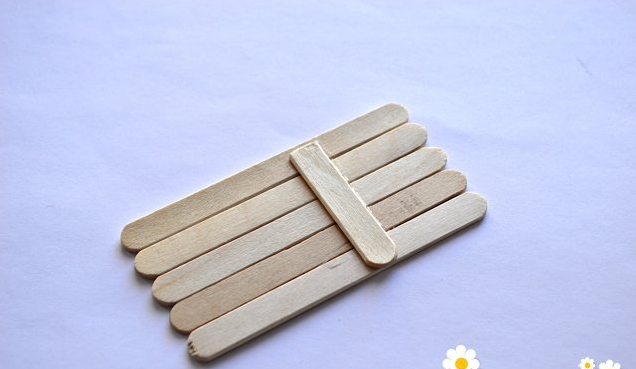
- one stick is cut in half into 2 parts;
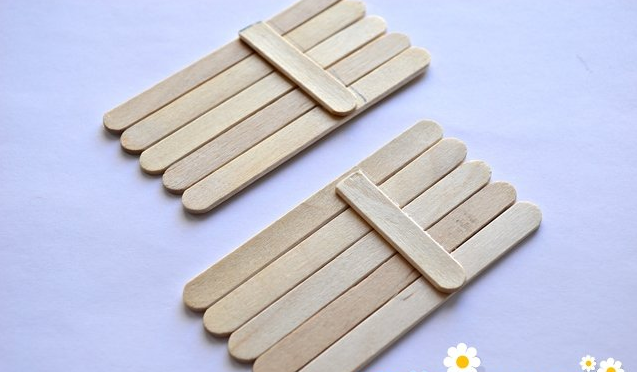
- stack in a row 2 times in 5 sticks. They form a small wall that looks like a fence;
- across these 5 sticks, glue the half of the cut, long sticks slightly lower than the middle of the height;
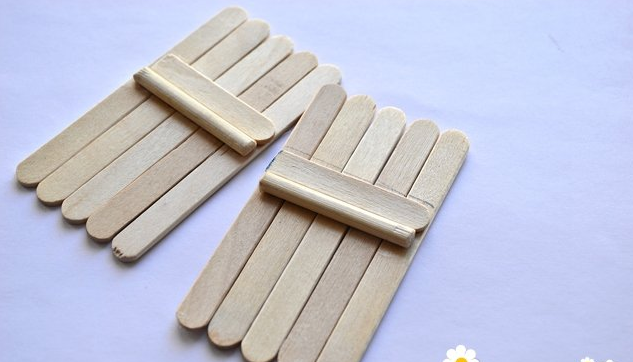
- with the second batch of 5 sticks, they do the same;
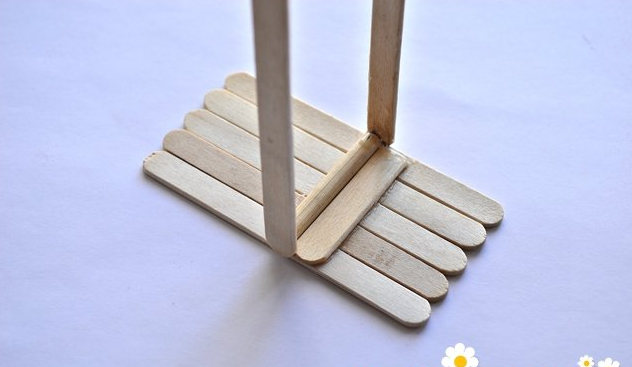
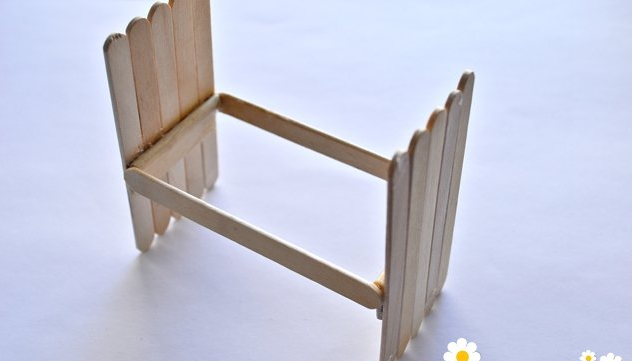
- now connect these two parts with two more sticks. Two sticks are glued on both sides to the halves of the cut sticks. Thus, it turns out the frame of the future bed without a base, but with a ready-made headboard and foot. During bonding, it is important to place the parts evenly;
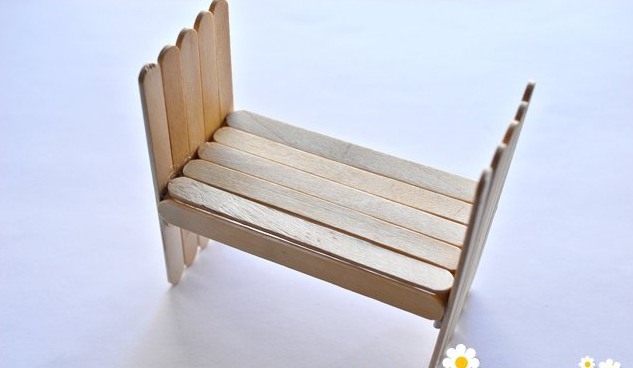
- The 5 remaining sticks are stacked and glued to the bed base. After the glue dries, the bed is decorated with decor and bed linens.


Decor variations
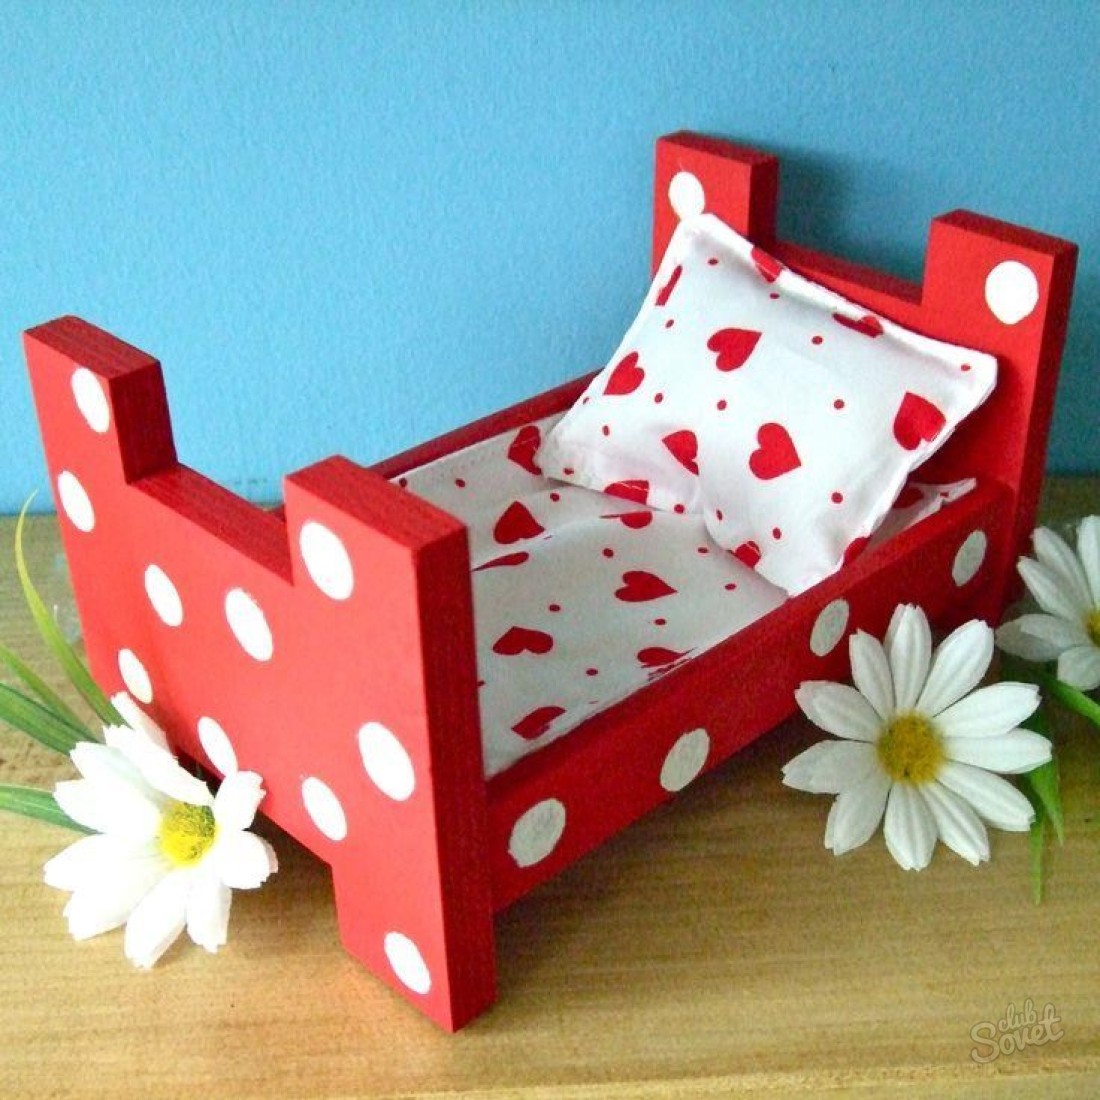
The first element of decor for a doll bed is bedding. The furniture is decorated with colored paper, buttons, beads, beads, ribbons, colored cardboard, dried flowers, sparkles, stars and so on.
The best option to decorate a bed for dolls from cardboard is to make patterns with paints.Children are attracted to this part.
As can be seen from the above material, the creation of unique furniture for children's dolls requires time, effort, craftsmanship, materials, decor elements, tools for work. To create a bed for dolls with your own hands is affordable for any parent. Girls should be involved in the creation of furniture for her dolls. The work will develop fine motor skills in the child, speed and clarity of work, knowledge of numbers, will involve imagination and imagination. The child can himself decorate the manufactured furniture. All work is carried out under the supervision of adults.
Video