Stages of creating do-it-yourself loft beds, how not to make a mistake
The loft bed is an original, functional design idea for designing small-sized rooms, which allows not only to save space, but also to make the room truly unusual. To save money, you can make an attic bed with your own hands, but you should first familiarize yourself with the design features.
Content
Preparation of necessary parts and materials
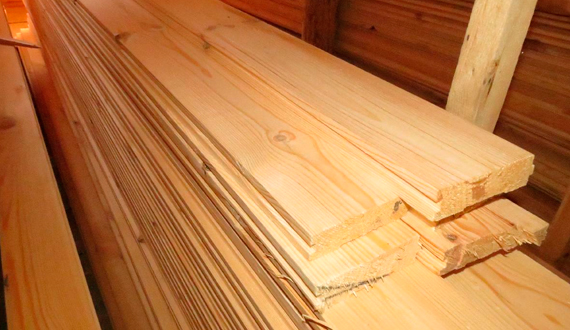
Making attic beds with your own hands is most often done from wood, due to the simplicity of its processing and a pleasant appearance. Yes, and the manufacturing process itself is simpler than metal structures, for the manufacture of which skills in welding are required.
The most economical option is the use of pine blocks. More expensive and practical material is oak and alder.
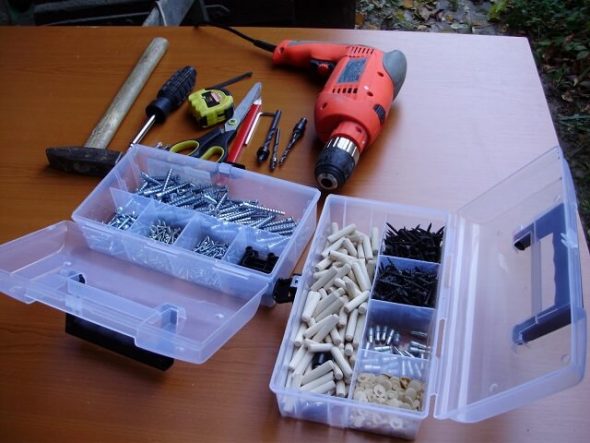
The list of materials depends on a pre-prepared scheme that allows them to be calculated. On the example of the manufacture of one of the varieties of the attic bed, we list the main materials and tools that will be required in the process of work:
- pine blocks (the quantity and size is determined depending on the chosen model);
- lathing rails for stairs and railings;
- plywood or rack bottom;
- For painting the finished product, varnish is used, with premature wood treatment with wood stain.
To understand how to make an attic bed and what you need for this, we suggest that you familiarize yourself with the necessary details.
| The purpose of the elements of the frame | number | Size (cm) |
| Frame racks | 4 | 5 × 10x165 |
| Crossbeams of the bed frame | 2 | 5 × 15x95 |
| Cross bars of headboards and reinforcing elements of its racks | 4 | 5 × 10x95 |
| Longitudinal headboards | 4 | 5 × 10x190 |
| Longitudinal rails of the frame | 2 | 5 × 15x190 |
| Plywood floor slats | 2 | 5 × 5x190 |
| Boards for the manufacture of stairs | 2 | 5 × 10x80 |
| Two transverse boards for reinforcing the podium racks | 2 | 5 × 10x95 |
| The upper longitudinal board of the podium frame | 1 | 5 × 10x105 |
| Upper Crosswalk Boards | 2 | 5 × 10x50 |
| Podium flooring | 12 | 5 × 10x55 |
| Boards for stairs, with sawn ends at 45 degrees, so that they are not parallel | 2 | 5 × 15x100 |
| Boards, holders of stairs. The ends are sawn at 45 degrees. | 6 | 2.5 × 5x20 |
| Stairs | 6 | 5 x10x45 |
You will also need tools:
- jigsaw or circulating saw;
- screwdriver;
- drill;
- a conductor for drilling holes;
- Sander;
- core drill;
- roulette;
- corner;
- pencil;
- protective glasses;
- vacuum cleaner.
If during the construction of the attic structure it is planned to equip the working area in the form of a bedside table, cabinets or something else, you should additionally take care of purchasing MDF or particleboard.
Manufacturing process
Before you assemble the loft bed, you need to prepare a project and prepare the components of the future design. Sawing parts can be done with your own hands, or you can make the necessary blanks at special furniture factories. The entire manufacturing process can be divided into 4 main stages.
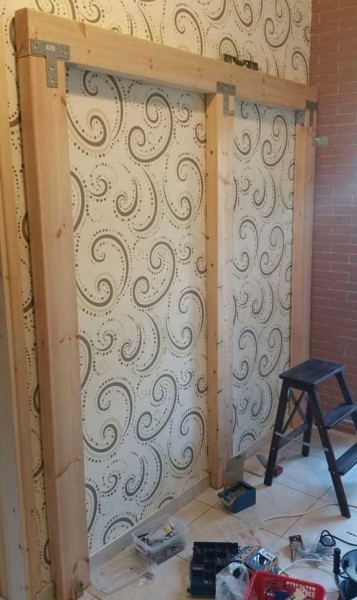
Frame
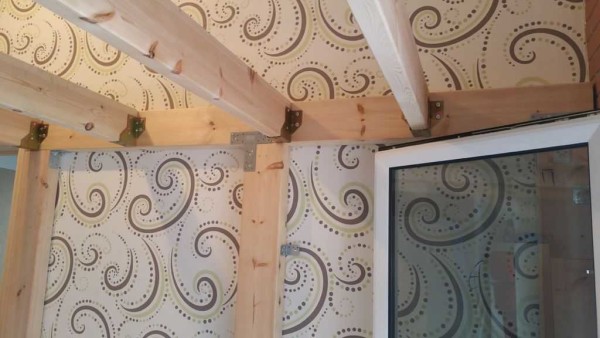
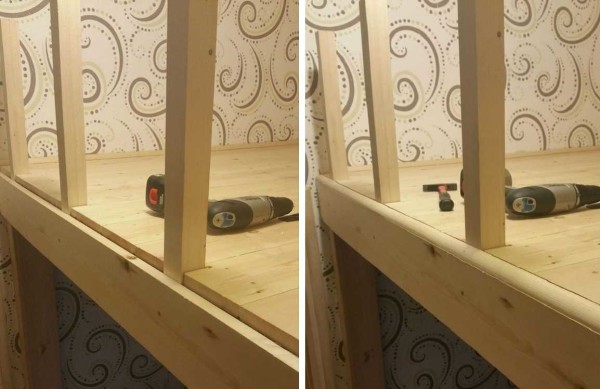
The key element of the attic bed is its frame. The collection of construction begins with him. Assembly instructions for the attic bed:
- Before starting the assembly process, it is necessary to prepare the workplace. Prepared parts should be laid out beforehand so that it is clear what is attached to. The layout of the bed should also be in front of your eyes;
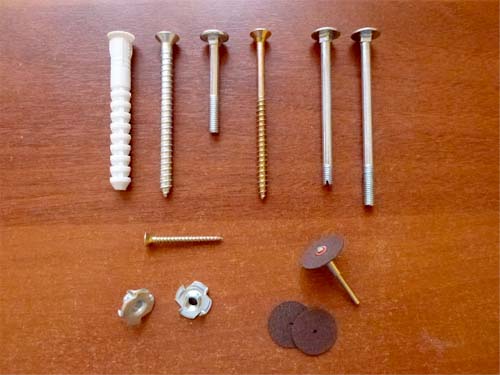
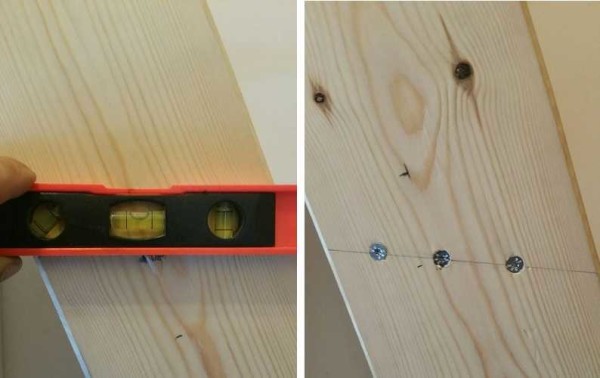
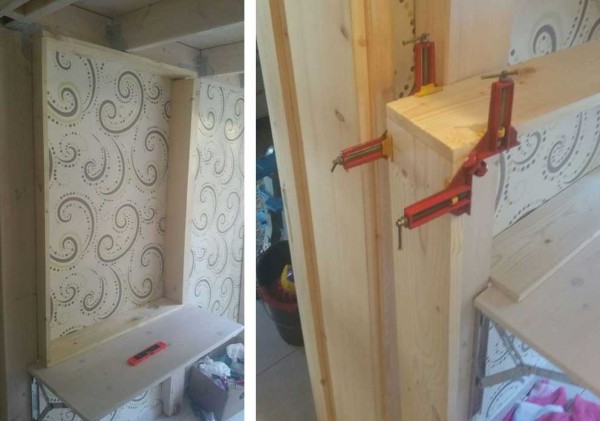
- we collect the butt ends of the bed, consisting of two racks, one transverse board, a reinforcing frame and a transverse base board. For a solid connection, it is recommended to pre-drill holes in pockets, using a conductor for drilling;
- by analogy, the second end face is assembled;
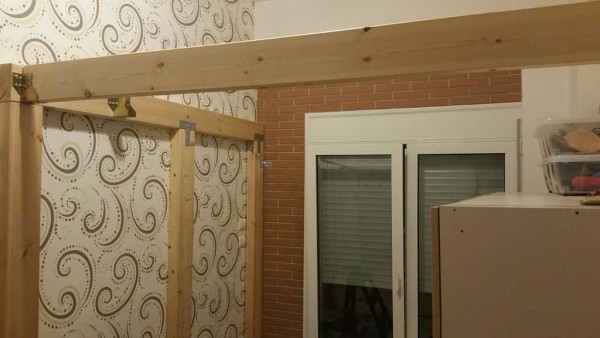
- Further, the end sides of the frame are interconnected by longitudinal bars. Before attaching them, it is necessary to carefully check all measurements and the compliance of the workpieces vertically, horizontally, using a level or plumb line;
- to fasten the longitudinal bars of the base, the spike groove method should be used, and to strengthen the entire structure, it is necessary to add furniture corners. This requirement is necessary to fulfill, since the lower bars of the frame will bear the main load.
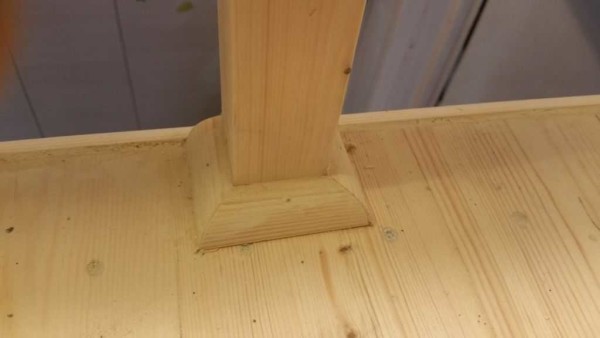
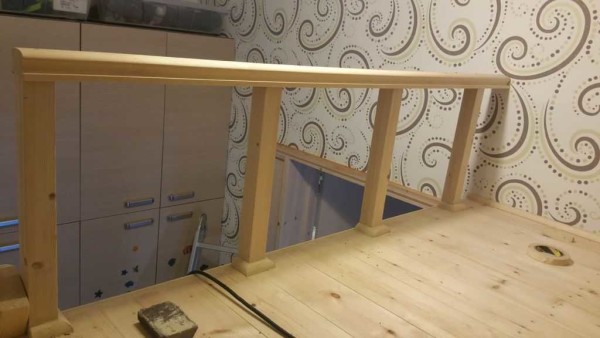
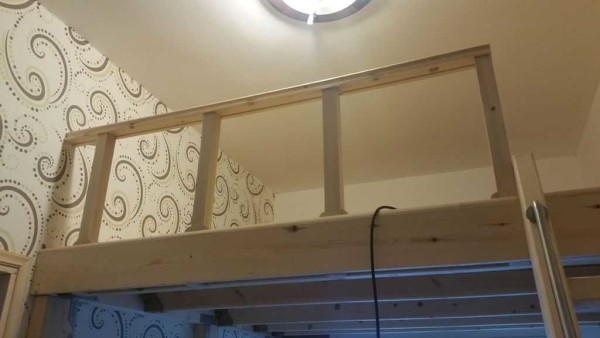
Railing
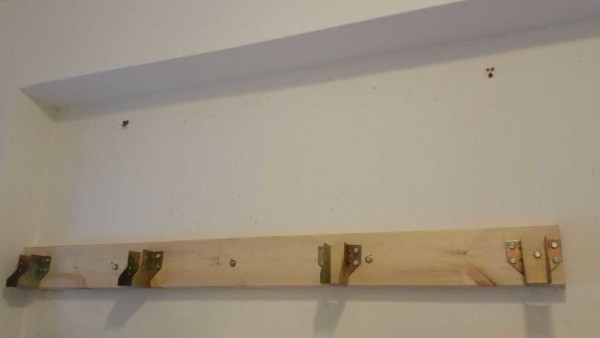
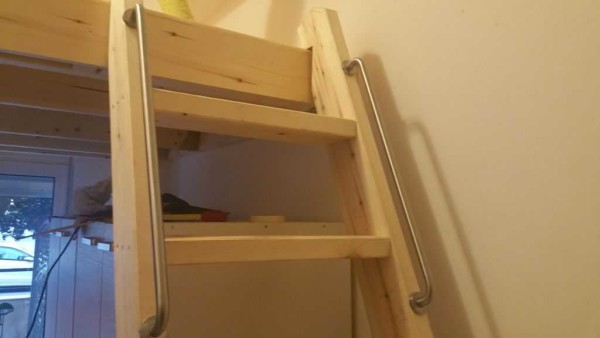
The railing in this model of the attic bed is installed during the assembly of the frame, as they are its components. If necessary, the height of the railing can be increased by adding the height of the racks. The fastening of the railing boards is done on furniture screws, using the spike groove method or using furniture corners. When combining mounting methods, the strength and reliability of the entire structure is ensured. Depending on the chosen model, the railing can be made from different materials or even purchased ready-made at a hardware store.
Some types of railings:
- MDF board;
- wooden blocks, with a different arrangement. Their installation can be made in different directions and in different shapes;
- metal supports;
- fabric with a metal frame.
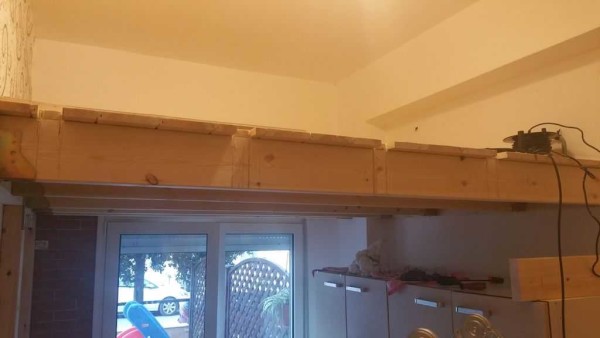
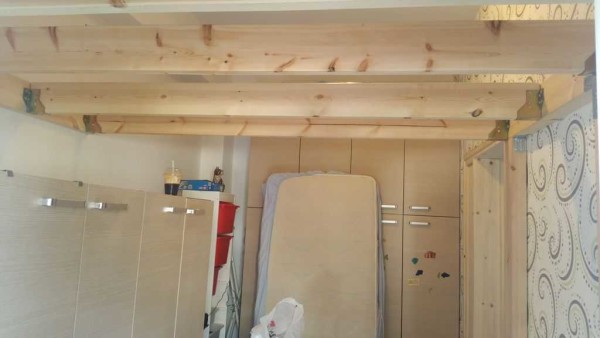
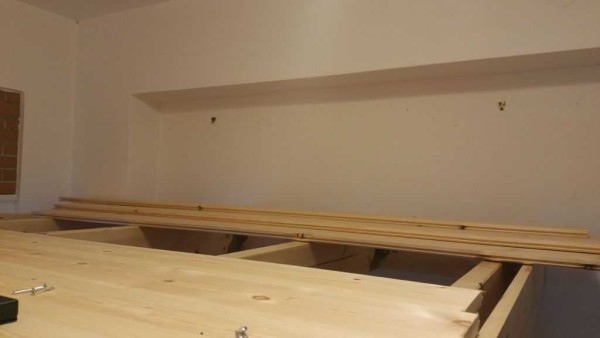
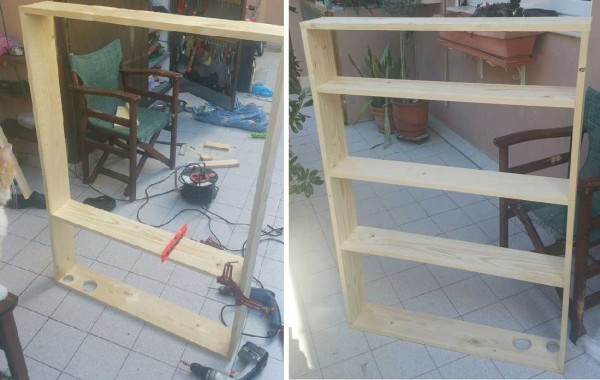
Flooring
For the manufacture of flooring under the mattress, it is necessary to fix supporting bars, the dimensions of which are 5x5 cm, from the inside of the bed base. Their fastening is carried out using self-tapping screws and furniture corners.
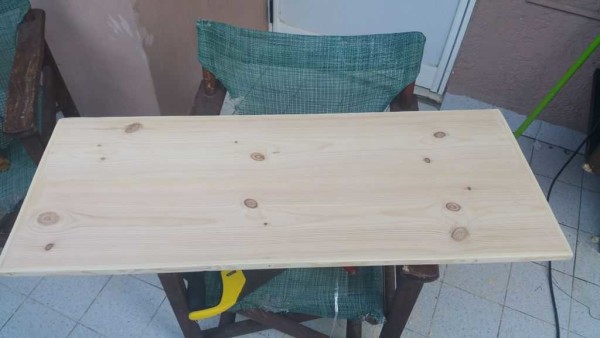
The role of the flooring can be either transverse sections of boards prepared for the size of the base, or plywood or a sheet of chipboard. Since the flooring of the attic bed is the ceiling of the working area under the berth, it is advisable to make it from plywood or chipboard, which can later be decorated in an interesting way.
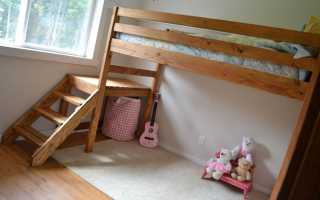
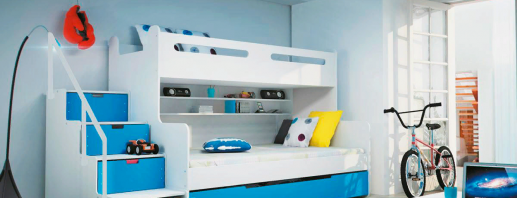
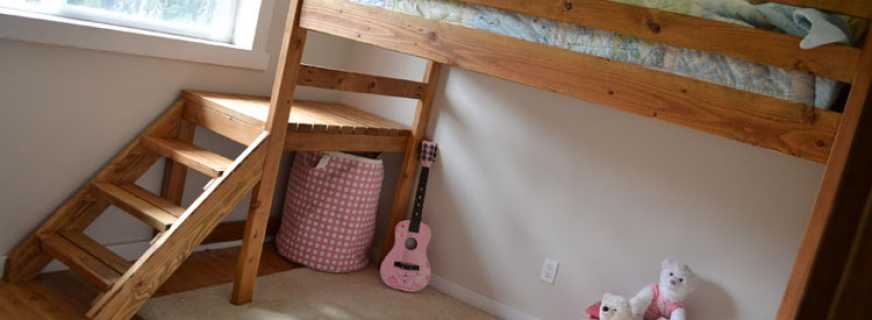
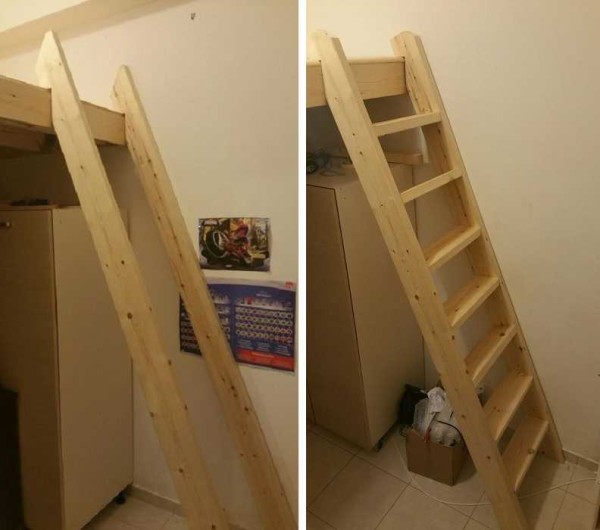
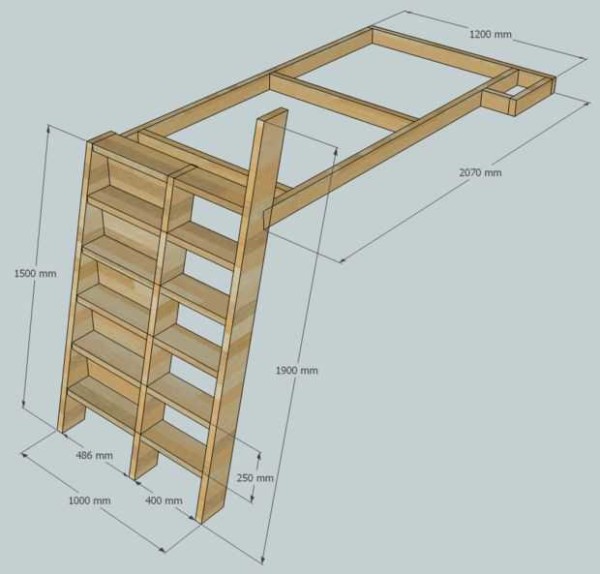
Stairs
The staircase for the attic bed consists of a supporting podium and steps. If the product is planned to be assembled for an adult, you can restrict yourself to a vertical staircase, without a podium, attaching it to the end of the attic bed.
The collection of the podium begins with the supporting front frame. Mounting is carried out according to the same principle as the entire structure, using the spike groove method.Next, we attach the front frame to another support, which in this model is the sidewall of the attic bed. For greater reliability of the podium, it is also recommended to use metal corners. On the resulting frame, flooring from prepared boards is laid, everything is fixed with self-tapping screws or furniture confirmations.
When making stairs under the podium, it is necessary to observe the accuracy of trim angles using a ruler and a protractor. The slope of the staircase made depends on the angle, on average it is 45 degrees.
Parallel to the obtained slices, bars for steps are screwed. The distance between them is individual for everyone and depends on the step of an adult or a child. The supporting bars are fastened with self-tapping screws and furniture corners.
The last step in the manufacture of stairs is the steps. They are attached with the help of confirmations or self-tapping screws.
Assembly of elements
This model of an attic bed provides for the sequential assembly of its elements, since they are all its components. An exception is the staircase, this is the only part of the product that is attached at the very end. Also, do not forget to install a screed for it. For fastening strength, it is recommended that all joint parts of the structure be reinforced with furniture corners. In the manufacture of other models of loft beds, they are assembled after the main components.
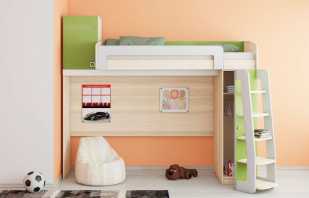
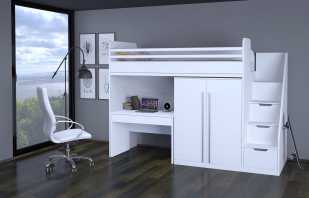
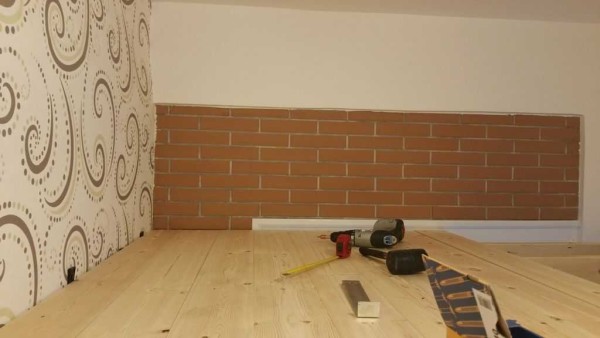
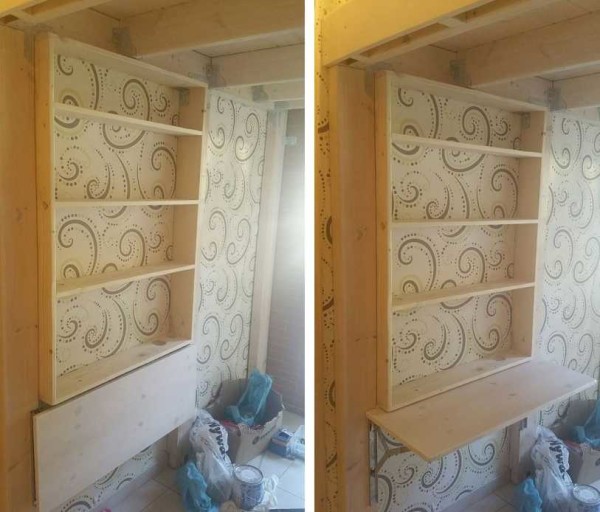
Work area equipment below
The loft bed is not only the decoration of the room, but also the preservation of usable space, especially for small apartments. Consider some ideas for designing the lower zone.
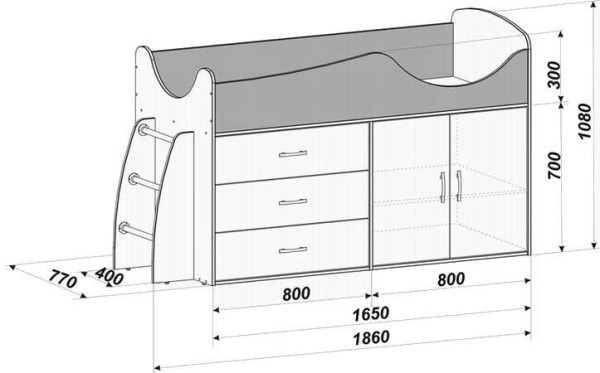
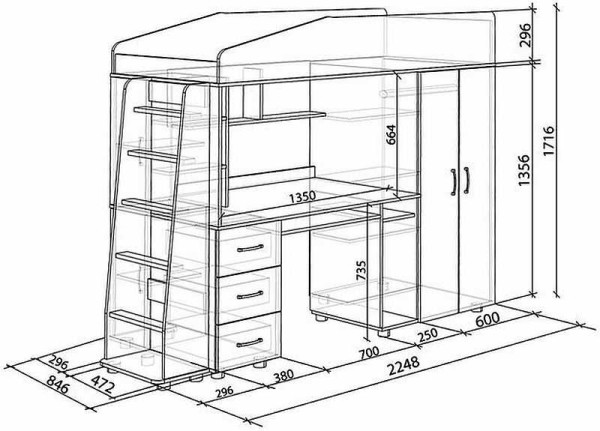
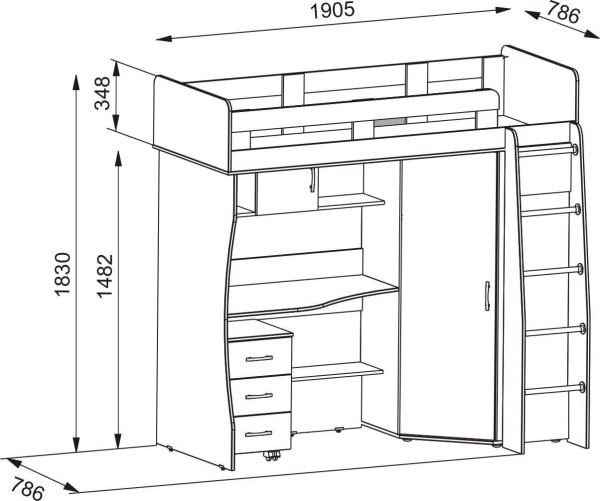
- wardrobe and desk - the cabinet doors in this case should be located on the side of the bed. In the remaining space, a table is installed;
- shelves and drawers. Dividing the free space with vertical and horizontal partitions, closing some of the cells with drawers, you can create a unique cabinet for storing not only personal items, but also toys;
- organization of a desk. If the bed model provides a sufficient height, you can install a countertop for study or work. This option is very convenient, since the width of the berth is from 0.8 to 1 meter, which is ideal for a desk. But you need to take into account that the bed causes some kind of dimming and for comfortable work you need an artificial light source, and therefore a power source. So, it is better to have the bed next to the outlet;
- sofa for relaxation - an attic bed with a working area is convenient in that you can set any attribute of furniture from below, it all depends on the needs of the landlord and the purpose of erecting such a structure. One of the most common design options for the lower part of the bed is the installation of a sofa, which can also act as a berth;
- dressing room - with large sizes of the attic bed, a dressing room can be arranged below. To hide things, the design is complemented by a small cabinet with open or closed shelves. If necessary, you can use curtains made in a modern style;
- separate room - beds at a height are mainly installed in rooms with a lack of personal space. For such cases, there is an option to equip the lower part of the structure for a separate room, which is suitable for both children and adults. A fabulous little room is created for the child with the addition of game nuances. For an adult, it is enough to install a small tabletop under the computer and a sofa chair.
In order to save space, the attic installation is recommended to be located in the corner, between adjacent walls.


Finishing
At the end of the assembly of the attic structure and its components in the lower part, you can proceed to the finish.It consists of carefully polishing the wood, using a grinding machine or sandpaper, as well as opening the finished structure with varnish.
Finishing Nuances:
- if the lower part is equipped with ready-made furniture attributes, the bed should be trimmed before installation;
- Before applying varnish, the product must be coated with one layer of stain;
- to obtain a saturated color, the varnish is applied in 2-3 layers;
- applying varnish is done indoors without drafts;
- drying of the varnish should be carried out at room temperature and an acceptable level of humidity;
- a second coat of varnish is applied only after the first has completely dried.
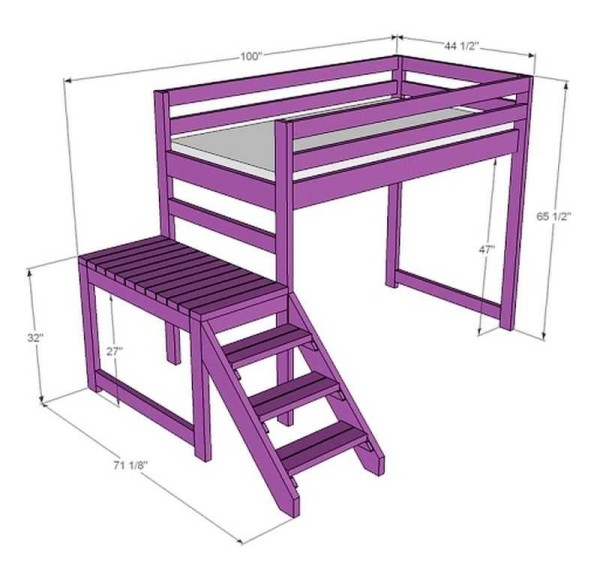
Schemes and drawings
Summing up, we can say that for a reliable design it is necessary to prepare a drawing of the attic bed with your own hands and correctly prepare the elements that must exactly match the drawing. Assembly and finishing are also important stages in the construction, but they are not able to spoil it as in the case of the preparation of unsuitable parts.

Video