Assembly instructions for kitchen furniture, expert advice
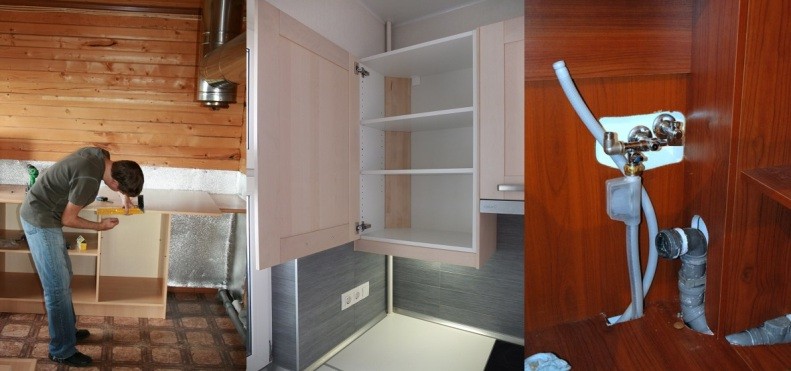
Large companies involved in the sale of kitchen sets, make their customers a paid service for the installation of structures. However, many people prefer to independently engage in this work in order to save substantial cash. In fact, assembling kitchen furniture is considered not too complicated work, if you carefully understand it.
Content
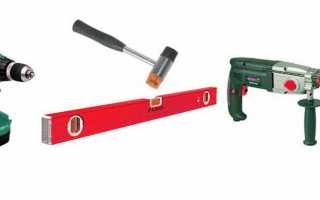
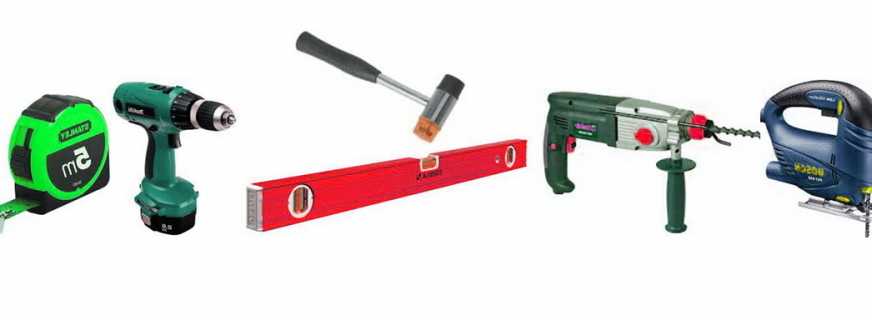
Necessary tools
Before direct assembly, certain preparatory work is necessary. They consist of several actions:
- tools are being prepared, and it is important to make sure that they are in working condition. For work, you will need a screwdriver and an electric jigsaw, a drill, a hexagonal screwdriver, a puncher, a tape measure, a hydraulic level and various small tools that are available for almost every man who prefers to carry out various housework on his own;
- a direct kitchen set is selected and acquired. Once it is delivered home, you should check it to make sure that there are no defects or defects, since if necessary you will have to replace some parts of the structure;
- instructions for assembling kitchen furniture attached to the headset are carefully studied in order to determine the main stages and features of the planned work;
- the kitchen is freed from all unnecessary elements so that the assembly procedure of the kitchen is carried out easily.
During the operation, it is likely to damage the existing flooring, so it is recommended to close it in advance with some kind of protective cloth.

Stages of assembly of kitchen furniture
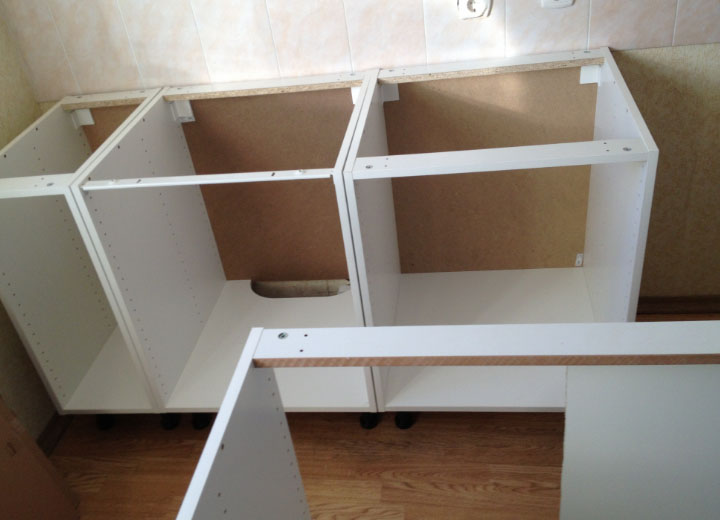
How to assemble kitchen furniture? The kitchen installation procedure is implemented in several successive stages. The process begins with the assembly of the box, after which the drawers are assembled and the upper cabinets are mounted. Only then are the lower construction boxes installed.
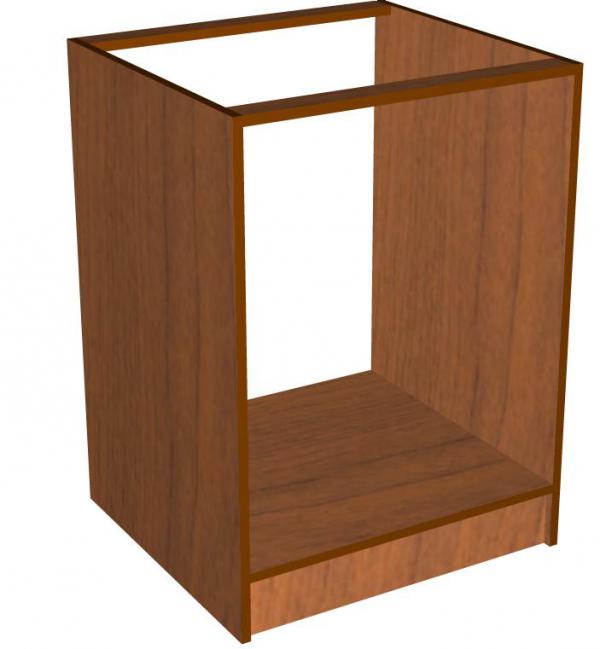
Box assembly
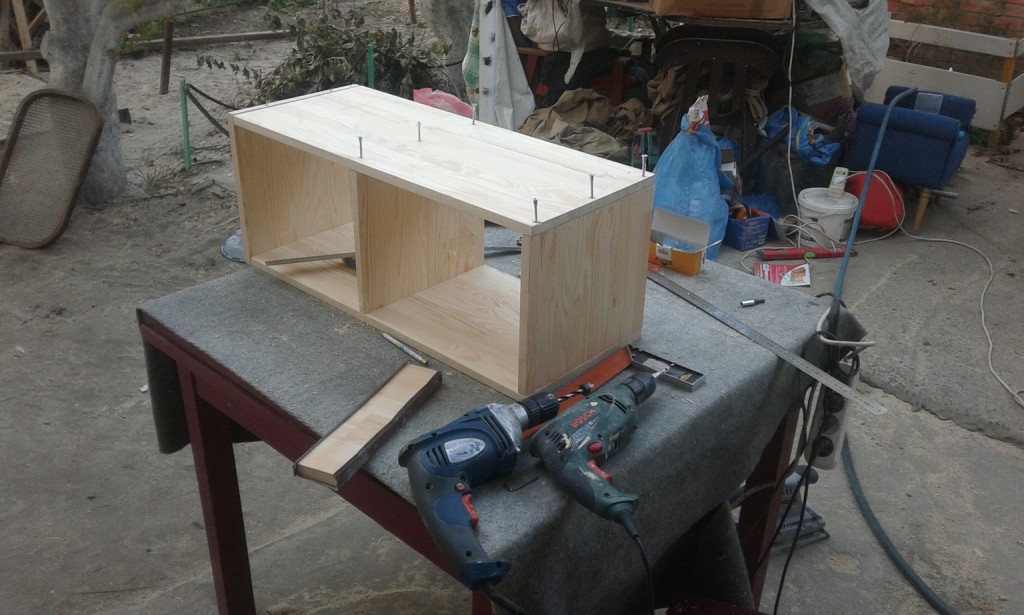
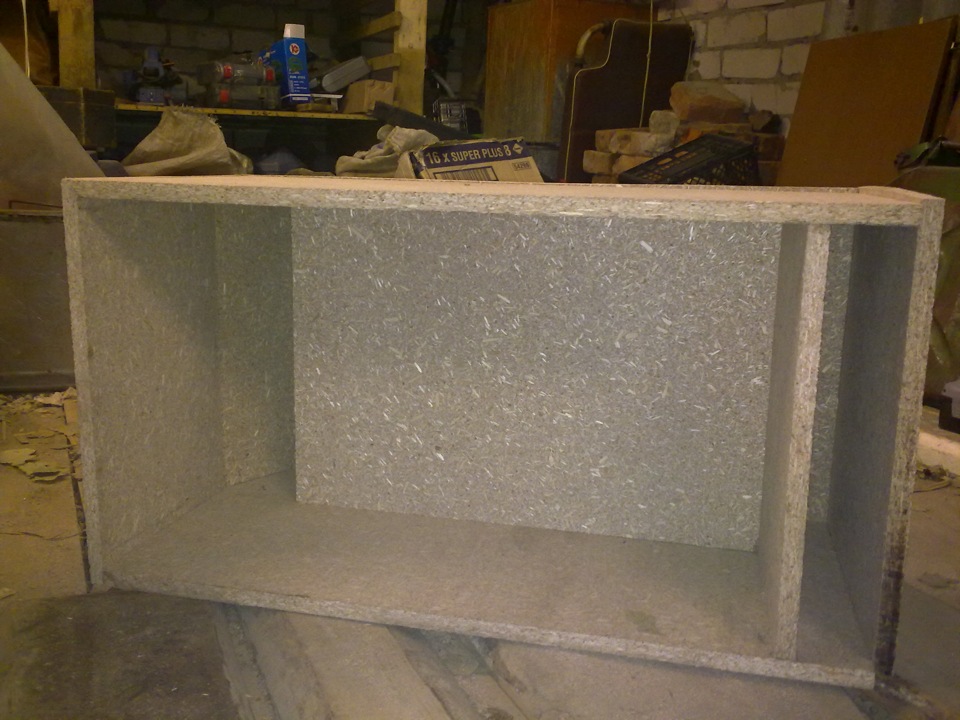
Furniture assembly begins with the formation of the box. For this, sequential actions are performed:
- the side wall of the box is installed on a solid and even surface with an end face, and the facades should be located at the top;
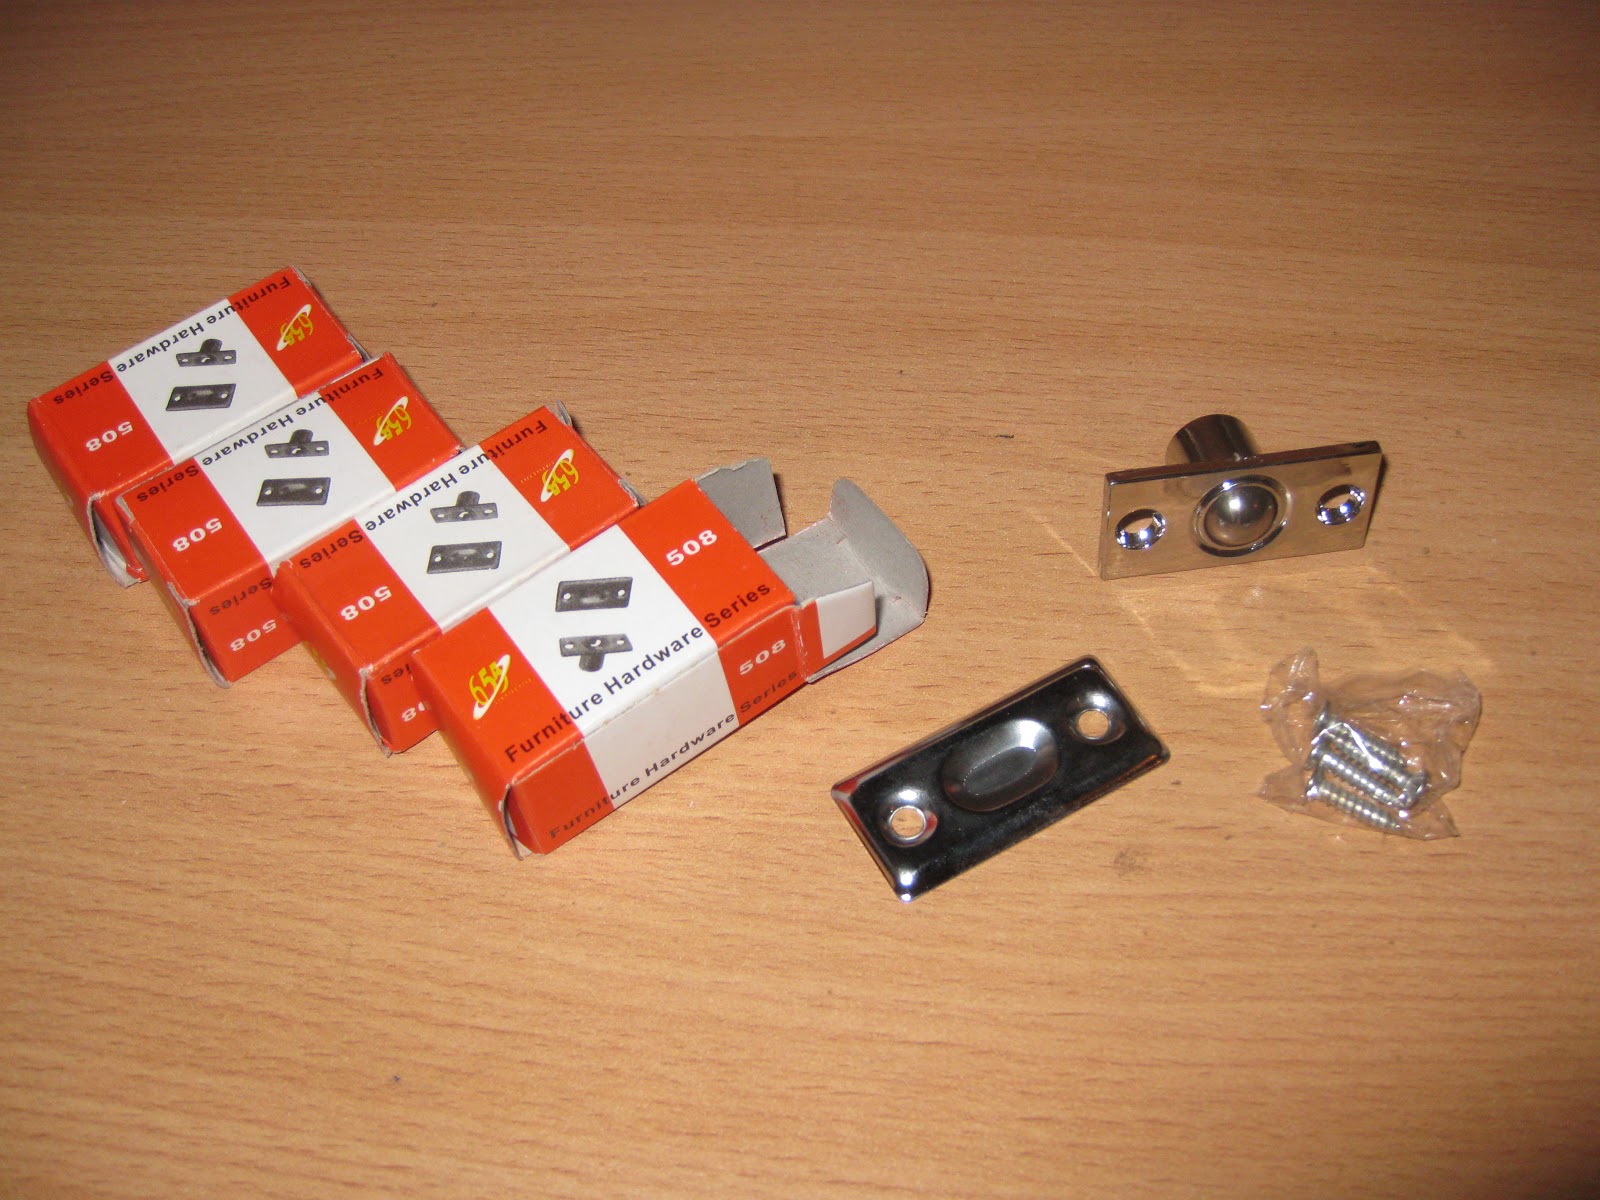
- the cabinet wall fits correctly with the bottom, and only at right angles, after which they are connected to each other, which uses confirmations, and there are already holes for Euroscrews in factory-made kitchens;
- on the other hand, the second side wall is fixed in the same way;
- two upper slats are mounted on each side of the structure, if the lower drawers are assembled, and a lid is installed for mounted ones;
- the cabinet is placed with the facade down, after which the diagonal is measured with a ruler, since it is not allowed that the values obtained in different cabinets differ from each other by more than 1.5 mm;
- the back wall is attached to the cabinets, for which brackets or small nails are usually used;
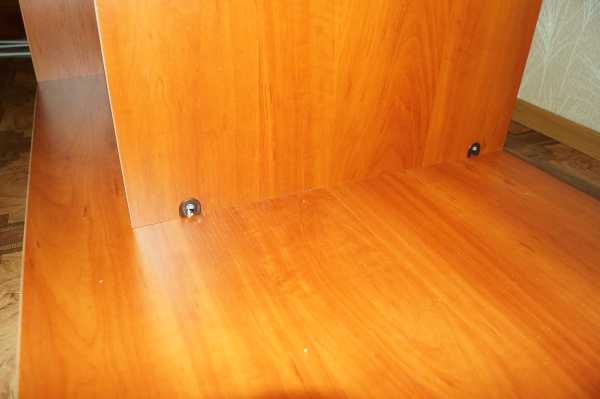
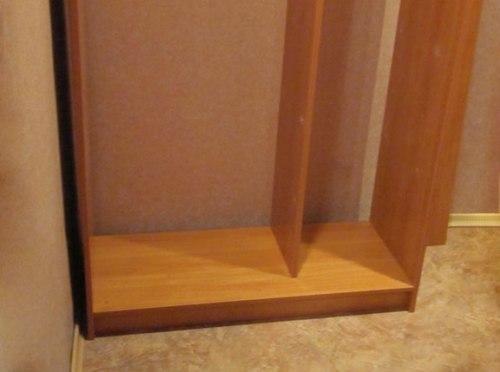
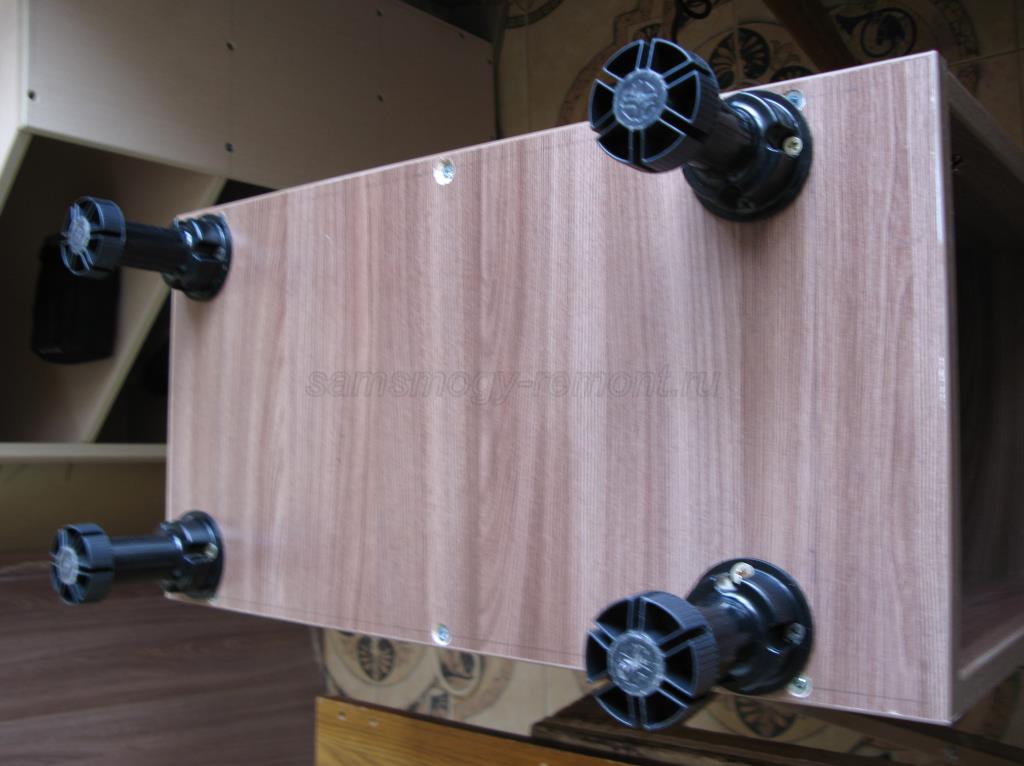
- for floor cabinets, legs are attached to the bottom, and they can be made of plastic or metal.
During the work process, it is necessary to check that the ends of all side walls of the boxes are flush with the bottom and the lid, for which measuring equipment is used.
Drawer Assembly
The next stage in the installation of the kitchen is the proper assembly of the drawers used in this design are required. Without them, any kitchen becomes uncomfortable and inconsistent. For this, sequential actions are performed:
- a box is made, for which four levels are fixed at right angles to each other;
- all such blanks should have the same diagonal;
- guides are attached to the side walls of each received box;
- with the help of screws, the facades are fixed;
- special reciprocal latches are mounted on the bottom of the box, allowing you to attach the boxes to the guides.
As soon as the drawers are ready, installation of the upper wall cabinets begins.

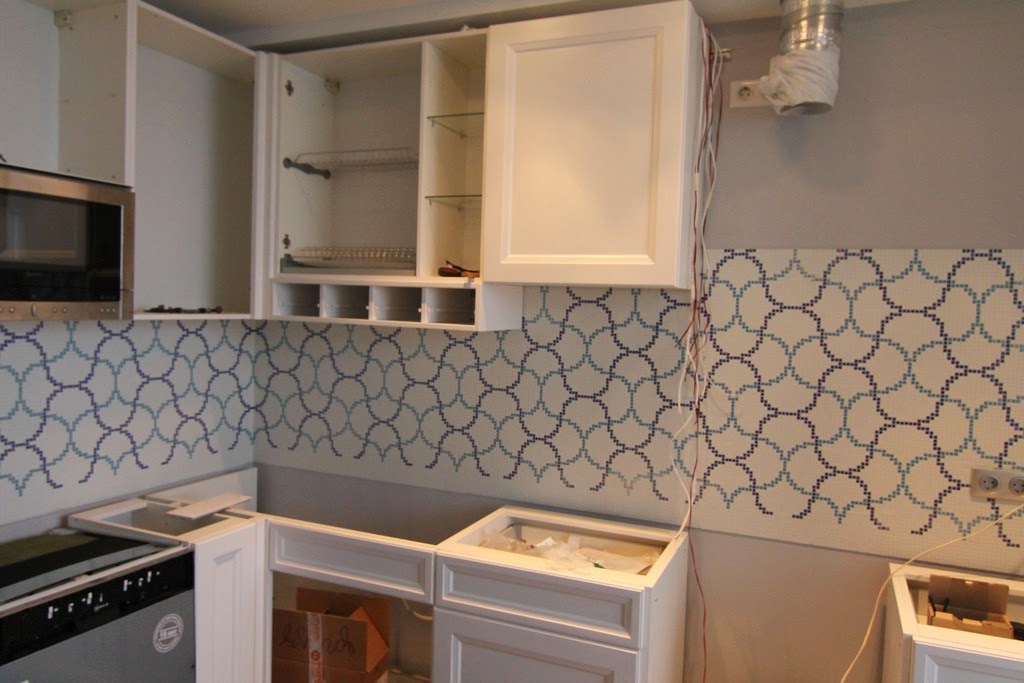
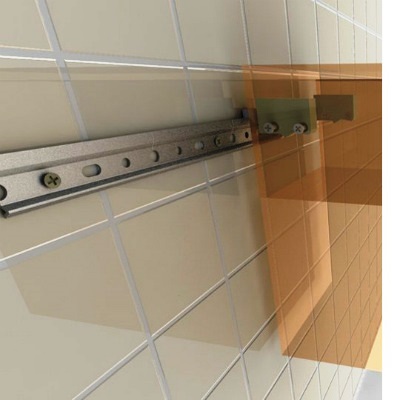
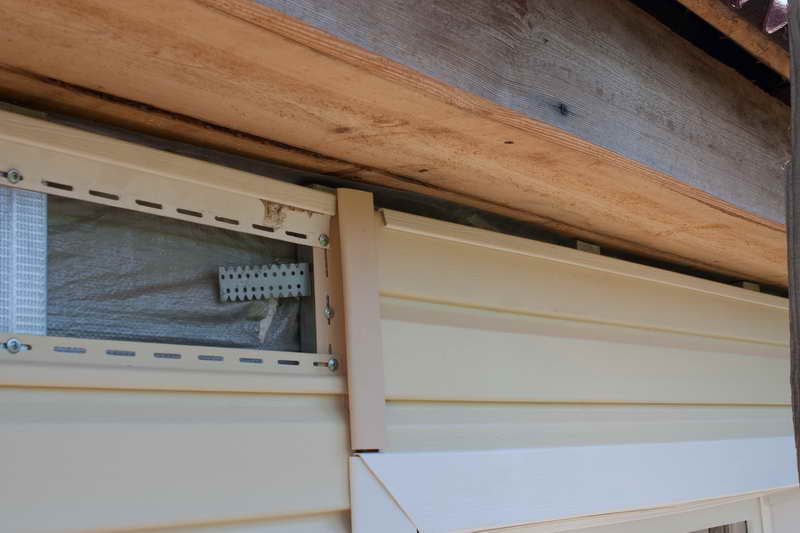
Installation of upper cabinets
They must be securely and of high quality attached to the wall of the room. At the same time, it is not difficult to use furniture for the kitchen for its intended purpose. This process is divided into successive stages:
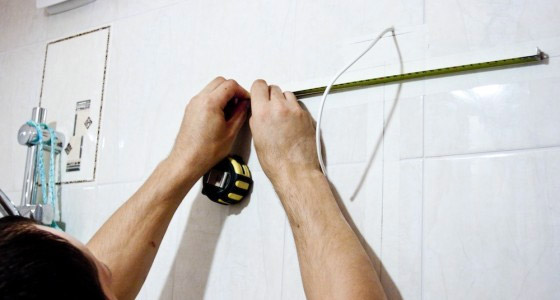
- the attachment points of all cabinets are initially marked, for which the optimum height is laid off from the floor, which determines the distance from it to the lower shelf of the cabinet;
- the process of choosing the optimal height takes into account the growth of a person acting as a regular user of the kitchen;
- the height of the countertop is also determined in advance, so that from it to the upper cabinet there is a distance of at least 0.6 m;
- from the marked marks, lines are shown showing the locations of future fasteners, with the level making sure that the line is perfectly straight;
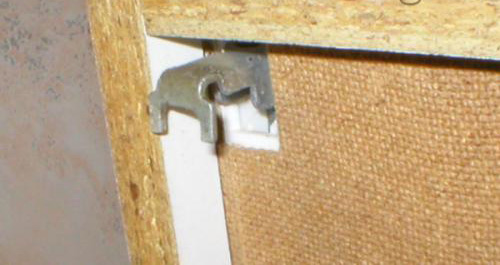
- the mounting method is selected, for which standard mounting loops can be used, as well as a rail equipped with special hooks for fixing the cabinets;
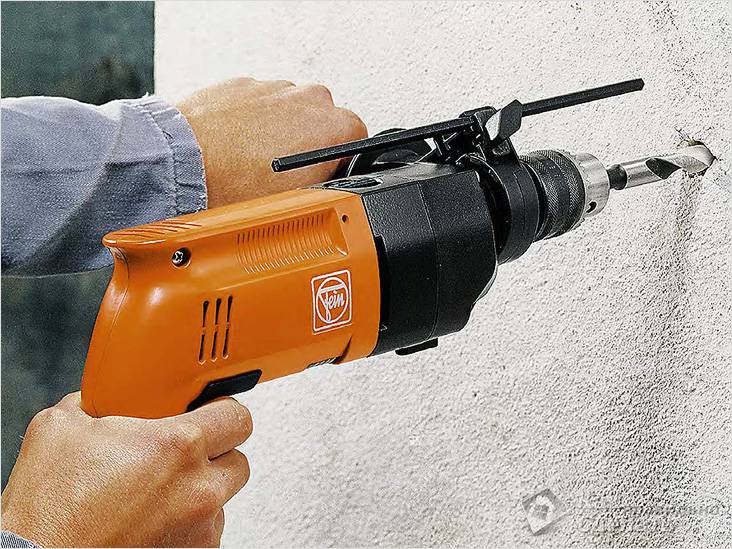
- holes are made for the hinges in the walls with a puncher, and fasteners are inserted into them;
- cabinets are suspended on the received fasteners, after which they are carefully aligned, which will correctly determine the location of the second fastener.
If it is planned to lay any pipelines through the upper cabinet, then for them in the back wall the corresponding holes are always made in advance with a jigsaw.
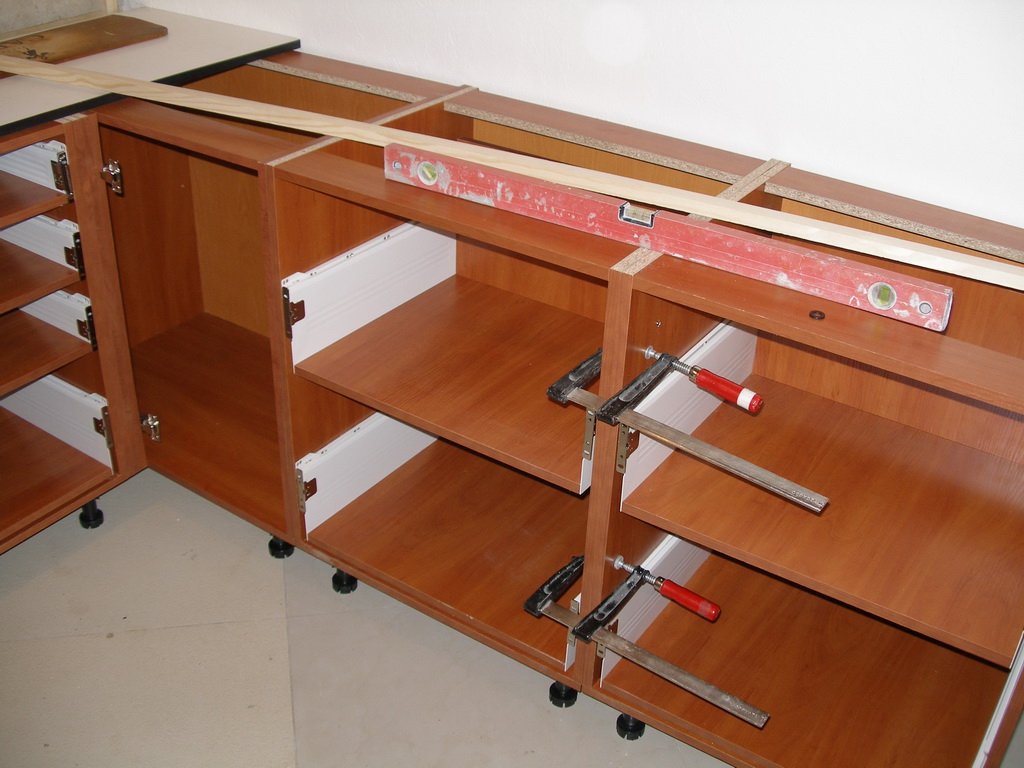
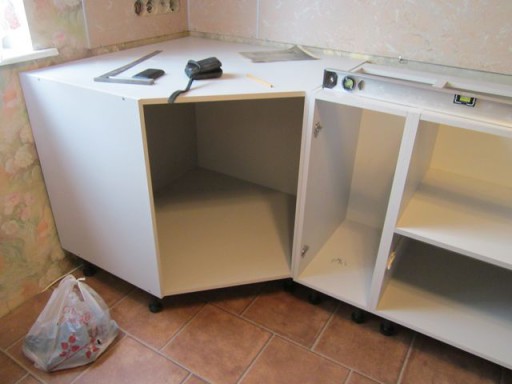
Installation of the lower pedestals
The lower drawers of the headset are usually installed after securing the upper ones. The installation of kitchen furniture in this case is divided into stages:
- installation of the first curbstone begins from the corner of the room;
- the legs of each pedestal are correctly adjusted so that there are no distortions;
- all cabinets are aligned;
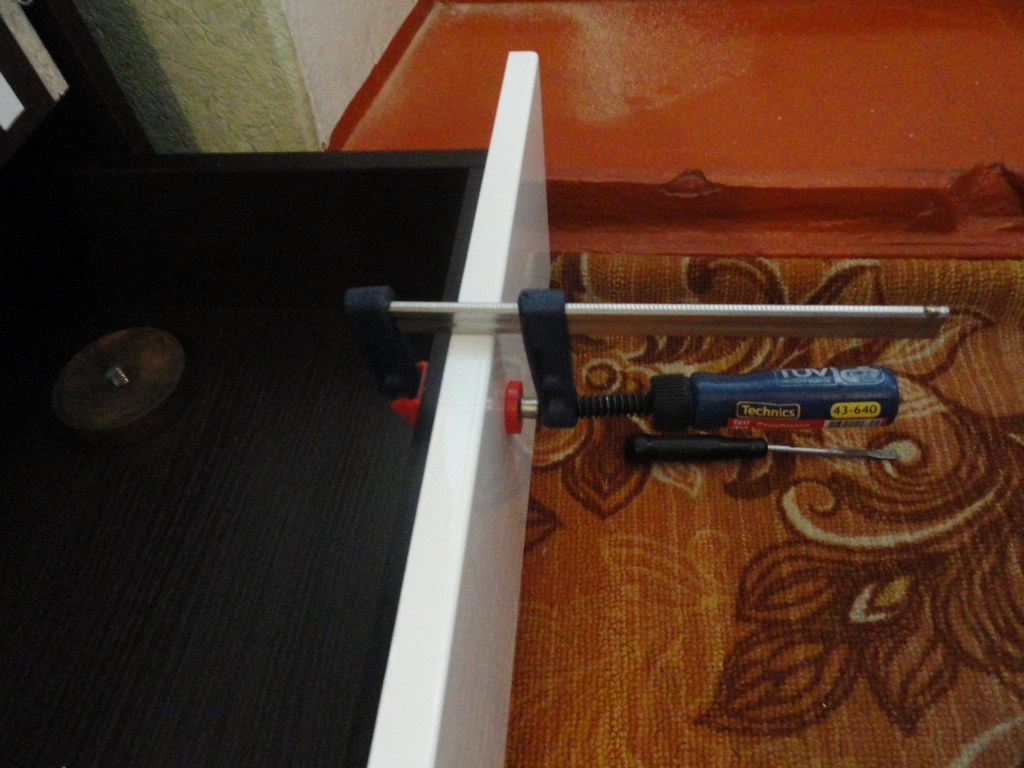
- neighboring elements are pulled together with a clamp, and then a furniture screed is used.
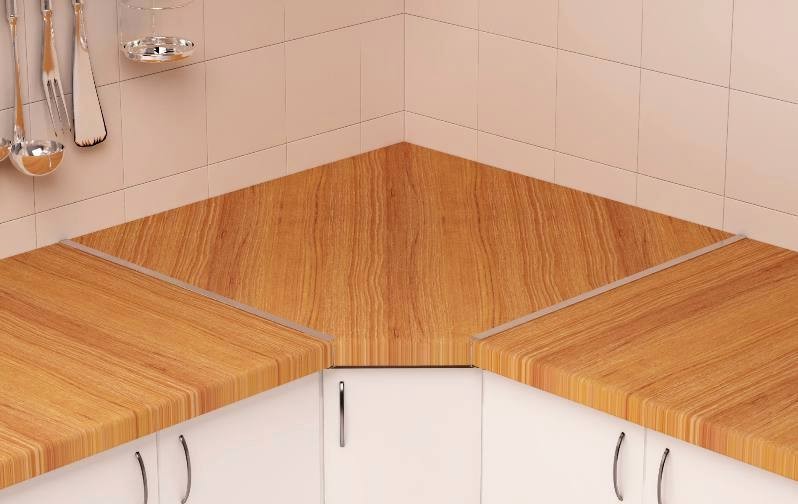
The next step involves the installation of countertops, in which a hole for washing with a jigsaw is preliminarily made. The countertop should be properly aligned so that there are no distortions that reduce its service life and adversely affect the use of the entire kitchen as a whole. For a large kitchen you have to use two parts of the countertop, and for their reliable and competent connection, special metal strips are used. By all means, these compounds are treated with sealant.After the two elements are securely connected, they are attached to the lower pedestals, for which special furniture corners are used.
Final stage
Do-it-yourself furniture is easy to install in the kitchen. After the main tasks are completed, the final stages of work are carried out. It should be especially careful, since the appearance of the entire created structure depends on the implemented processes. Installation at this stage is divided into processes:
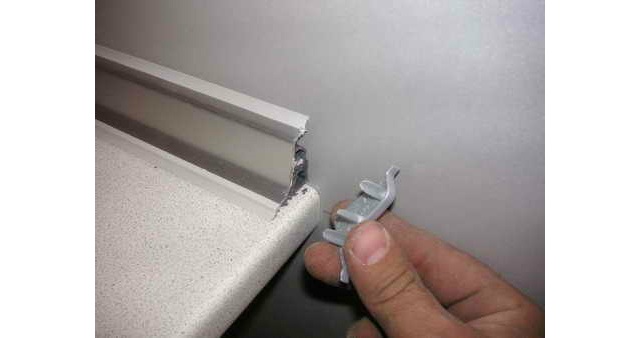
- in the place where the countertop adjoins the wall, you must use a special baseboard to close the existing gap, as otherwise dirt and water will constantly penetrate into it, which negatively affects the life of the entire headset;
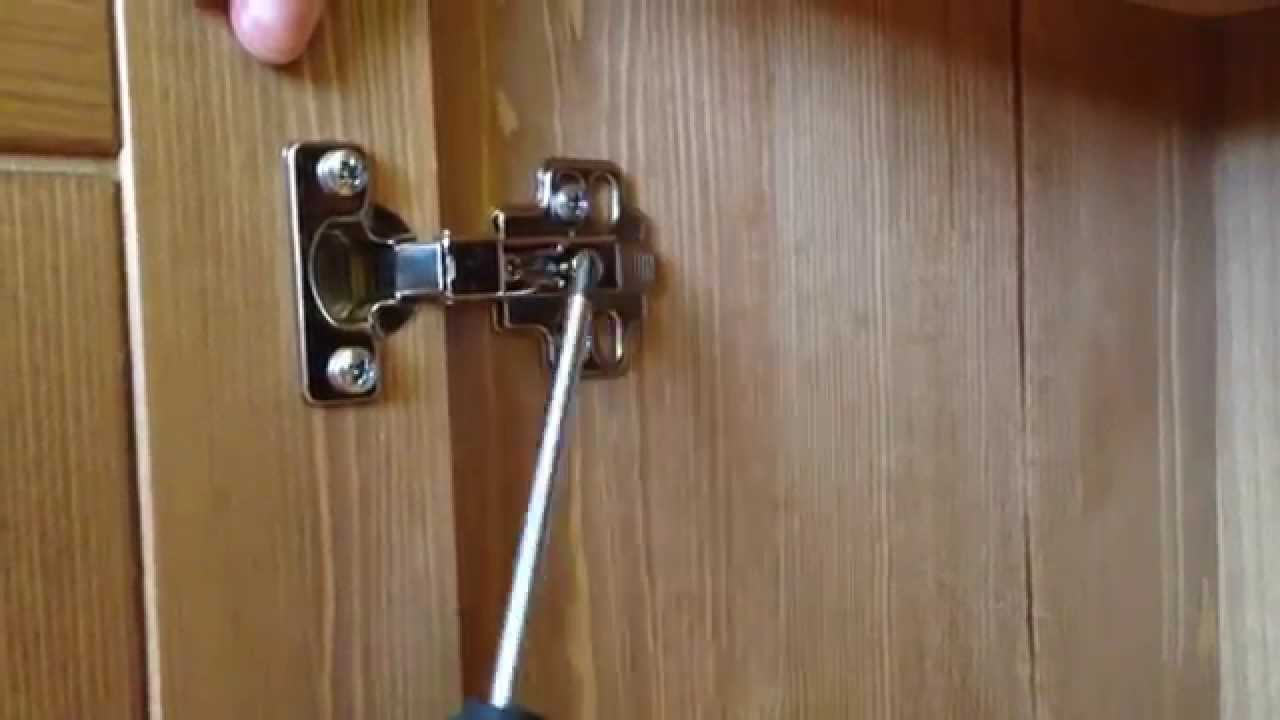
- the doors are fastened to all cabinets of the design, and their adjustment is easily implemented using special new hinges;
- pre-assembled drawers are inserted into the headset, and various built-in appliances and furniture are also installed;
- the kitchen should be well and efficiently lit, so at this stage, different lights and lights in the headset are additionally connected;
- the base level is installed;
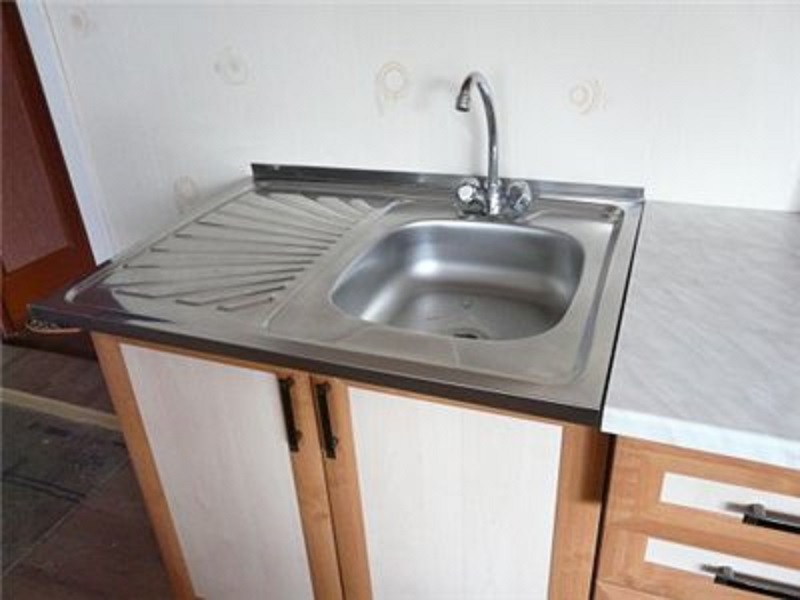
- we collect and mount the sink, after which it connects to the necessary communication systems;
- sections of the connection of the sink with the countertop will certainly be treated with high-quality sealant.
The procedure for installing a kitchen set is considered quite complicated, so in order to prevent possible errors, it is recommended to preview the training video in advance.Thus, the assembly of the most important kitchen furniture presented by the suite can be done on its own. To do this, it is necessary to study the correct instructions in advance, watch the training video and use only high-quality materials and tools. This approach guarantees a long-lasting and beautiful work result.
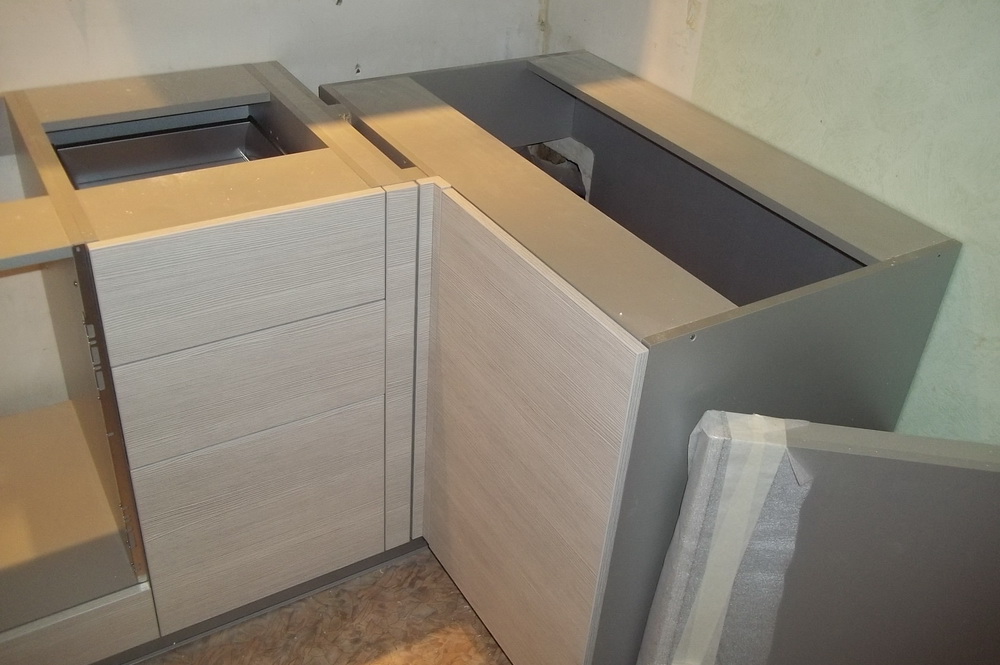
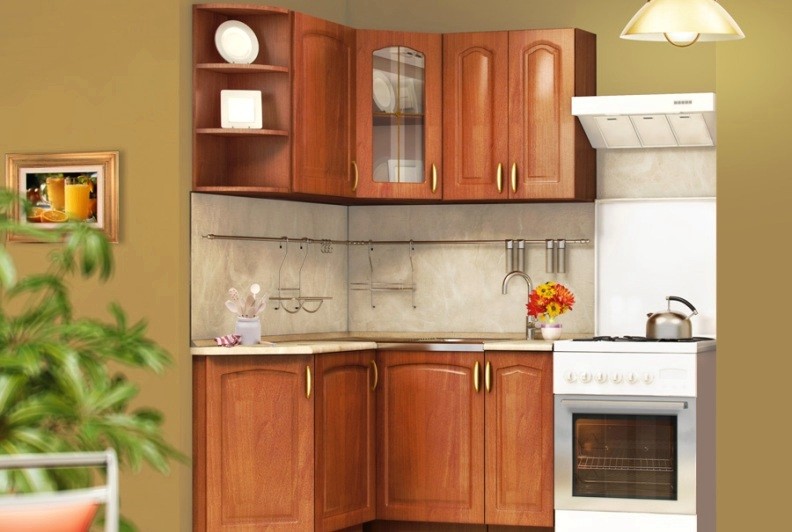
The nuances of the assembly of the angular structure
The corner kitchen is becoming more and more popular. This is due to the fact that the installation of the corner headset can be carried out even in the smallest and most non-standard room. Designs are produced in numerous forms, which makes it possible to choose the best option for any room.
The main difficulty in installing the corner headset is the docking of different elements in the corner. Also, to obtain the correct and attractive result, the recommendations of specialists are taken into account:
- assembly of the structure begins without fail from the angle chosen for installation;
- it is not advisable to assemble all the cabinets at the same time, since you should be guided from one assembled module, after which the assembly of subsequent elements is carried out;
- especially much attention in the corner kitchen is paid to the docking of two adjacent drawers in the corner of the room;
- most often a sink is located in the corner, however if it is not very convenient for the owners of the room to use, it is allowed to leave the corner cabinet either empty or install on it some small appliances that are not used too often;
- all joints are always treated with a sealant that protects the most important parts of the headset from high humidity and dirt.
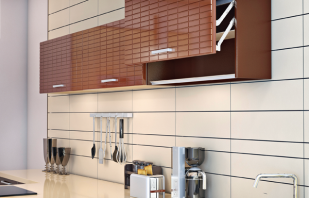
Thus, the kitchen is an important room in any home. It is intended for the cooking process, so it certainly sets numerous interior items that make this procedure simple and quick. These include, first of all, the kitchen set, and it is allowed to install it on your own if you understand the process well and use high-quality materials and tools. In this case, you can save a significant amount of money paid by professional installers.Particular attention should be paid to the alignment of all structural elements, since different distortions or other problems contribute to the short life of the entire headset.
Video