DIY round-table stages, useful life hacks
There are no such owners who would not like to furnish their home with stylish, beautiful, practical furniture. One of the elements of the interior, which cannot be dispensed with in any home, is a table. Despite the wide selection of these products, many home craftsmen try to make a round table with their own hands, because you can be sure that the product will fit perfectly into the interior. This solution has its pros and cons associated with some of the difficulties of the process.
Content
The advantages and nuances of self-made
A round table is an excellent option for creating a comfortable environment in the kitchen, in the living room, children's room, porch, gazebo. The absence of angles eliminates the possibility of bruises, contributes to the atmosphere of comfort and proximity. However, it should be remembered that such a piece of furniture does not fit into every interior.
If you have the skills to handle household tools, patience and attentiveness, making a round table is not difficult.
The decision to make a round table of wood yourself has the following advantages:
- Saving the family budget. Factory products are much more expensive. The added value is several times higher than the price of raw materials. The costs of making a do-it-yourself round table include only the purchase of wood and fasteners.
- The ability to choose a model. In stores, it is far from always possible to find the right product. Self-design, assembly allow you to compile elements of different models, creating your own unique version.
- The choice of size, configuration. Furniture is made for a room with a certain shape and limited area. Sometimes the rooms are so small that not a single factory thing fits into them. The way out is a portable do-it-yourself round table in the kitchen.
- Getting the necessary experience. Having assembled a very complex design, the home master will be able to develop further, implementing new projects.
The downside is that it is quite difficult for beginners to make a round tabletop on their own. In addition, there is a need to purchase special tools, without which it is impossible to get perfectly even edges.
Popular designs
To make a round table with your own hands, various ideas are used that can be gleaned from magazines, thematic pages on the network, visiting furniture stores. The most popular designs today are:
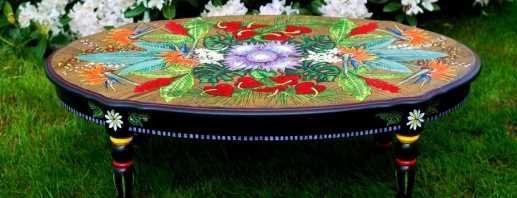
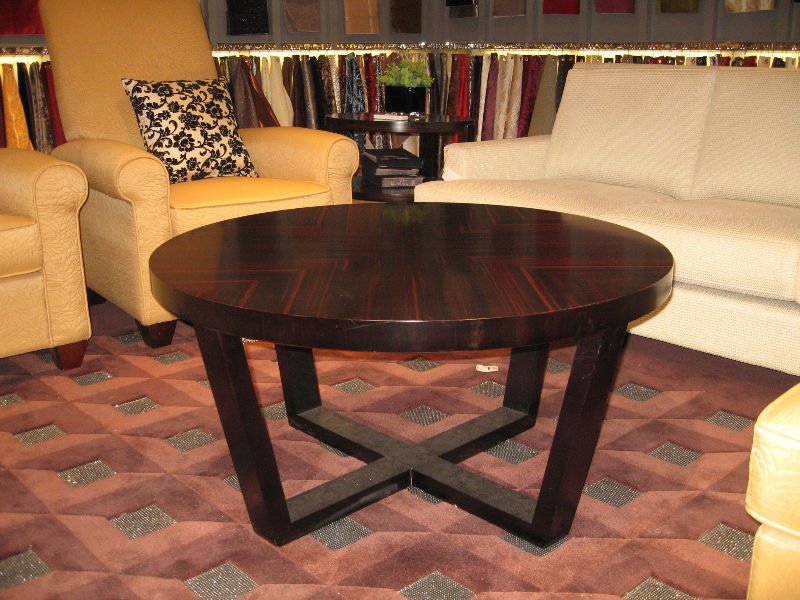
- Coffee table.As a rule, such items are made in multi-tiered design with open shelves. Their walls simultaneously serve as legs.
- Kitchen table. Well suited for small rooms where there is a free corner. Sloping edges allow you to freely move the piece of furniture around the room. If necessary, install a retractable shelf for appliances.
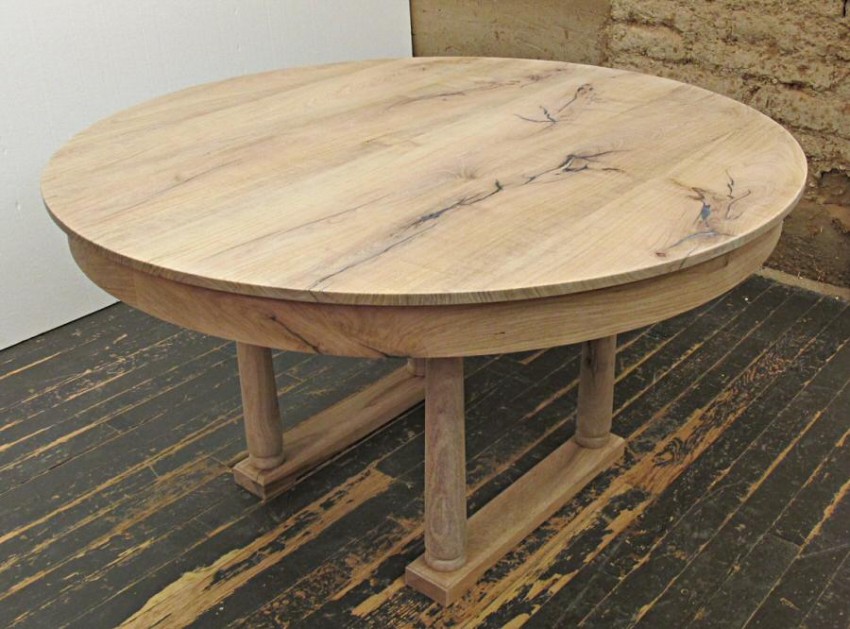
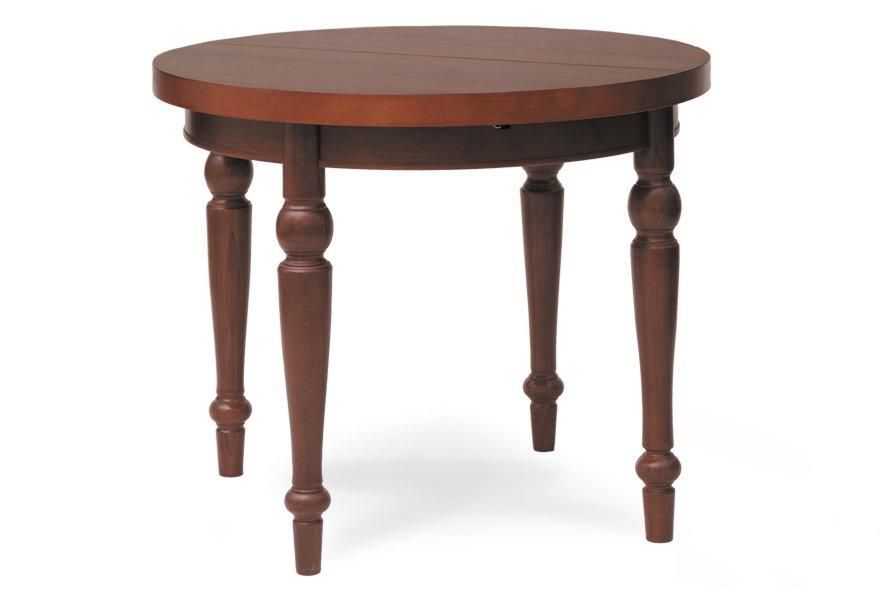
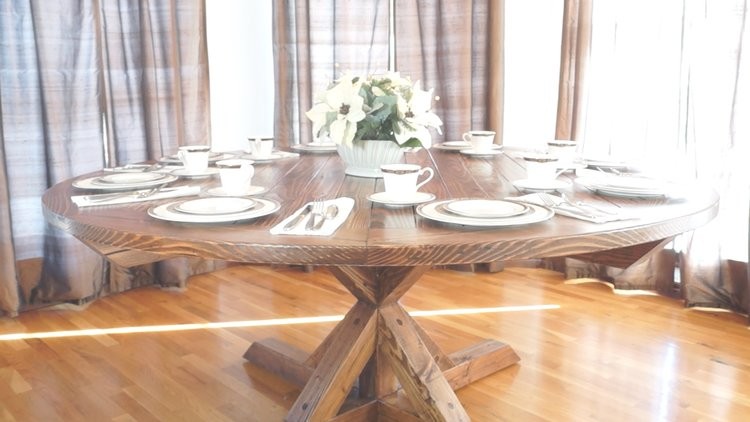
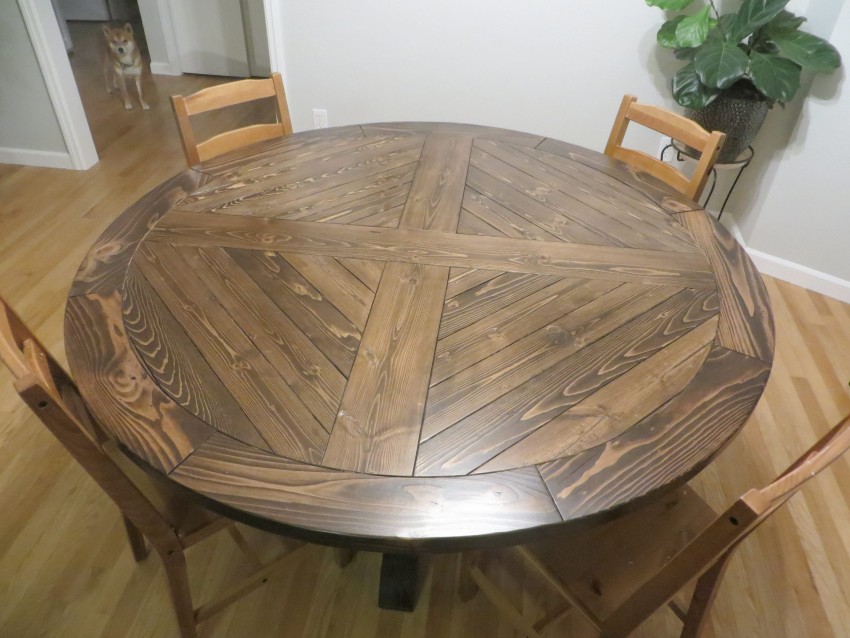
- Dining. A large wooden round table fits perfectly into the interior of the living room, which has a square shape. The product will look especially good against the background of cabinet furniture made of solid wood.
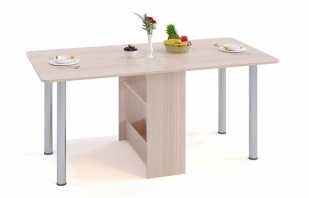
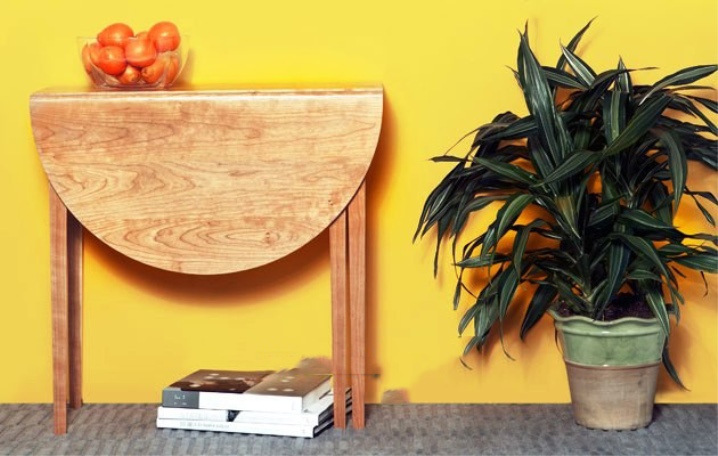
- Folding. A do-it-yourself oval table with folding tops is an indispensable solution for small apartments. Assembled takes up little space, in working condition can accommodate a large number of guests.
Developing a diagram of how to make a round table with your own hands, you should consider not only its dimensions, but also the configuration of the space under the countertop. Presentability, stability, ease of use of the product depend on its design.
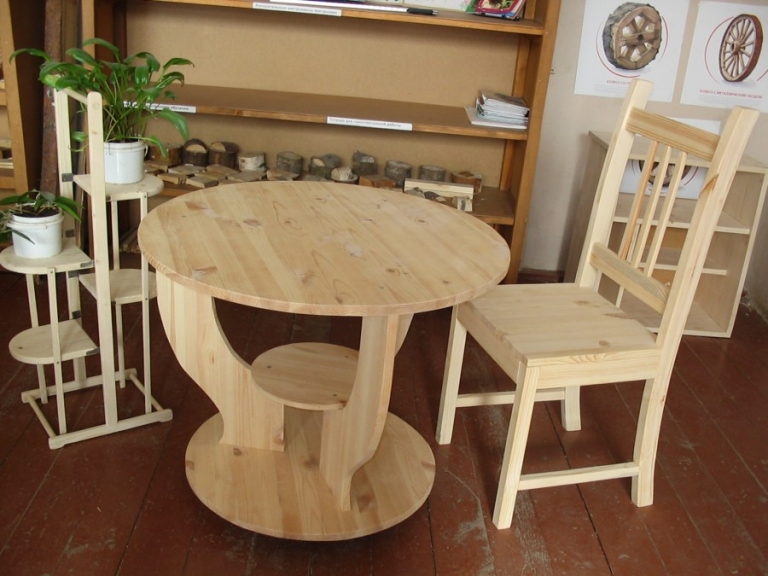
The base of the round table may be as follows:
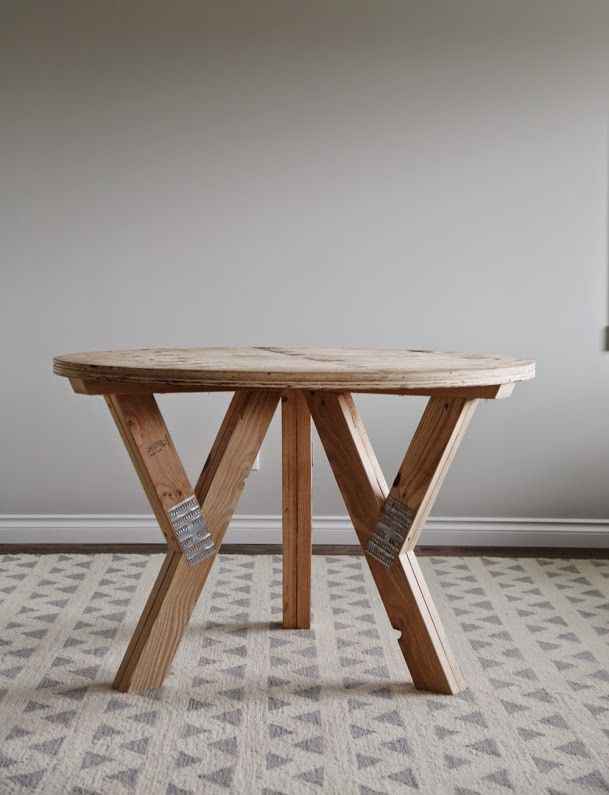
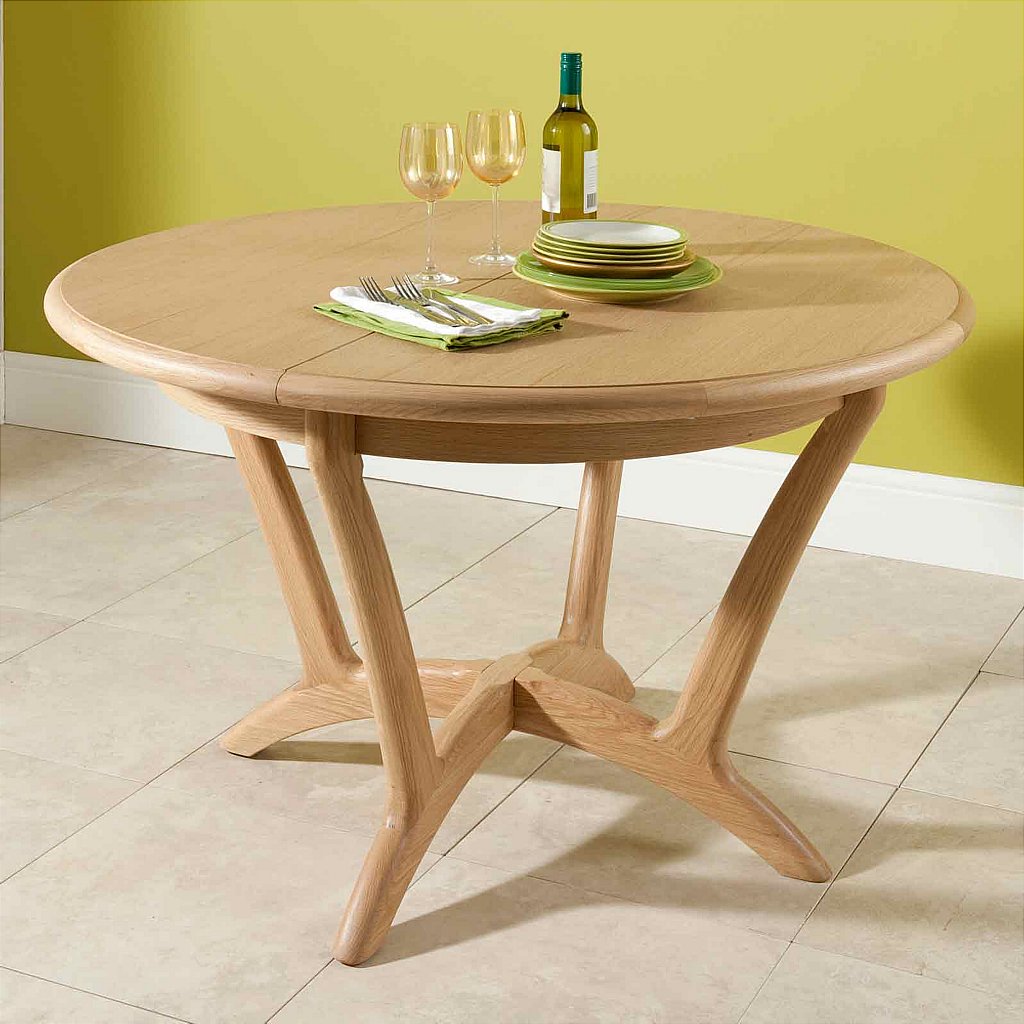
- 4 legs. A classic proven for centuries. The plus is that such furniture is stable and easy to use. People do not need to think where to attach their legs, as there is enough space for this.
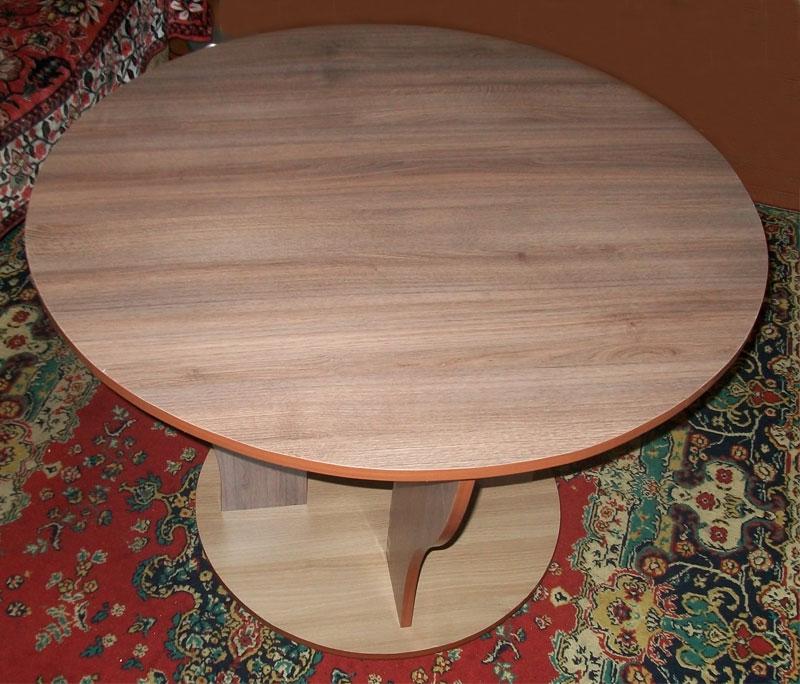
- With a jumper. This table design is practical, durable, easy to manufacture. The disadvantage is that the knees of the seated will constantly rest against the cross member.
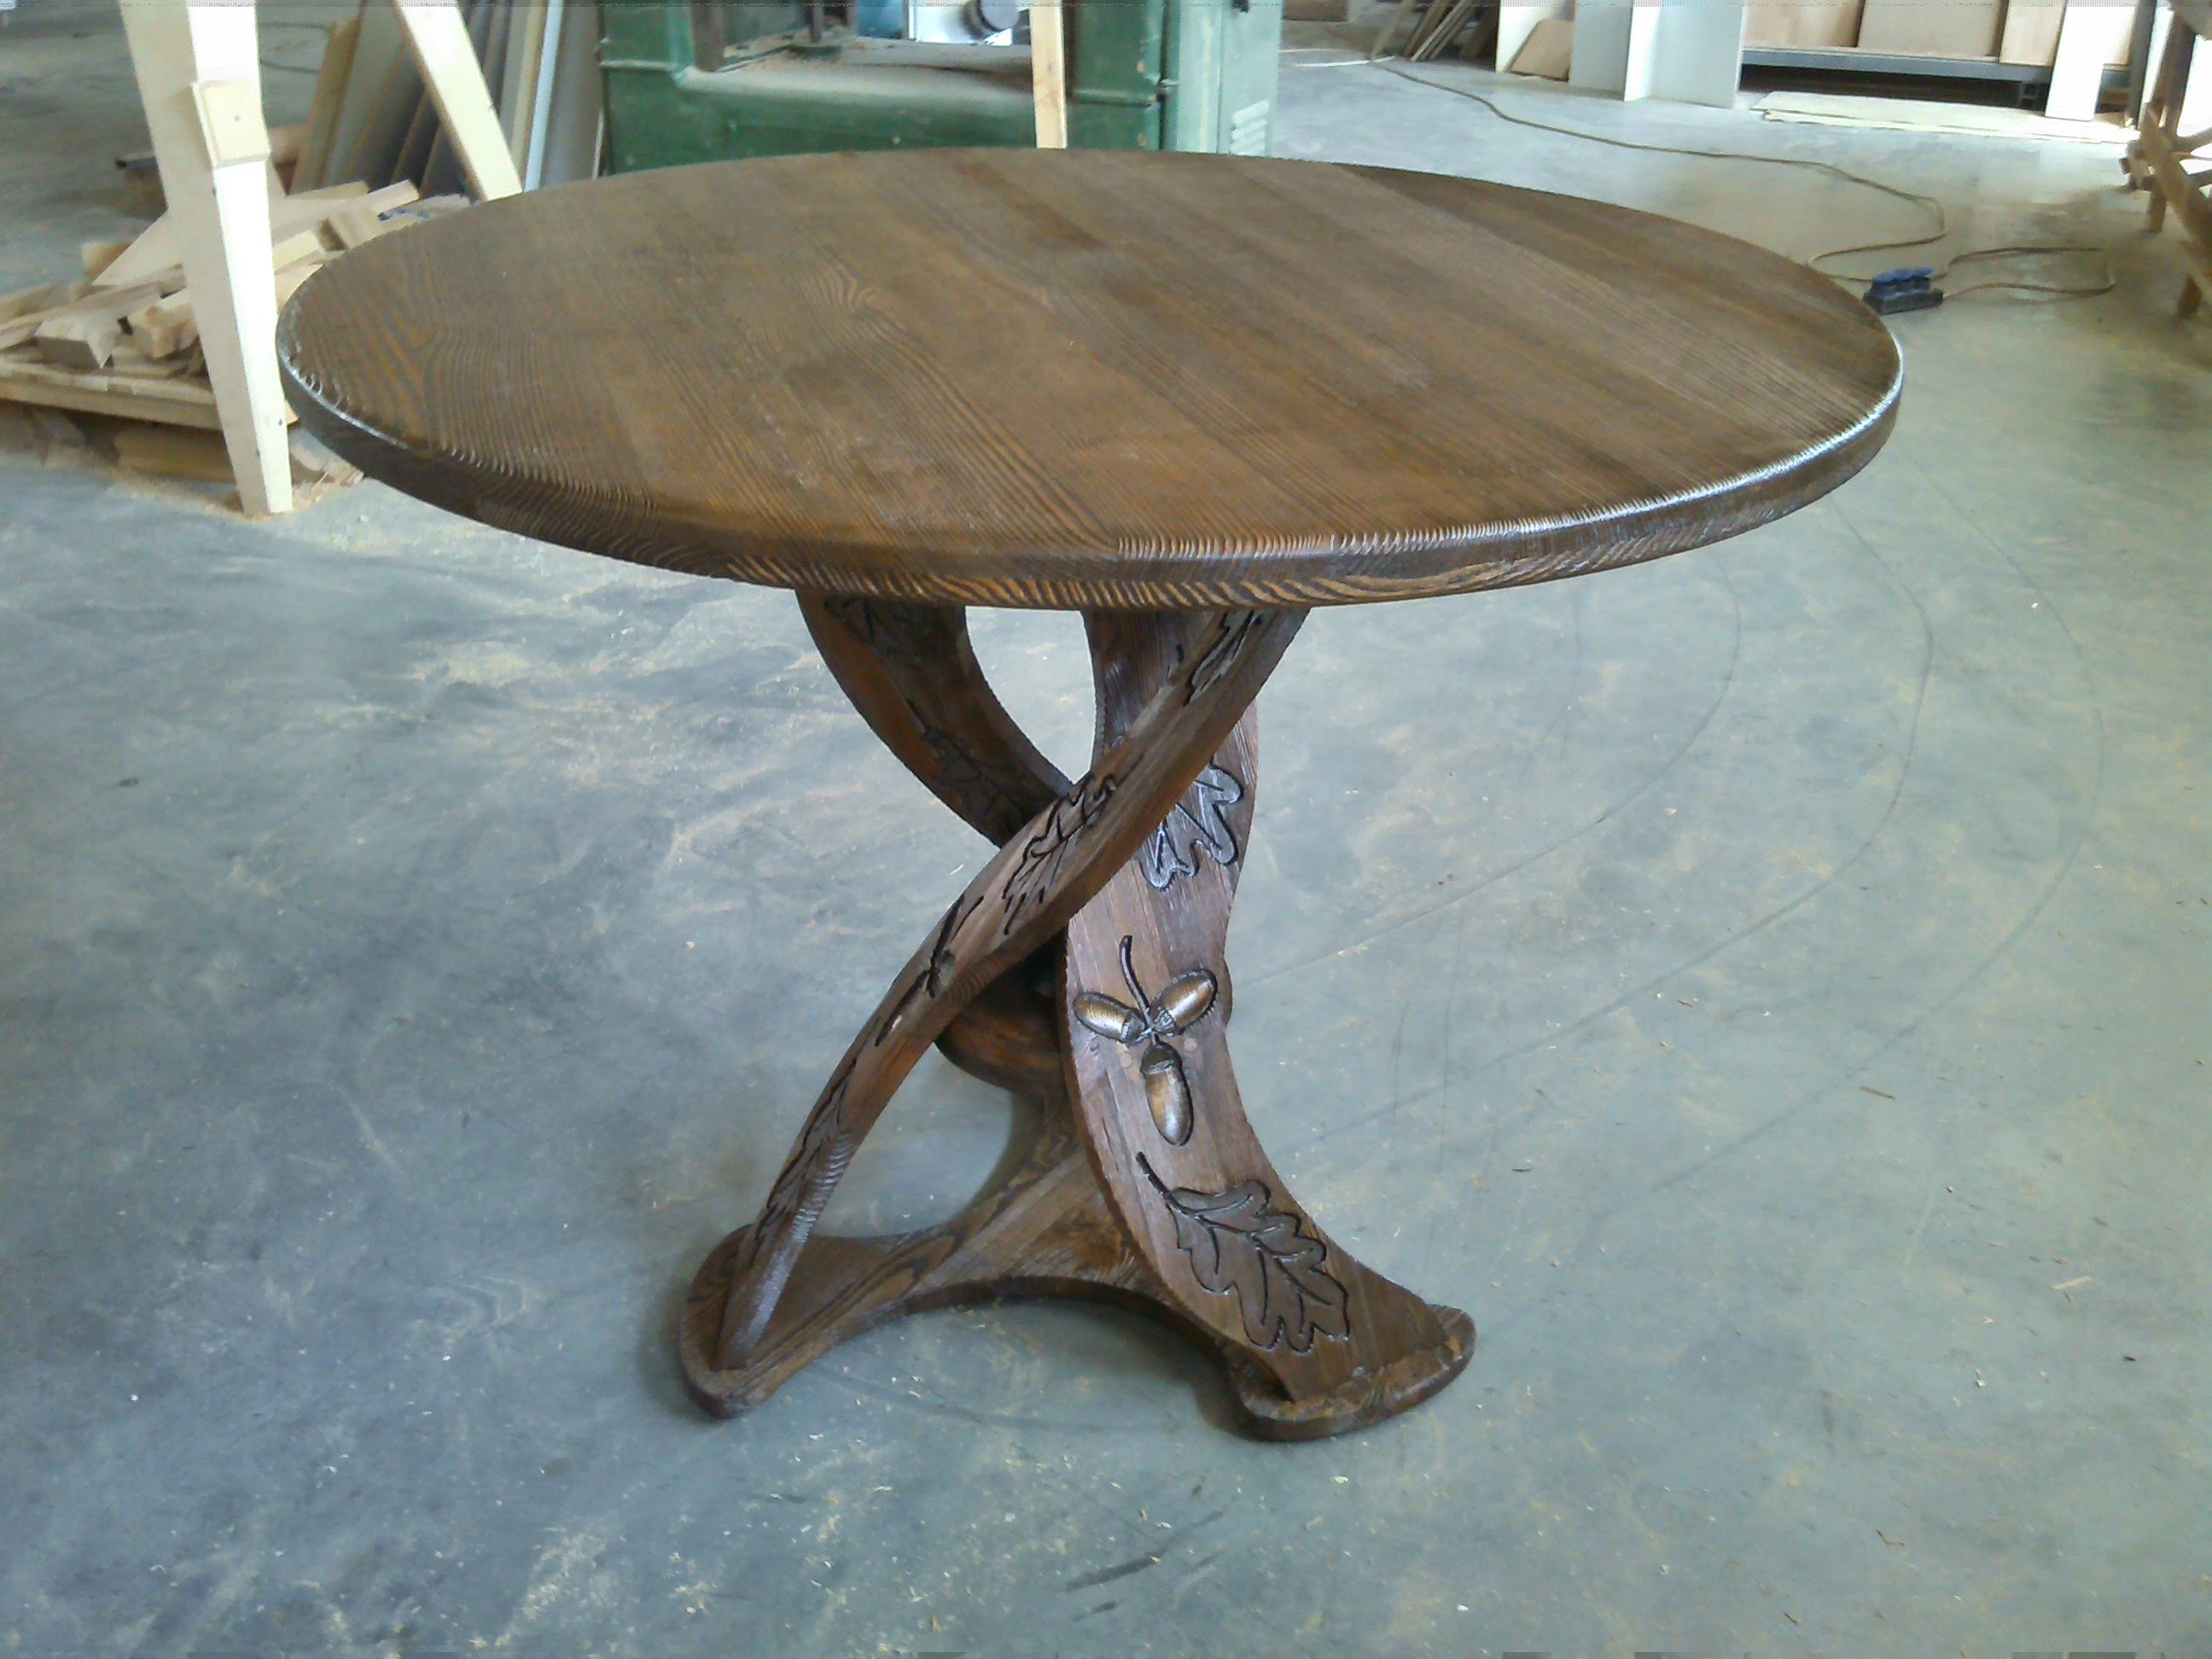
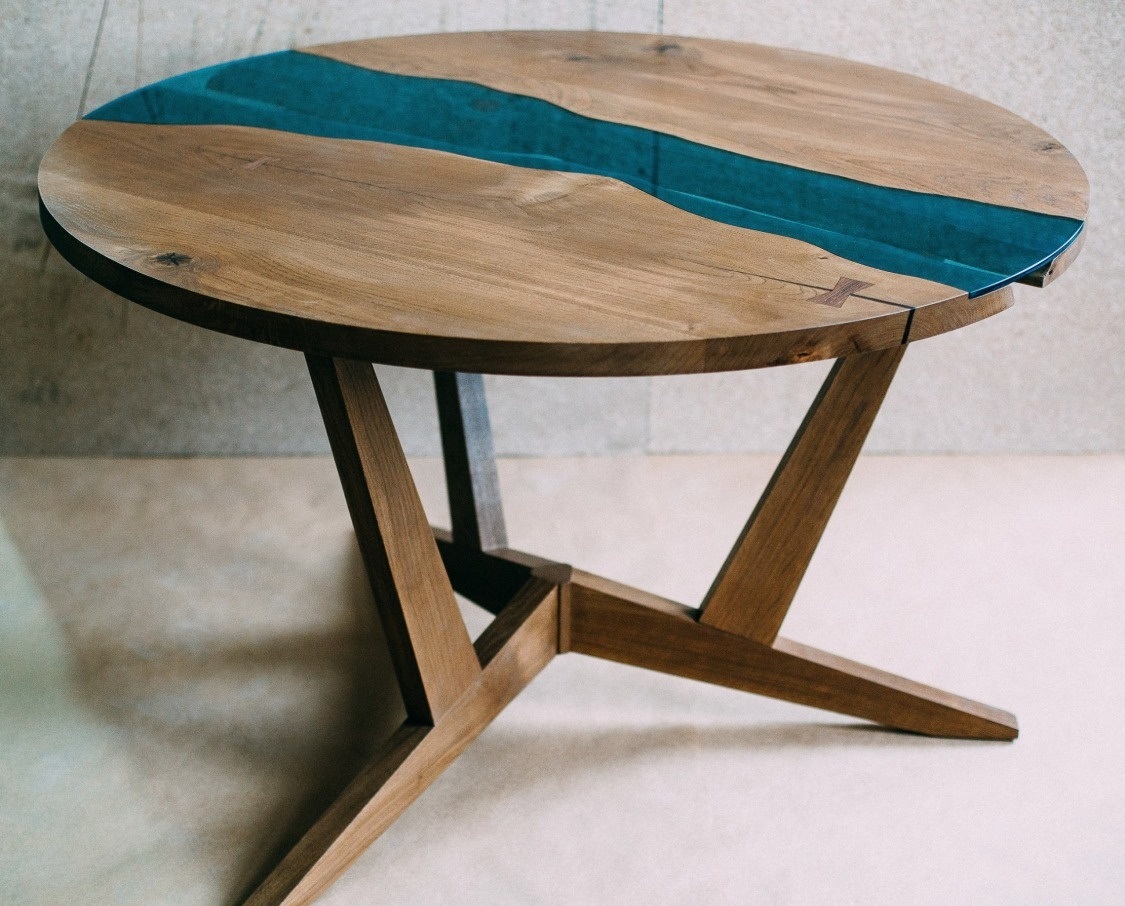
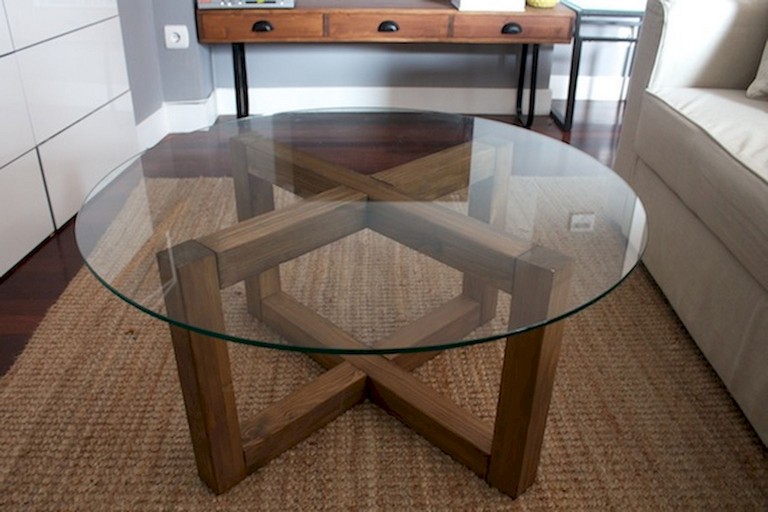
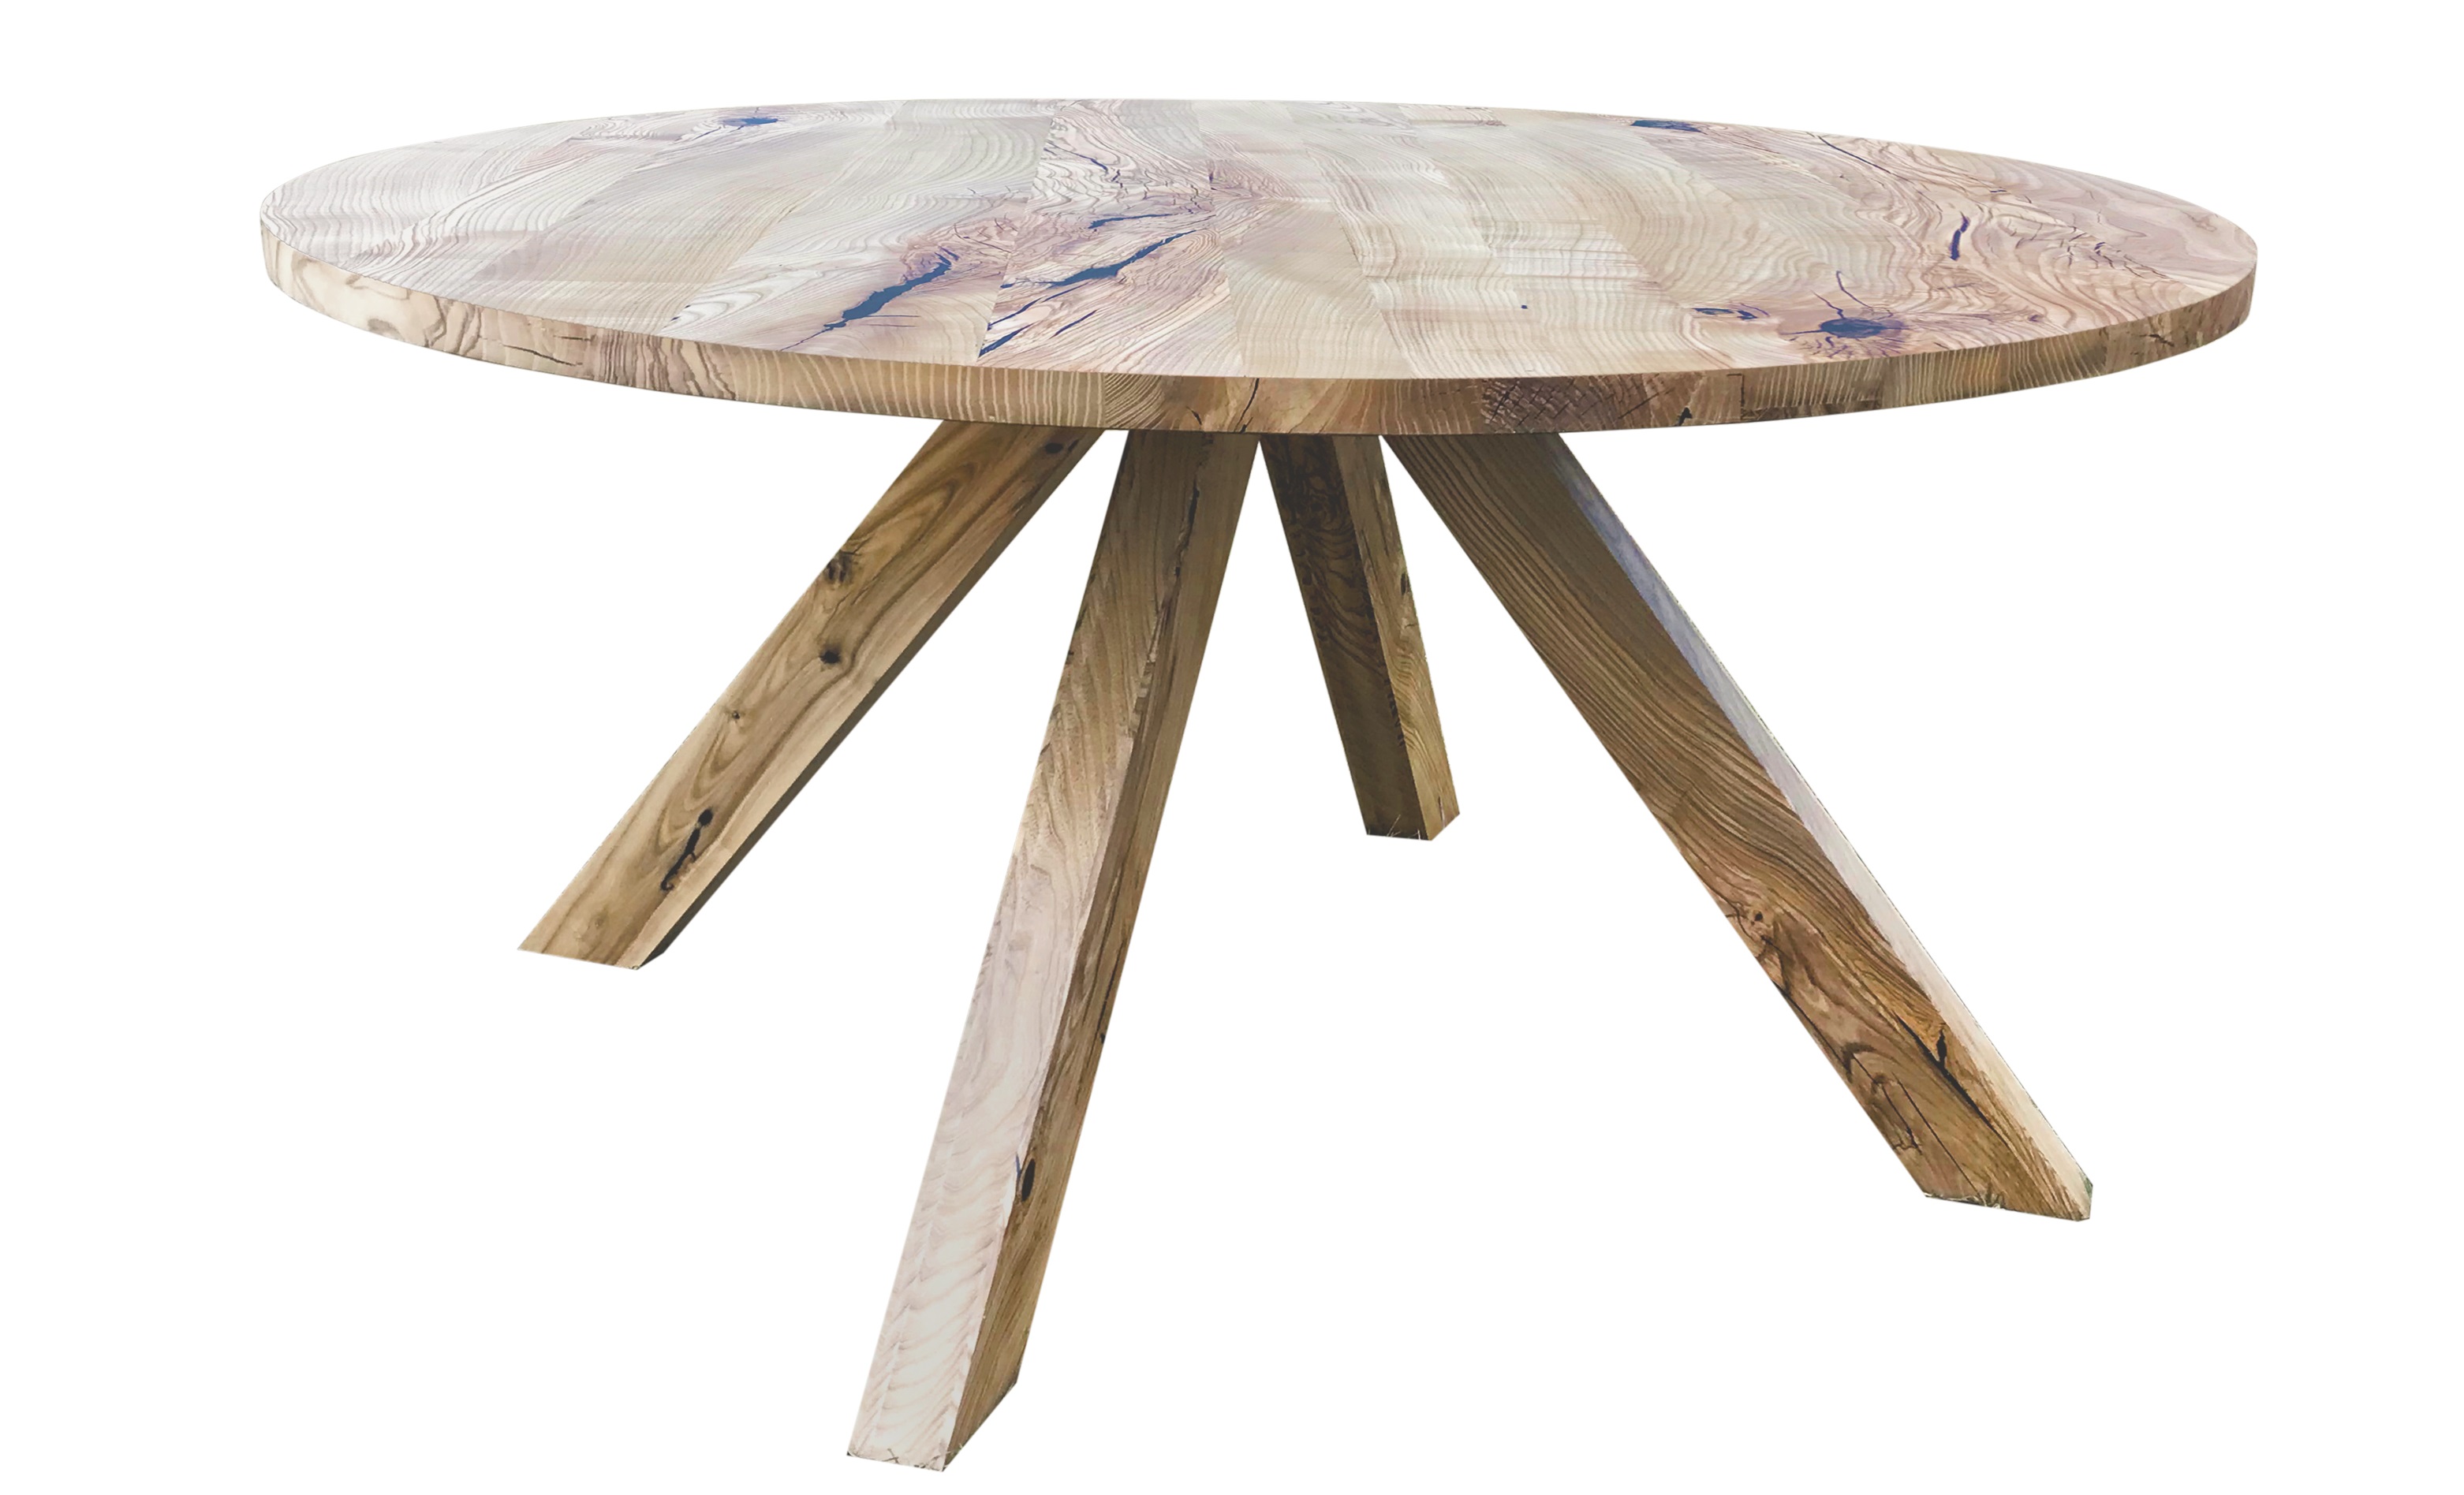
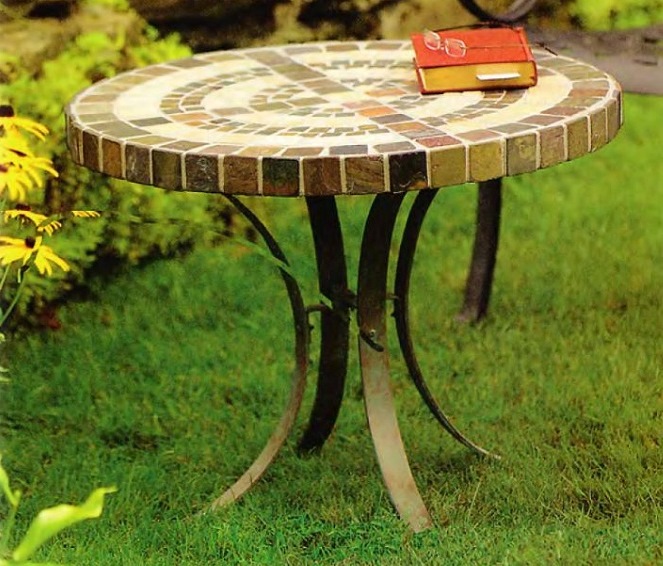
- Crosshairs. This model is more suitable for rooms decorated in country style. Sitting at such a table will be moderately comfortable.
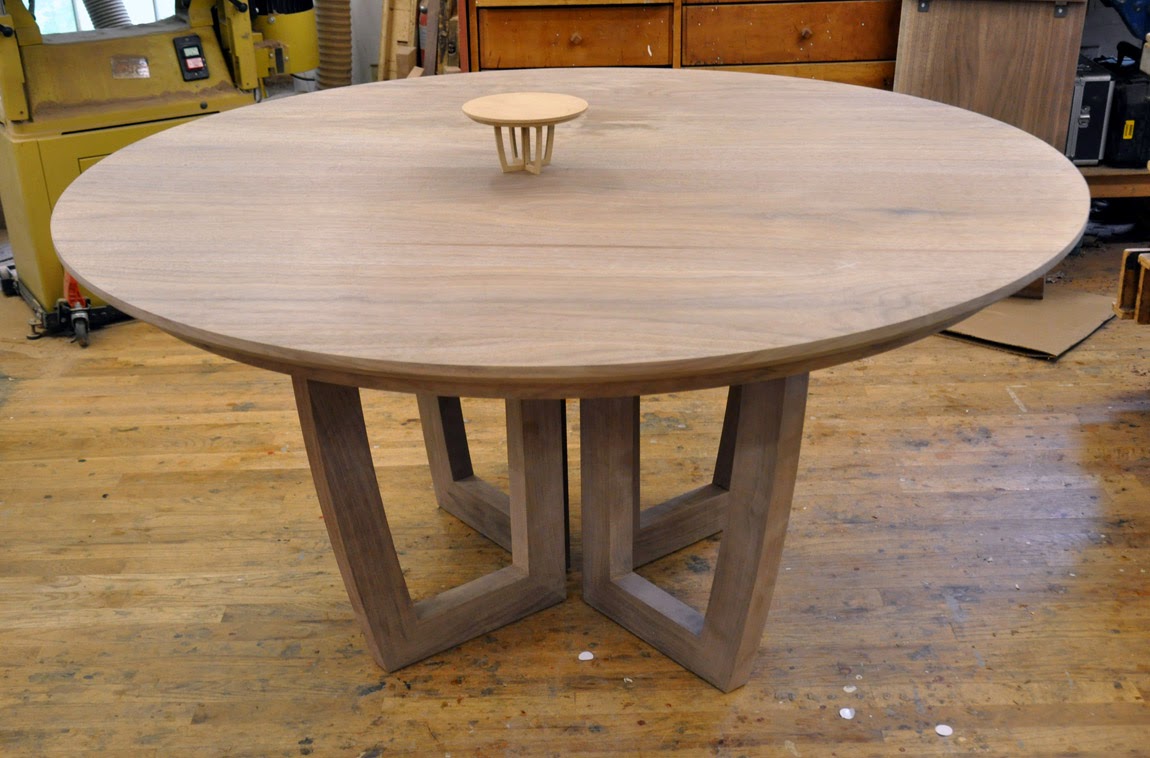
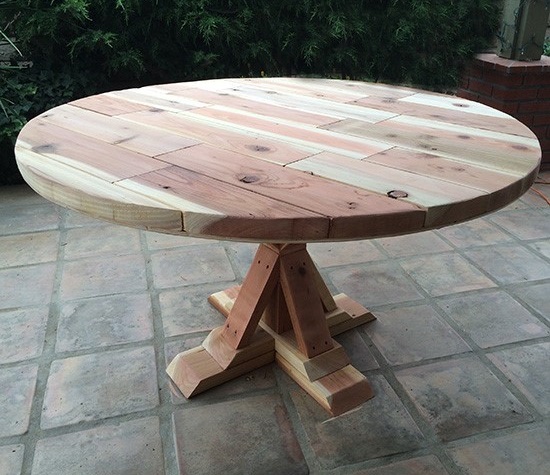
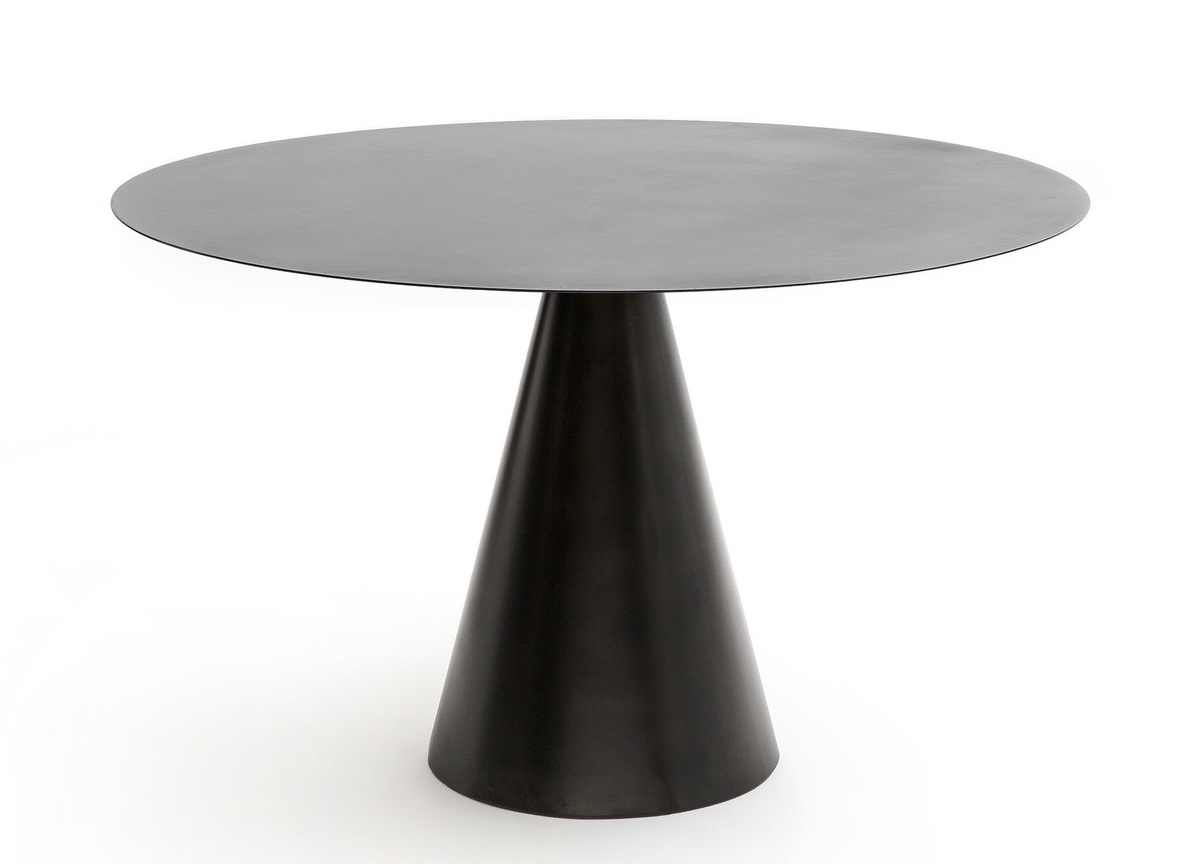
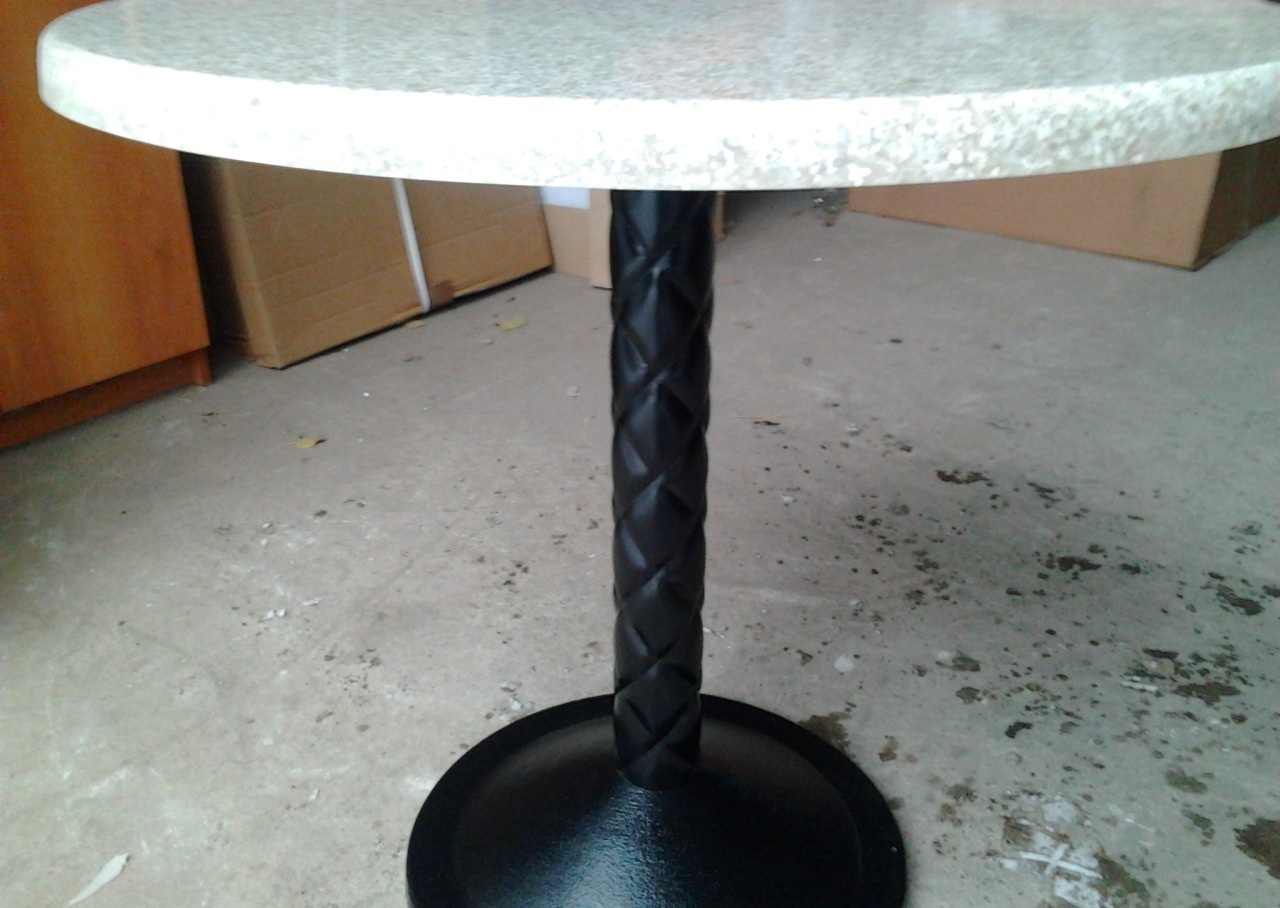
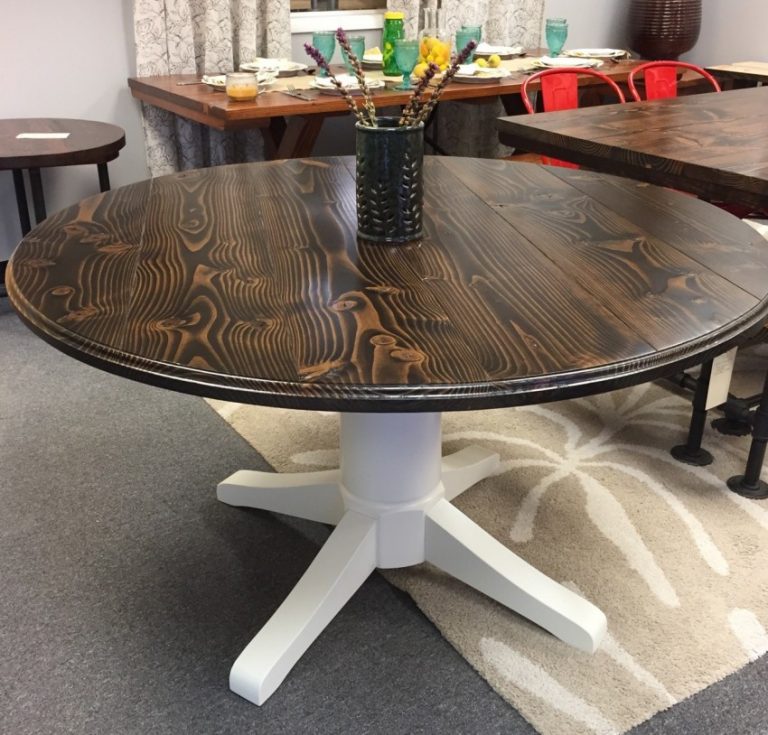
- One pole with a cross or disk. Furniture looks spectacular and takes up little space due to its compactness. Stability is achieved through the installation of a heavy wide base. Otherwise, a home-made round table on one leg will constantly tip over.
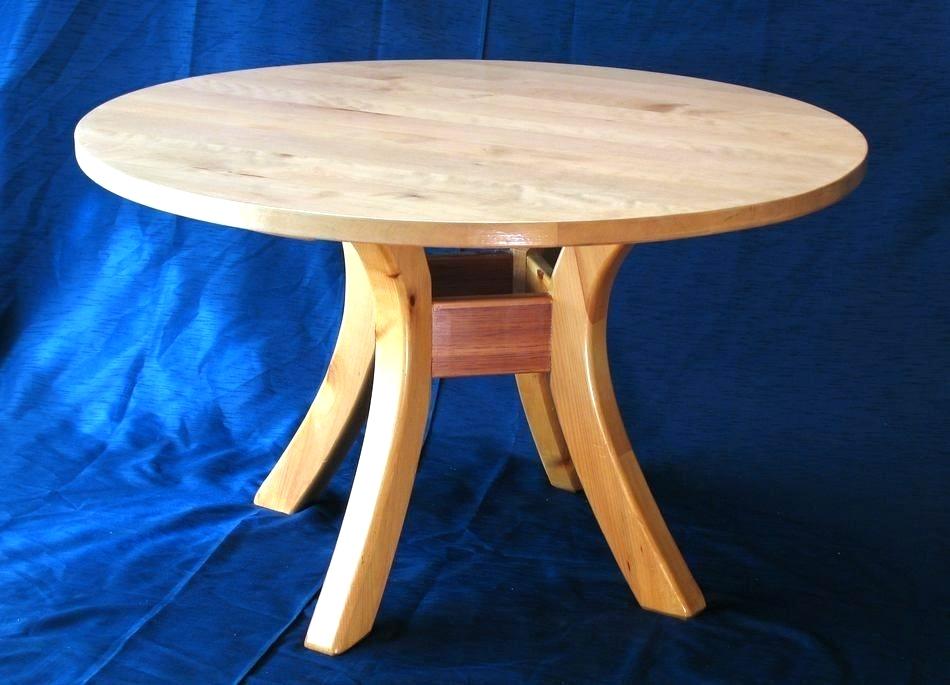
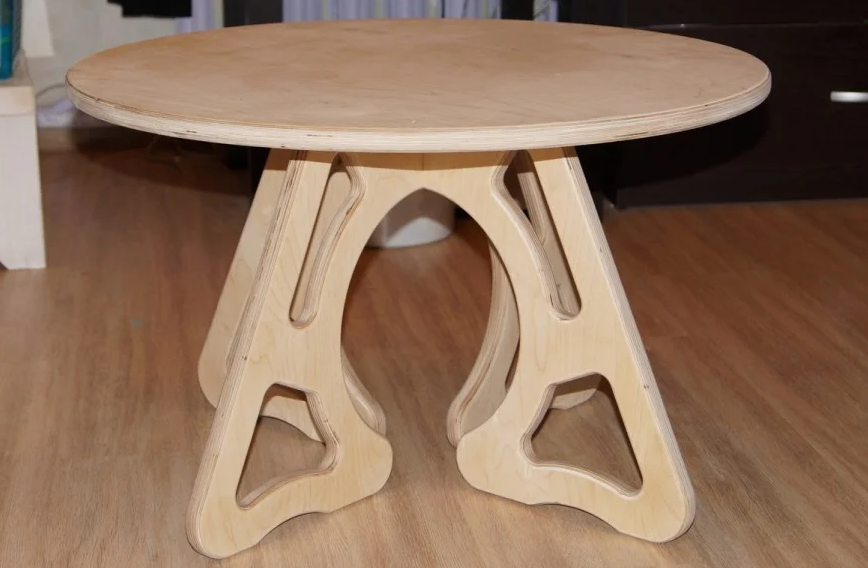
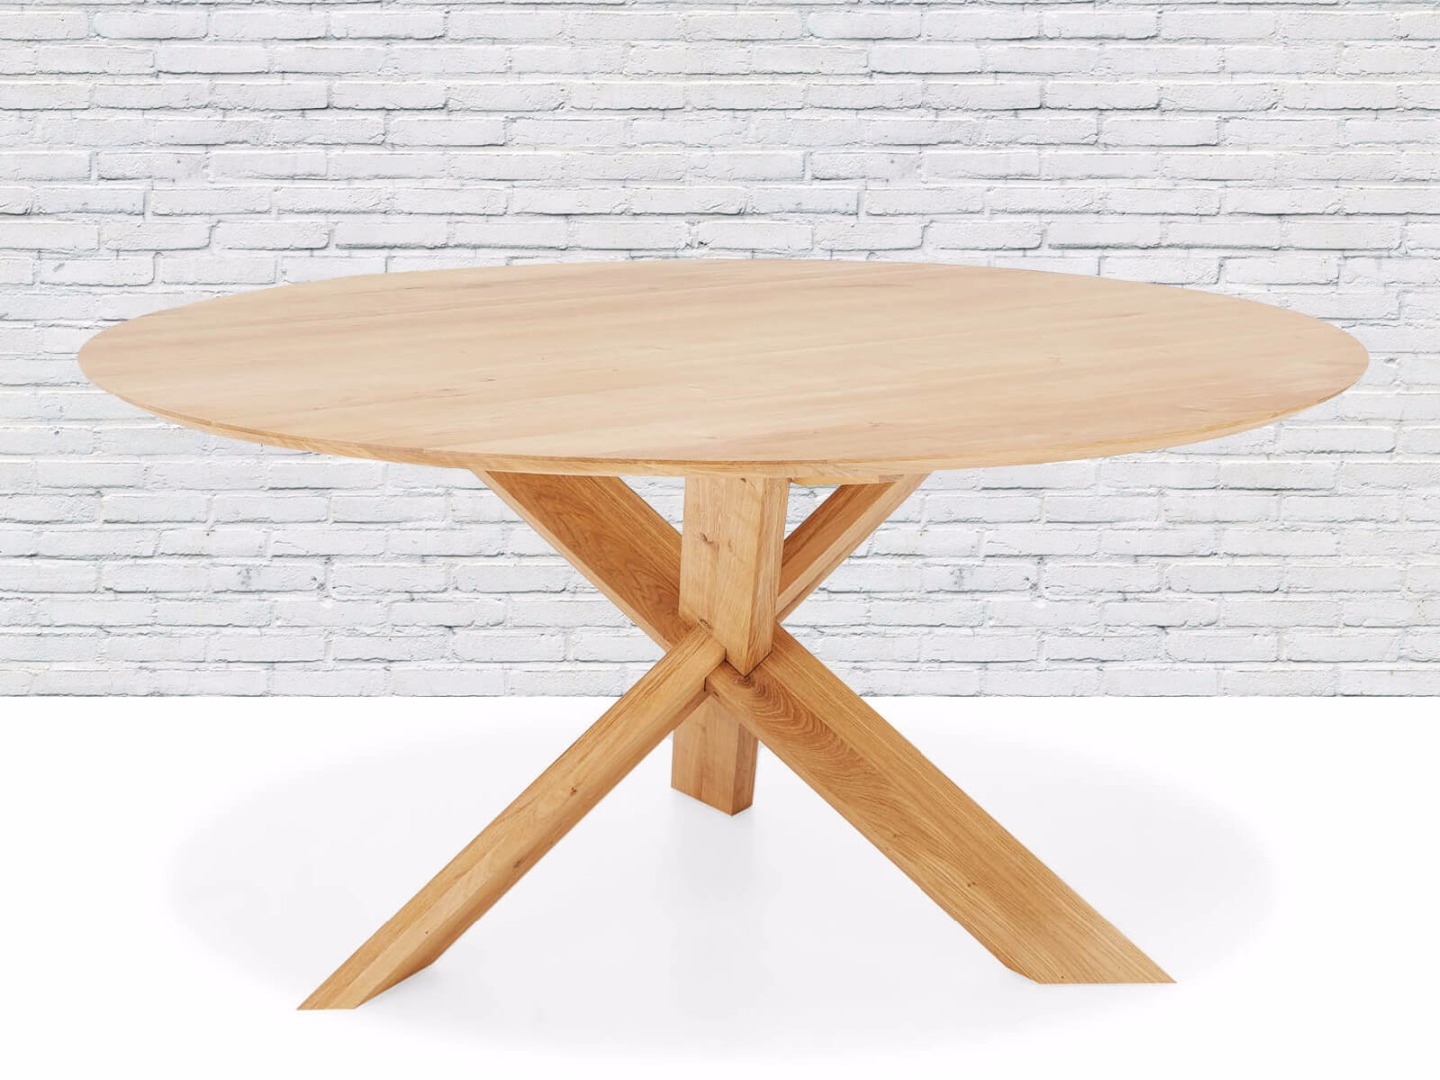
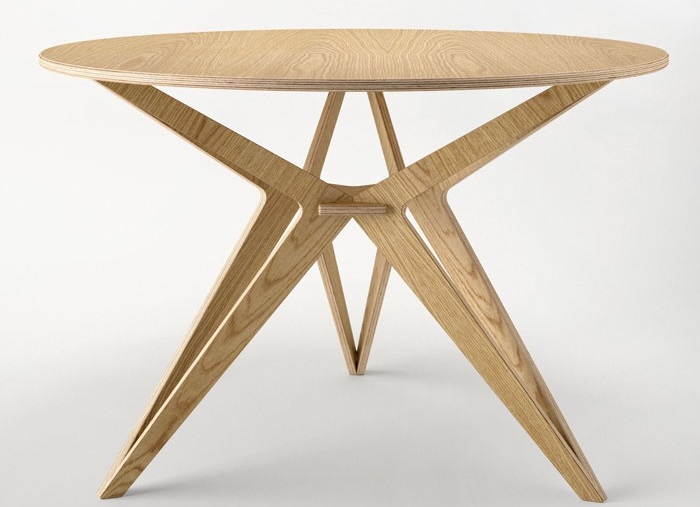
- Modern developments. Curved supports diverging from below and above come into fashion. Convenient and practical models, in which the legs are connected by a nut, making the sitting process more comfortable.
Priority is given to projects that best suit the interior of the room where the furniture will be located.

Material selection
When choosing material for the manufacture of a round table, it is necessary to take into account the following criteria:
- strength;
- durability;
- ease of processing;
- moisture resistance;
- beauty and attractiveness;
- compatibility with the interior;
- own capabilities and skills.
For different details of the table, you can use the same or different material. It all depends on the taste preferences of the owner and the original project.
For countertops
There are such options for making a round table:
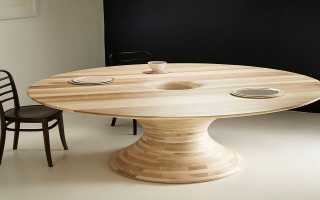
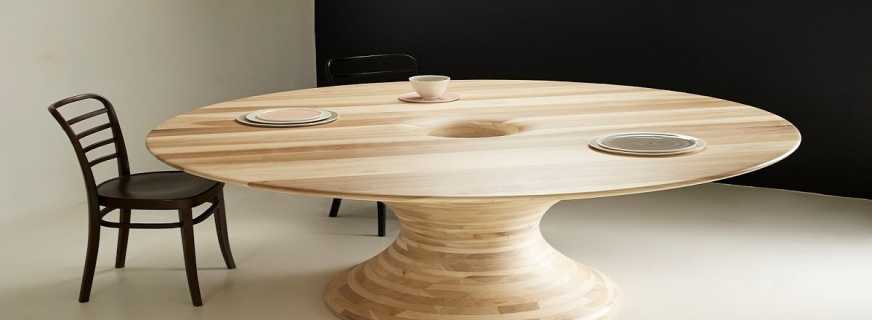
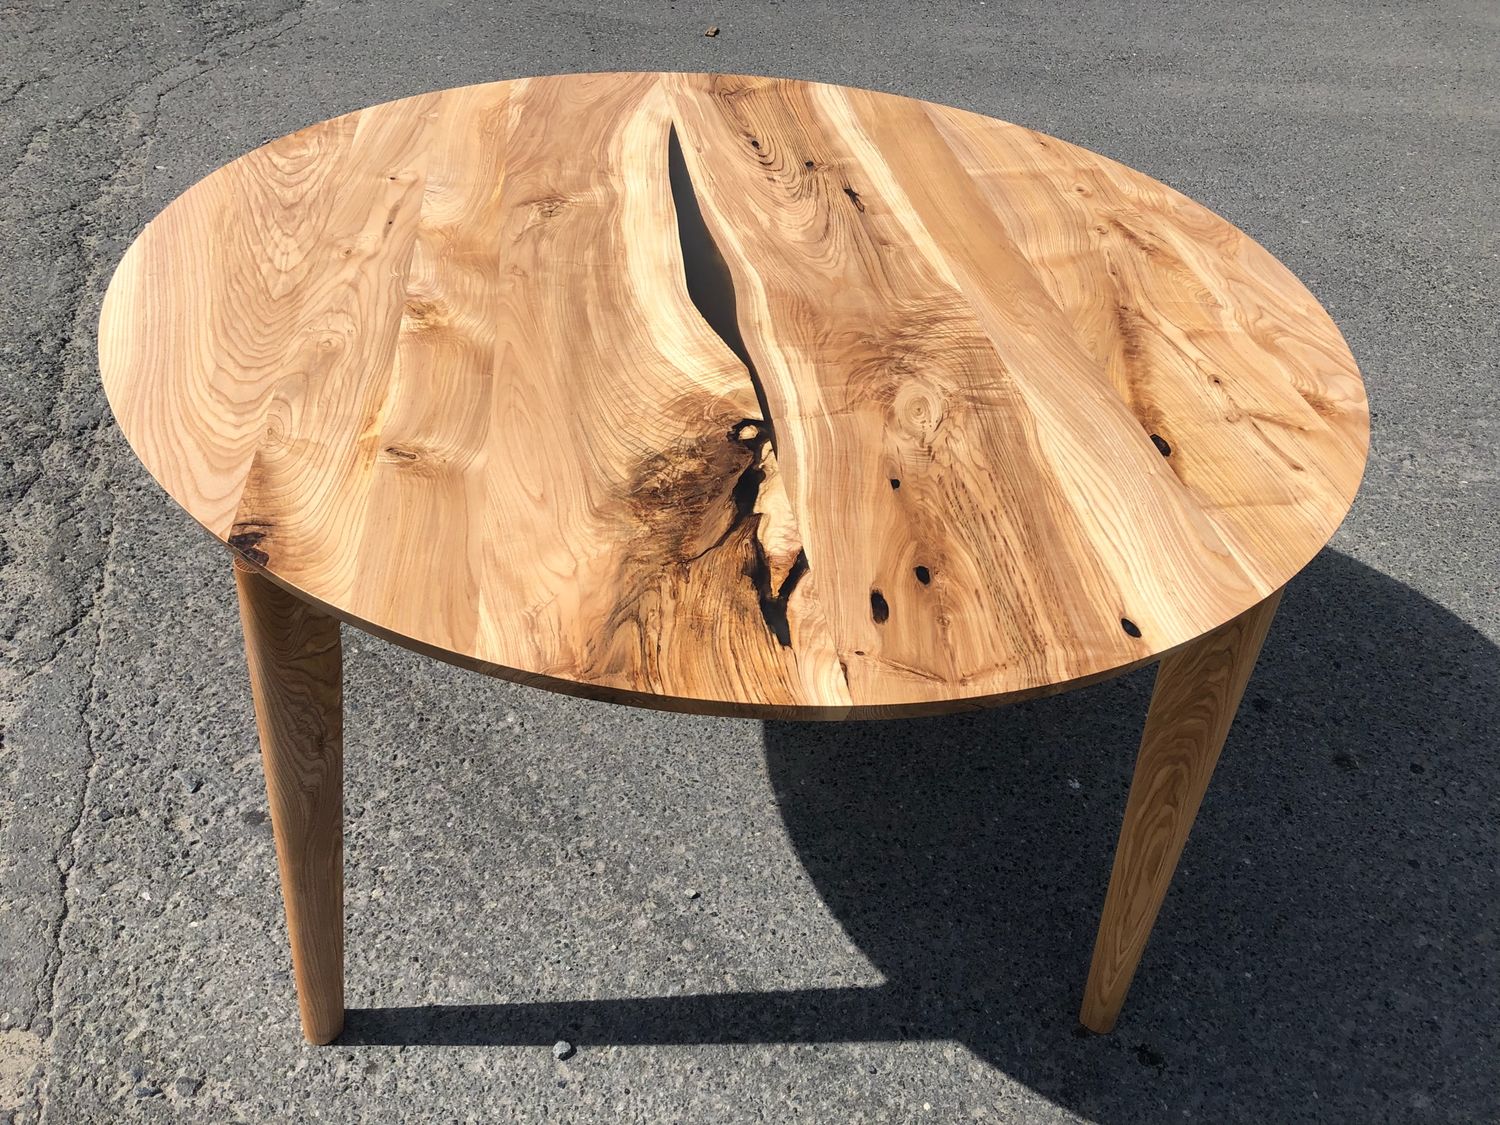
- Wood. An array of pine, oak, beech, ash is used. Raw materials are easily amenable to all types of processing and have a presentable appearance. Finished products organically fit into any interior both indoors and outdoors. The downside is that wood is subject to dampness, insects and mechanical damage.
- Chipboard. For manufacturing, it is better to take laminated boards that are durable, affordable. The disadvantage of the finished tables is the loose structure of the material, in which the screws do not hold well.
- Monolithic polycarbonate. The material is beautiful, very strong, but it easily scratches and melts from contact with hot objects.
- Plywood. The plywood round table is made of waterproof material with a thickness of at least 16 mm. The plates are durable, with a beautiful surface, but are sensitive to moisture.
- Metal. Strong and resistant to all types of exposure base. The downside is that special tools and professional skills are required to work with stainless steel.
For a round tabletop, it is advisable to choose materials that fit well into the decor. So, glass, chipboard and solid wood are suitable for the kitchen. When making a table for the gazebo, it is better to stay on plastic or metal. Such products without consequences will tolerate changes in humidity and temperature. We should not forget about the aesthetic side of the issue. Putting practicality and durability first, it’s easy to lose in design. However, here you can find a middle ground using various options for surface decor.
For the foundation
The best choice for a round table is metal, which is almost impossible to damage. Depending on the place where the round table will be installed, the choice is made among the following materials:
- Profile pipe. Black, galvanized, stainless steel or aluminum products are used.
- Corrugated fittings. Inexpensive and durable raw materials that must be regularly cleaned and treated against corrosion.
- Water pipes. The plus is that for their connection you can use ready-made fittings.
Next in strength will be an array of wood with a cross section of 20 mm and chipboard with a thickness of at least 12 mm. The connection of the panels is best done with bolts, nuts with wide washers. Self-tapping screws do not provide a sufficient margin of safety. Plywood should be discarded, as it bends even under light loads. An exception is light coffee tables that do not experience heavy load.
As for the basis for the round table, here in the first place should be strength, and in the second - convenience and presentability.


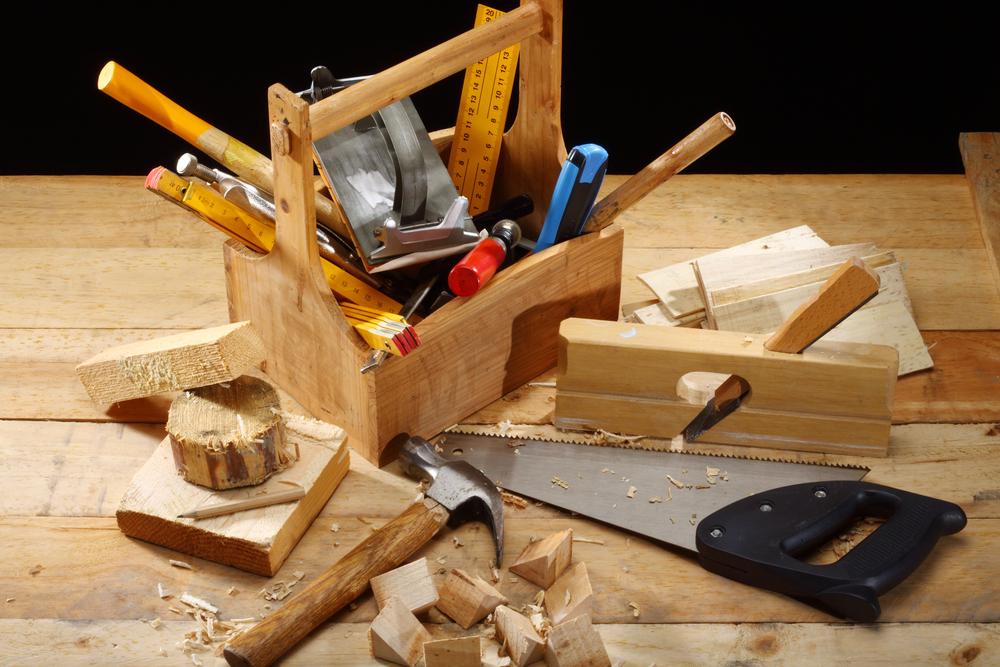
Tools and Fasteners
To make a round table of wood, you will need such tools:
- roulette;
- level;
- hacksaw;
- drill;
- screwdrivers;
- compass;
- miter box;
- Grinder;
- pencil;
- clamps.
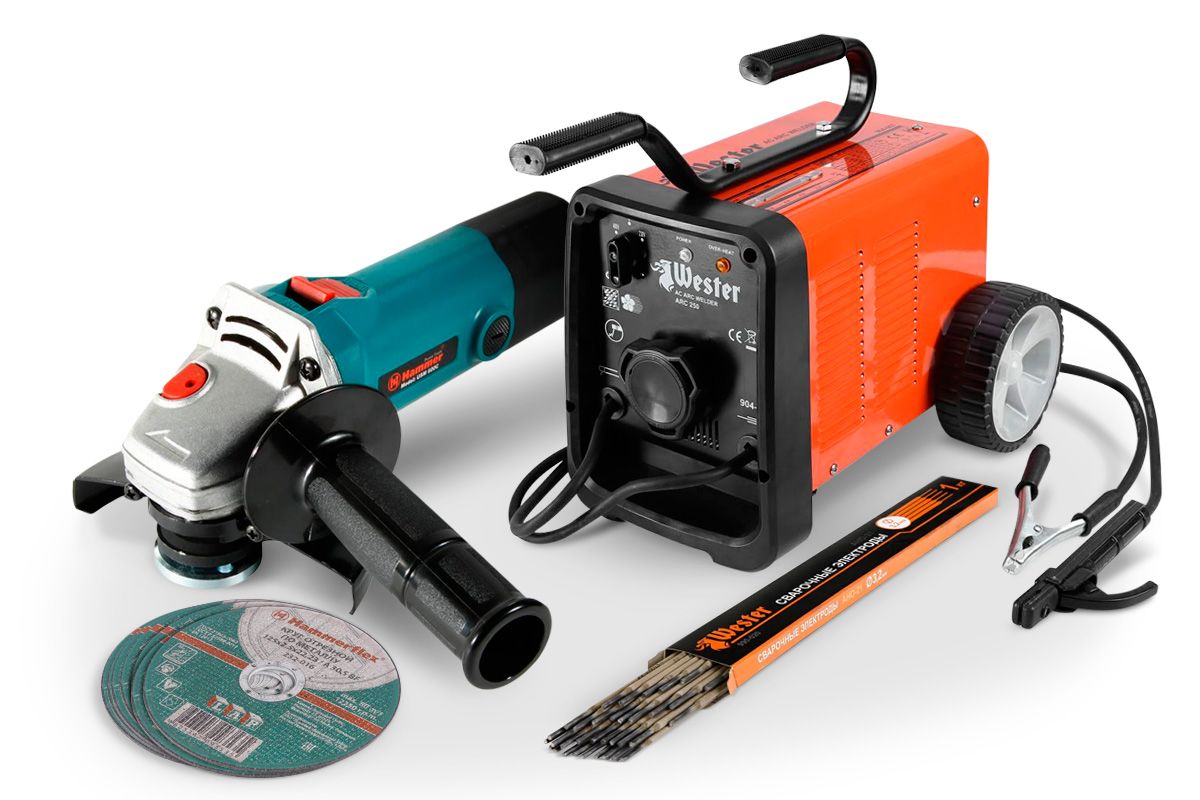
If you plan to work with metal, then you need to purchase a grinder, welding machine, electrodes. In addition, a steel disk and iron rods are useful for assembly.
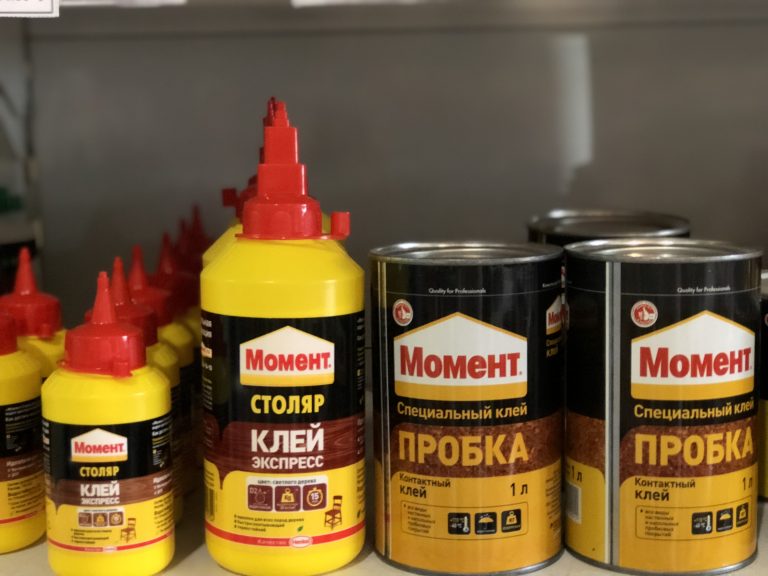
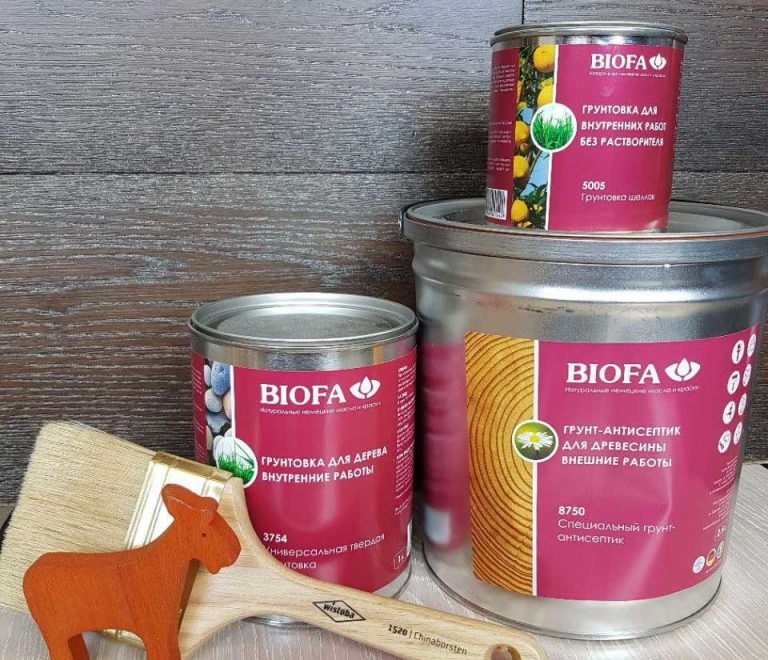
To make a wooden round table with your own hands, you will need the following materials:
- steel corners;
- self-tapping screws;
- 20 mm boards with selected edges;
- timber 50 x 50 mm;
- wood glue;
- furniture varnish;
- stain;
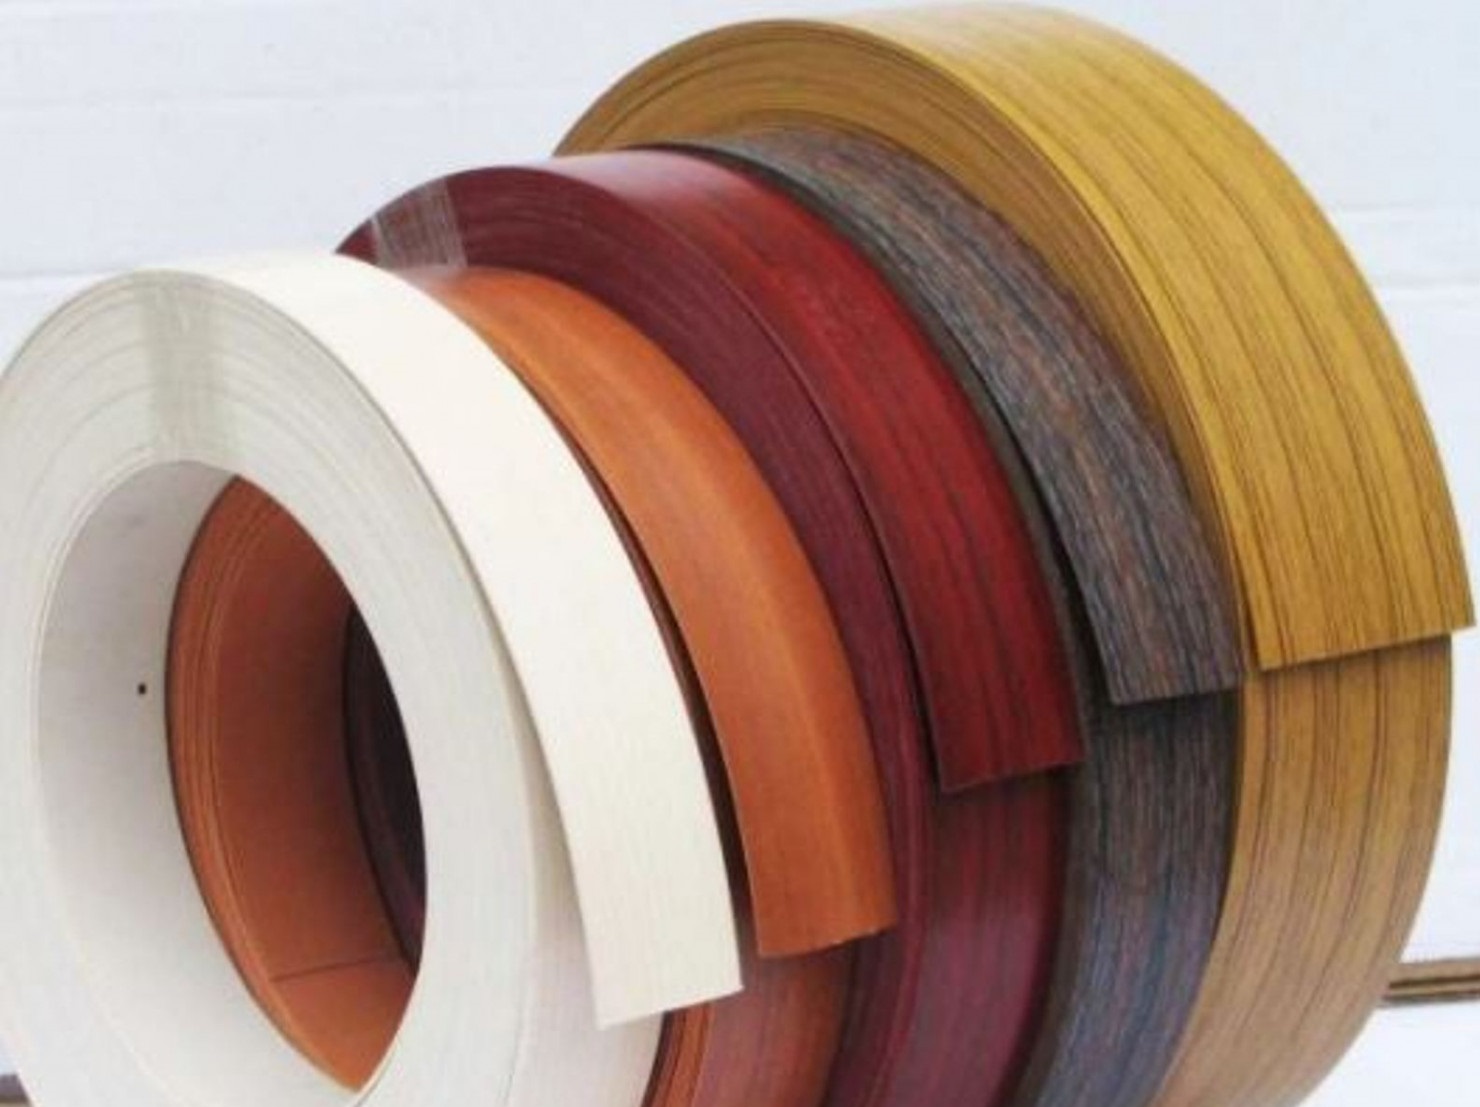
- edging tape;
- acrylic paint;
- antiseptic.
When drilling and grinding, it is advisable to use a gauze bandage, goggles. To ensure the safety of manufacturing a round wooden table, powder and foam fire extinguishers must be purchased in advance, which can extinguish fires if they occur during operation.

Dimensioning and drawing preparation
The start of making a round table with your own hands is the determination of its dimensions and configuration. The strength, stability, and practicality of the product depend on the accuracy of the calculations. The basis for the calculations are the following criteria:
- total area of the room;
- the presence of other furniture, the place of its installation;
- purpose of the subject;
- leg height;
- configuration;
- optimal size to meet the assigned tasks.
It is necessary to think that even on the most beautiful round table it would be possible to arrange a set of dishes for the whole family without any problems. In this case, it is advisable to provide a reserve for 1-2 guests.
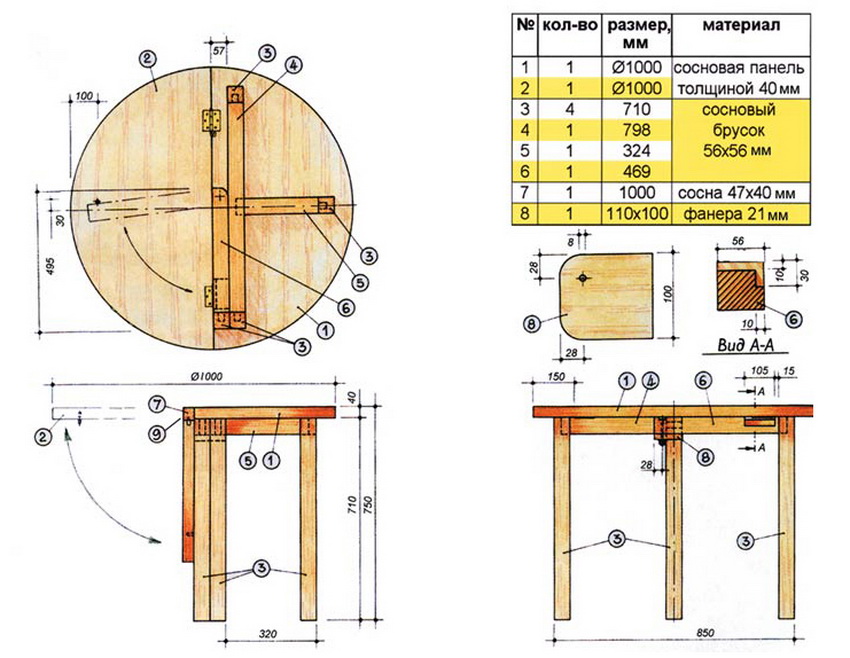
After that, design documentation is prepared, where the dimensions, the diameters of the holes, the distance between the parts are drawn. Detailed detailing allows you to perform work with a high degree of accuracy. Drawings can be done both on paper and on a computer. The choice is determined by individual skills and experience in carrying out such work.
Workshop on creating a round table made of wood
Making, assembling a round table with your own hands should be carried out in a well-ventilated area on a flat and clean surface. Prepare a bucket, broom and dustpan in advance to keep the workplace clean throughout the assembly process. If you plan to use strongly smelling and toxic substances, then you need to warn family members about this, isolate pets.
Fire safety measures should also be taken. To extinguish the fire, you need to prepare a container of water and a powder fire extinguisher to eliminate possible fires of electrical appliances and tools. Do not forget about your own health. During operation, it is possible that injuries may occur. For first aid, you need to have a first-aid kit with a set of necessary tools and medicines on hand. The emergency telephone must be visible.
Manufacturing and assembly
The manufacturing process of the round table consists of the following steps:
- Impregnation of material with an antiseptic. After that, the wood should dry completely.
- Processing blanks with a hydrophobic agent. Drying oil is well suited for this.
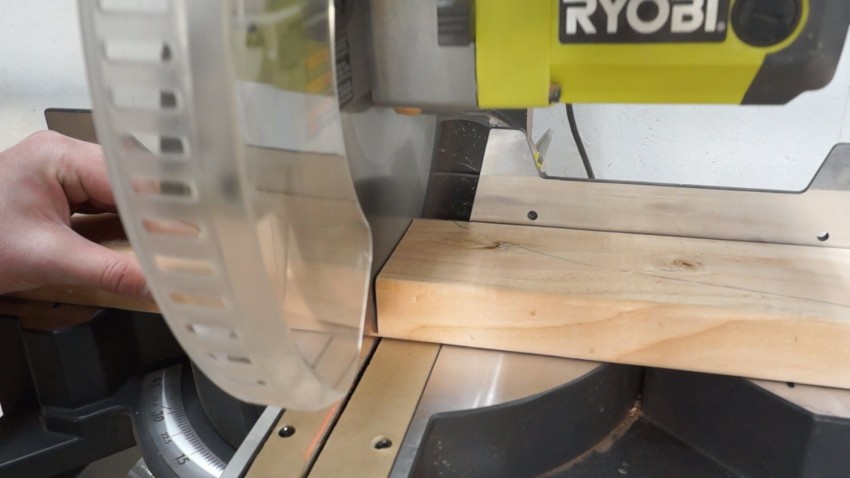
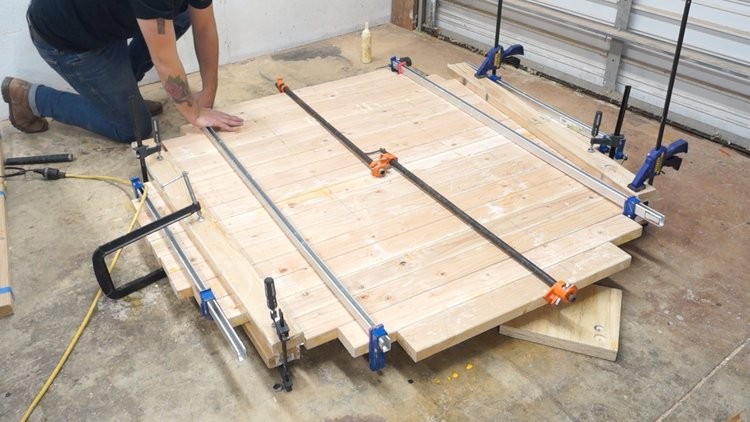
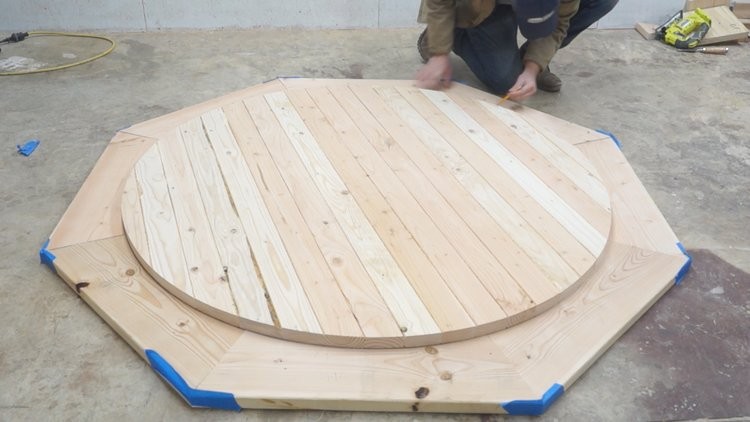
- Sawing boards into fragments of the desired length. Lubricating the grooves with glue, alternately joining new segments. Fixing made shield with clamps. To increase strength, several rails can be screwed on the underside.
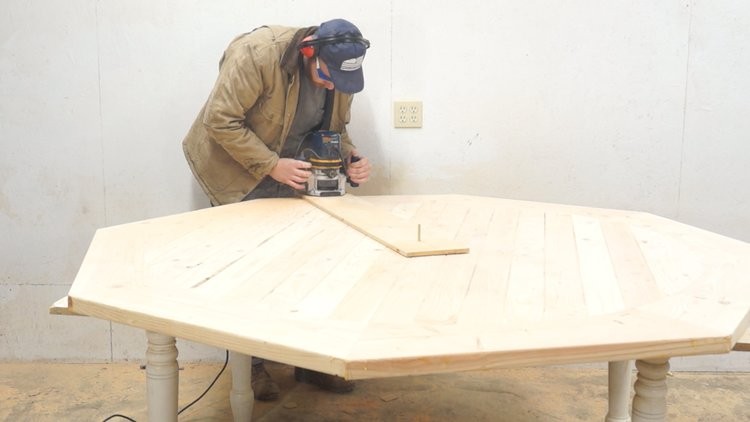
- Cutting countertops. The contour of the circle or oval of the table is done using a compass or twine with a pencil. Then all the excess is cut off.
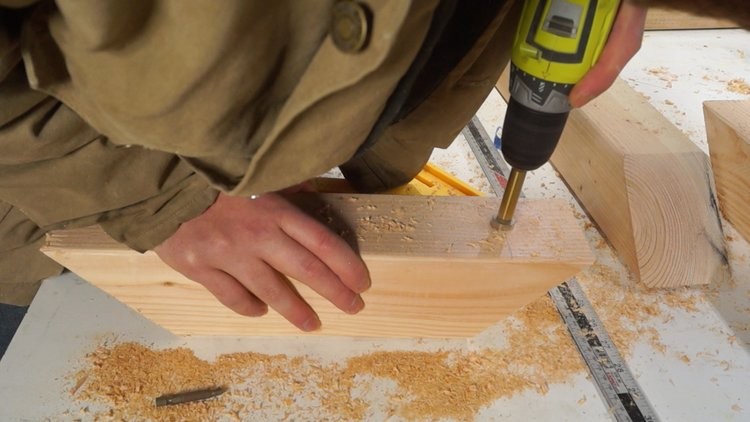
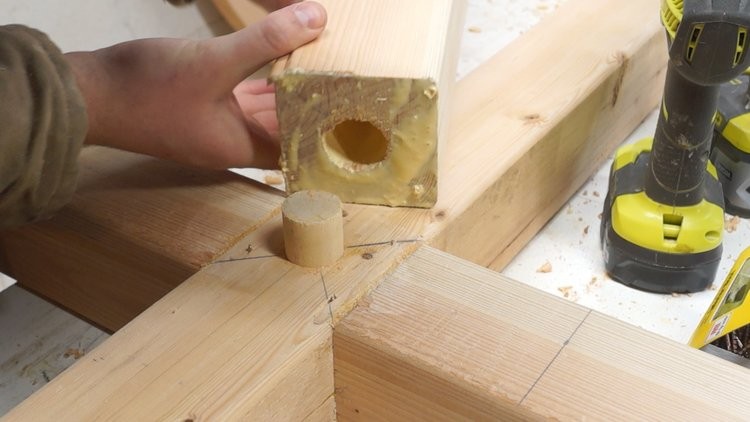
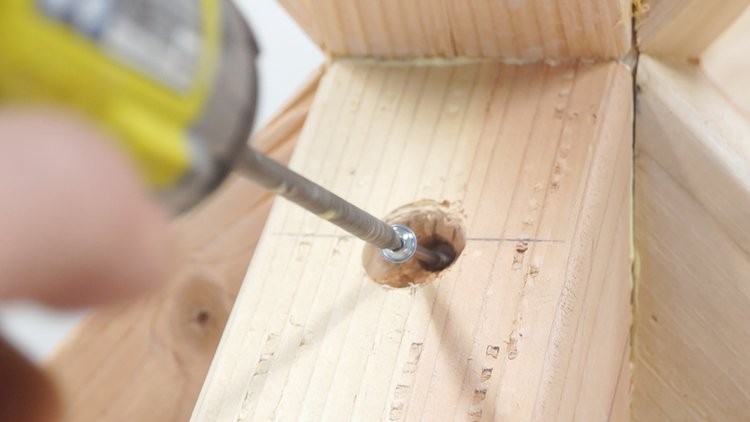
- Attaching the legs to the center of the shield with metal corners.
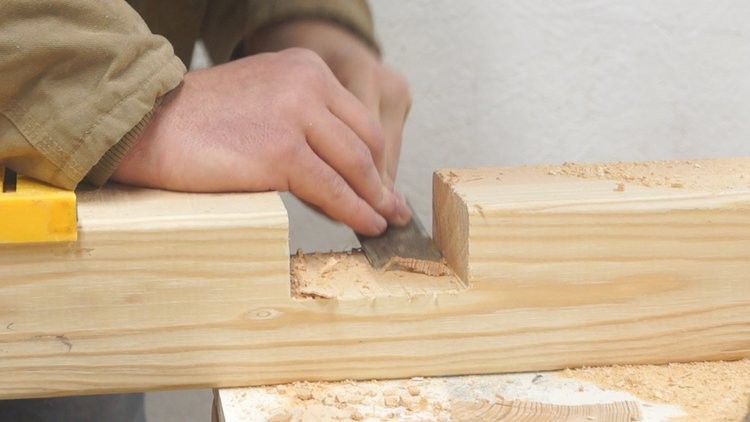
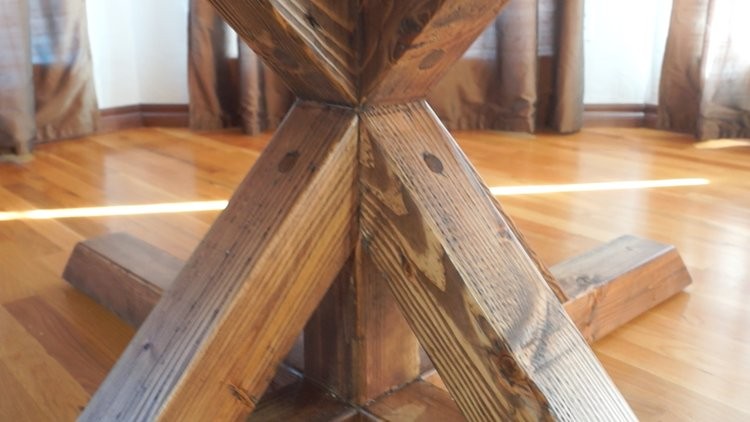
- Making jumpers in the amount of 8 pieces. Sawing is carried out at an angle of 45 degrees.
- Assembling a cross with sides equal to the diameter of the countertop.
- Joining the cross to the leg with steel corners.
- Screwing the jumpers to the bottom of the countertop, cross.
At this stage, the assembly phase is completed. You can proceed to the final processing of the finished product. If desired, the table is decorated to your liking.


Finish finish
Finishing includes the following actions:
- The made parts are processed by a grinder. The final polishing is done with zero sandpaper. The quality of work is checked visually and tactfully. The finished surface should be smooth, without protruding parts.
- Putty. During or before processing, holes, chips and crevices may form on the countertop. They need to be repaired with special putty on wood, silicone or putty.
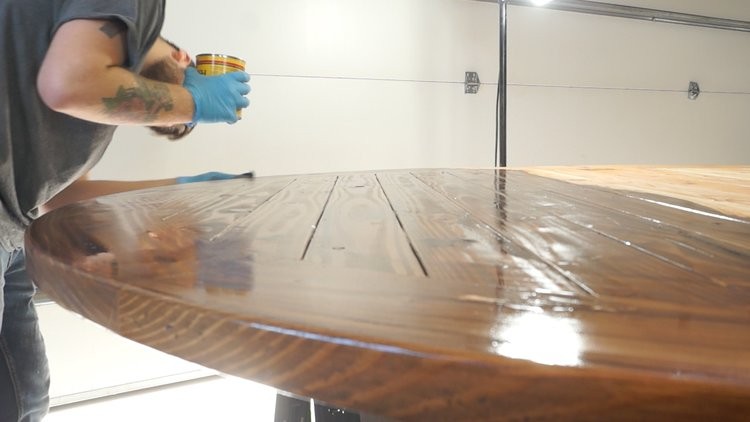
- The product is cleaned of dust. Depending on the design chosen, the wood is covered with stain or fired with a blowtorch.
- The table is finished with paint or varnish. To achieve an even, solid layer, 2-3 layers are applied.
- The end tape is glued. For fixing, use adhesive that is resistant to temperature and humidity.
In conclusion, installation of additional elements is carried out - shelves, sills, forged jewelry.

Creative ideas
To give housing more originality and attractiveness, non-standard approaches to the manufacture of furniture are used. You can use one of the following ideas:
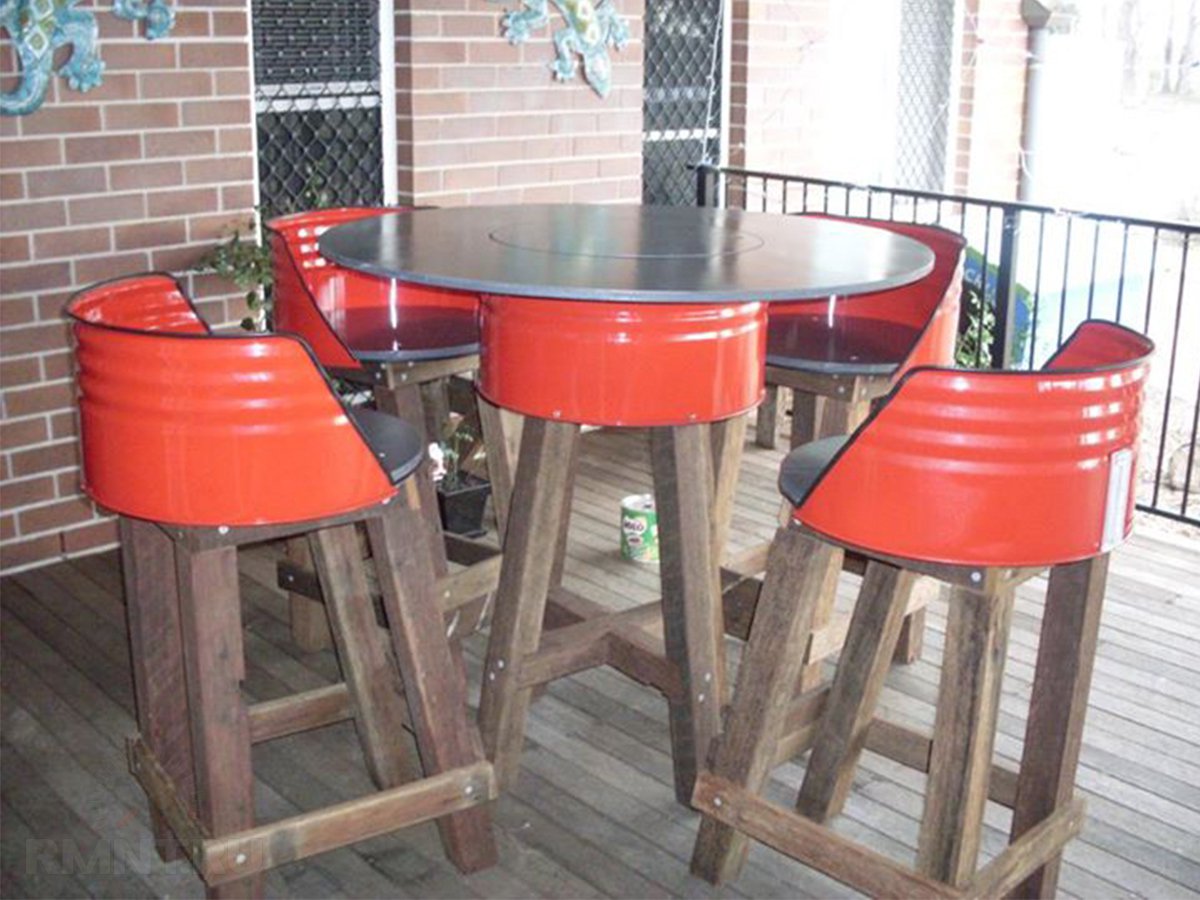
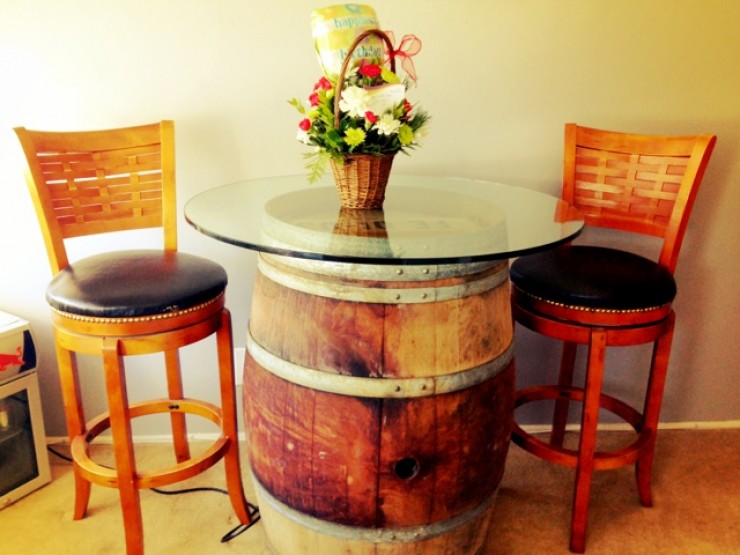
- Board bottoms from giant decommissioned barrels. Existing inscriptions only emphasize the interesting history of the product. The lower edges of the tables can be equipped with sills made of iron staples or chopped wood.
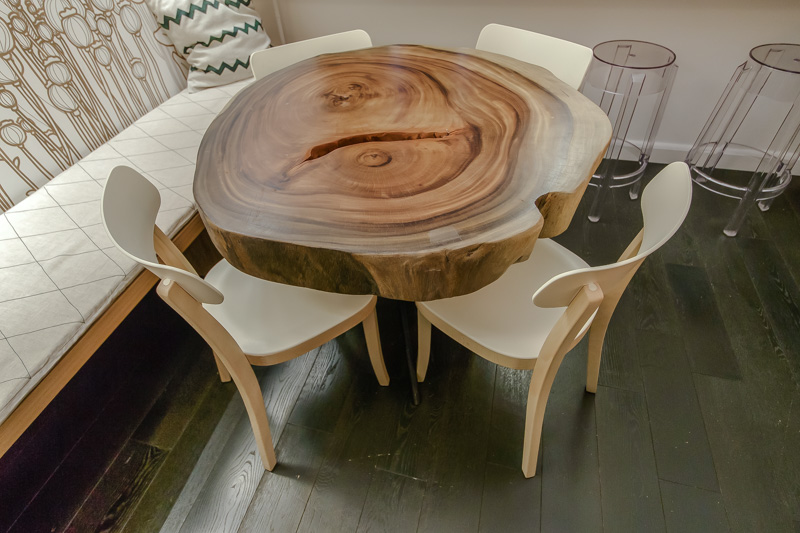
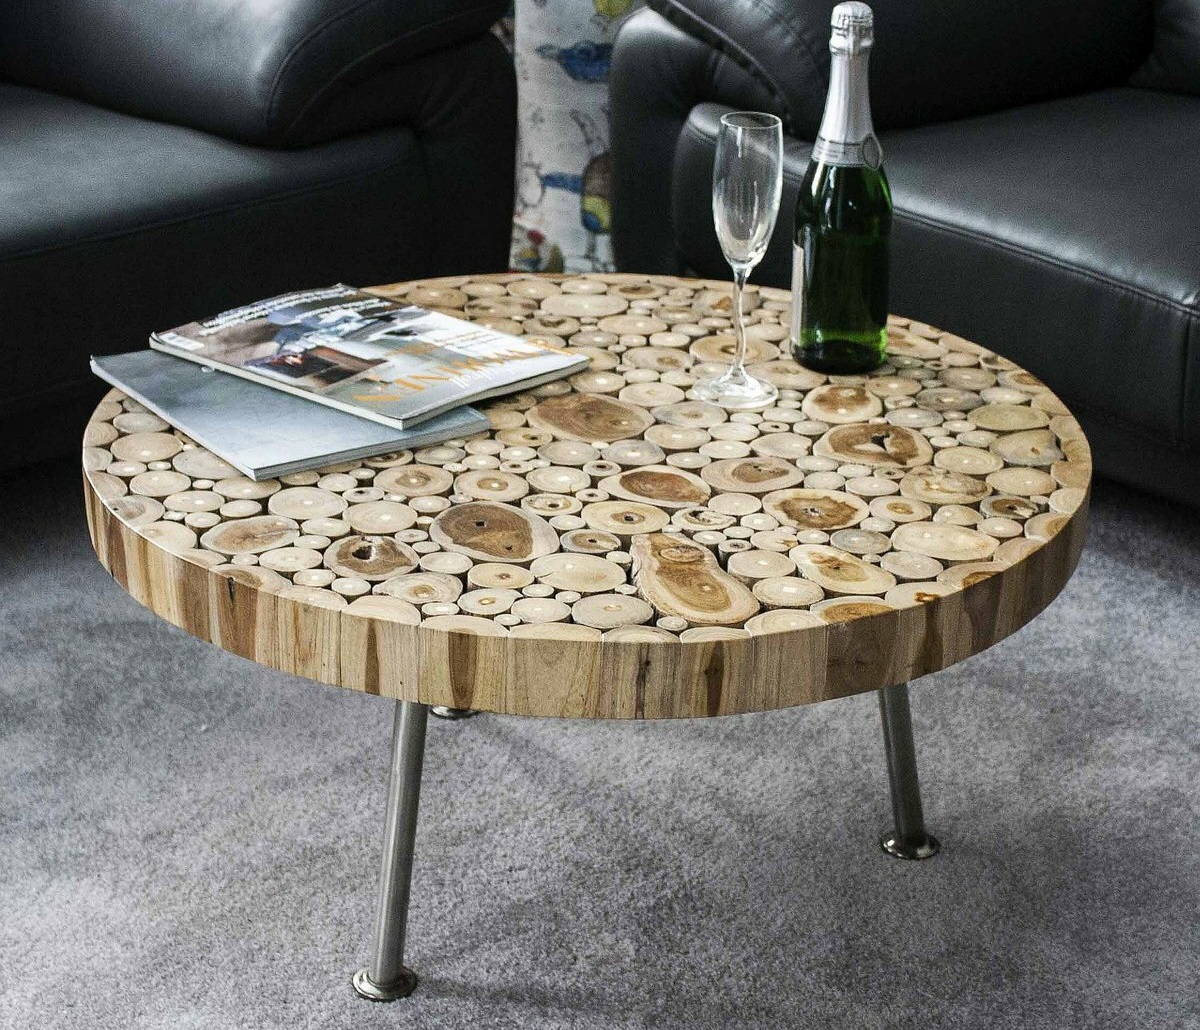
- Sawed trunks of large diameter. Their edges may round or remain with the bark. The wild tree looks very good in arbors, on the verandas and in the hallways of country houses.
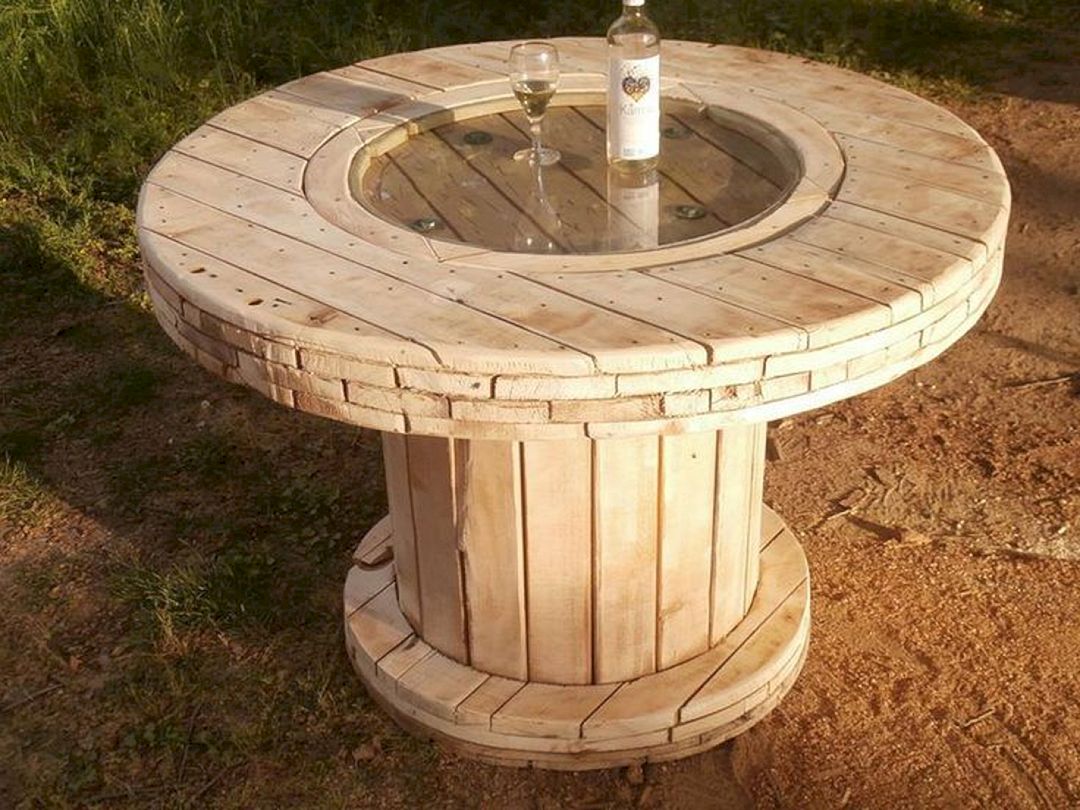
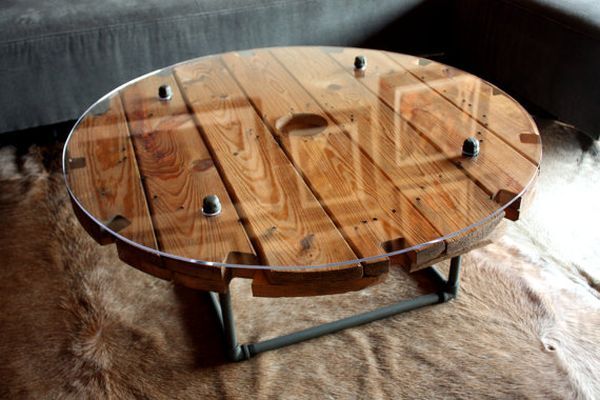
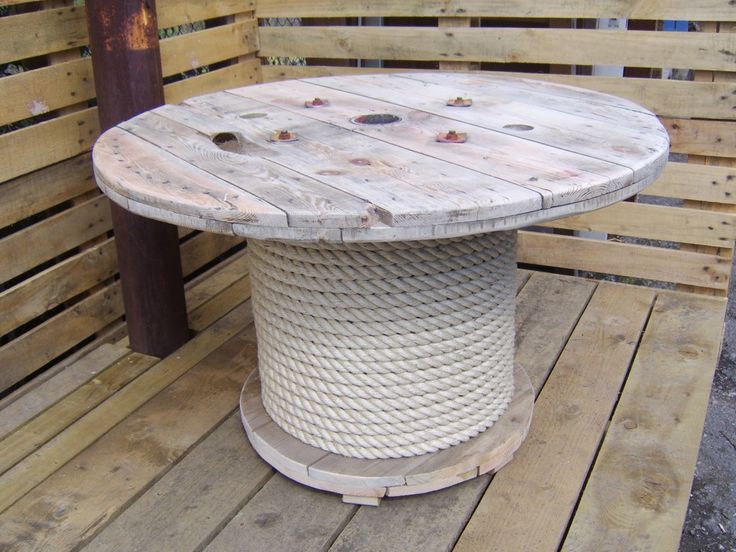
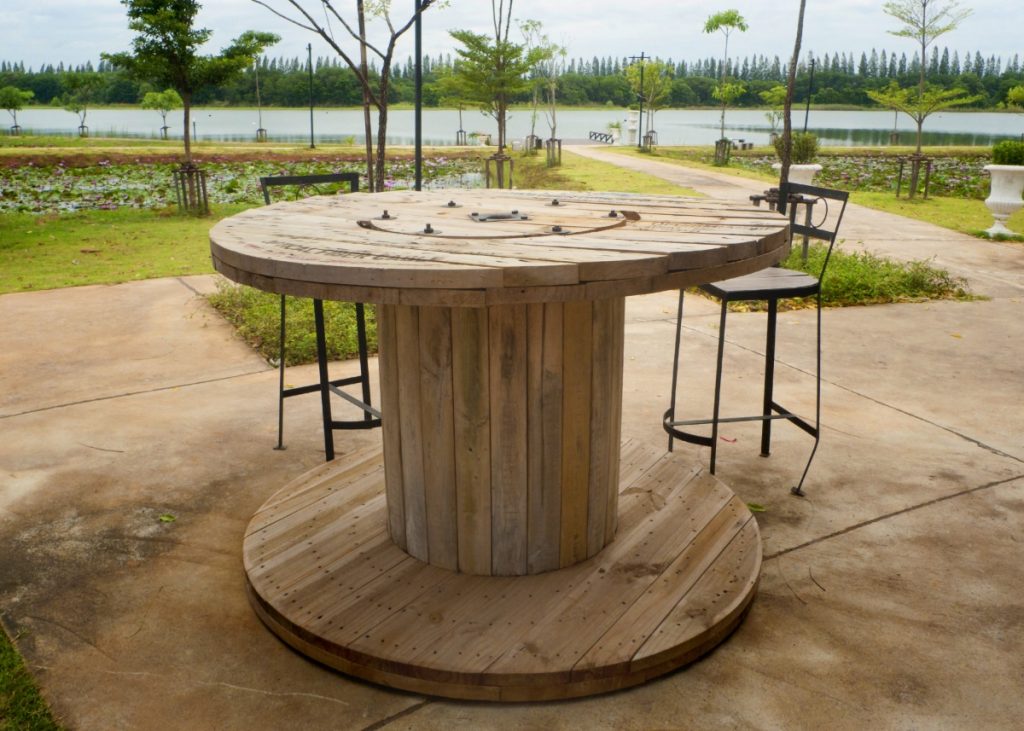
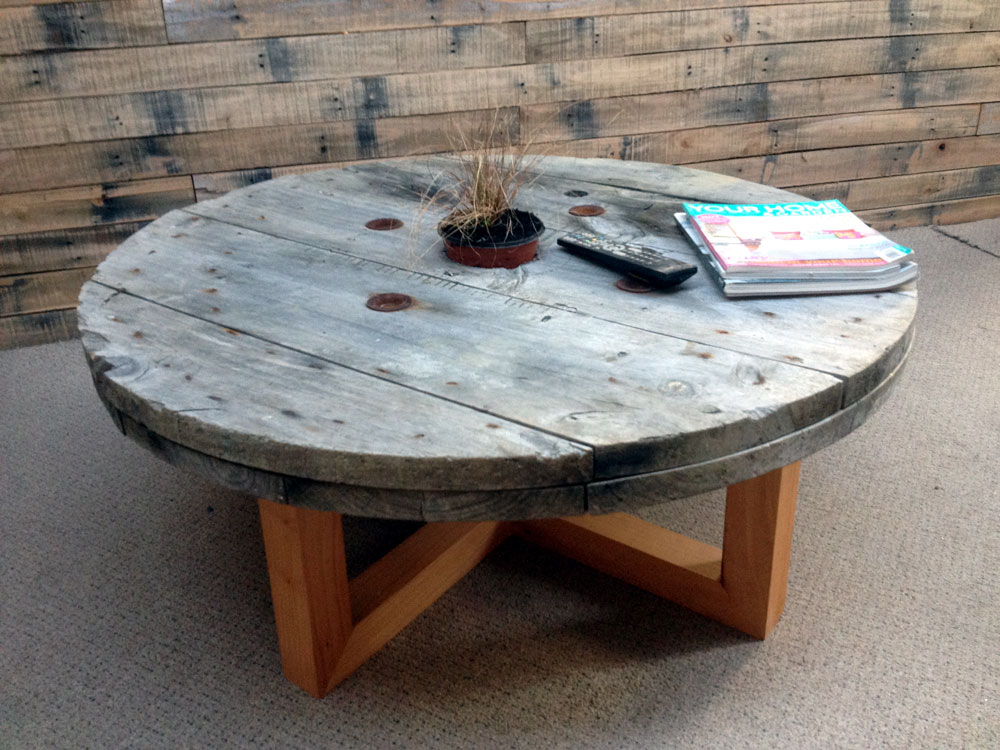
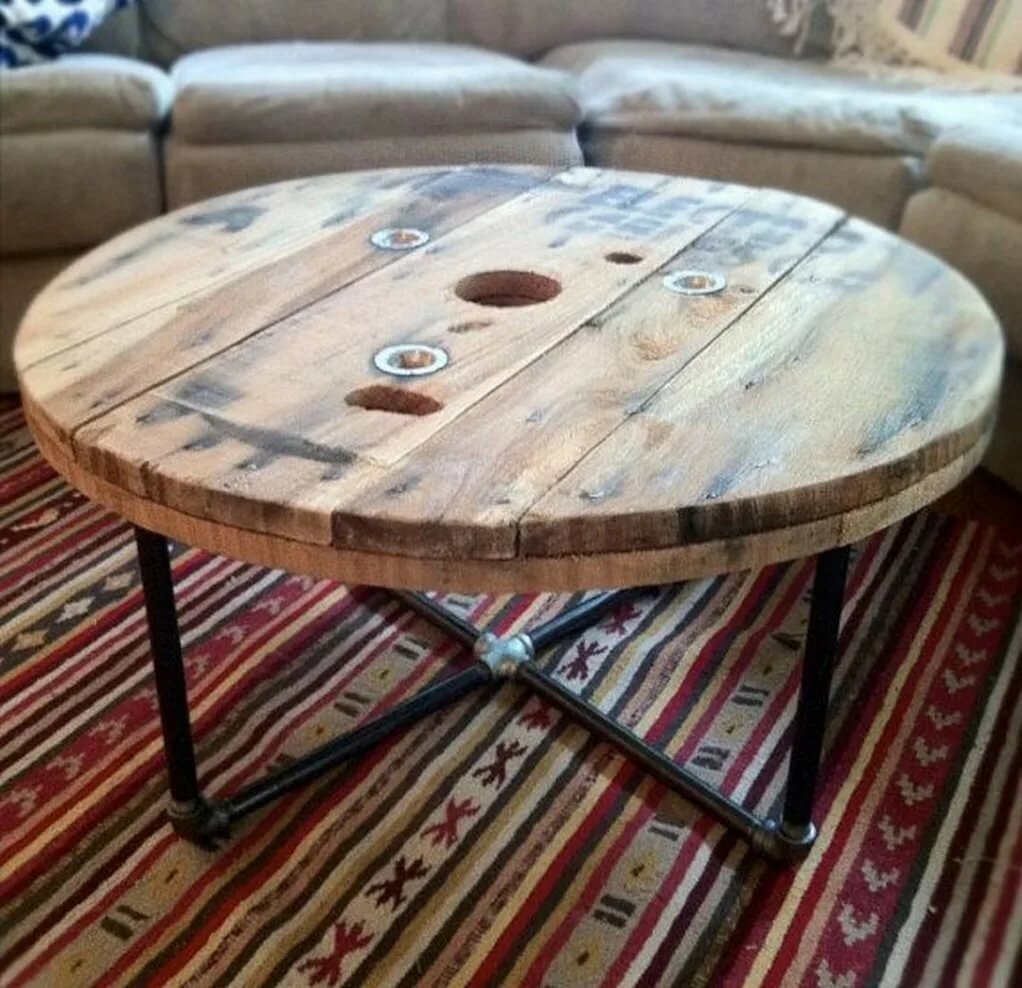
- Coils from the power cable. The products are comfortable, large, stable. They need only finishing. Service inscriptions add extraordinary.
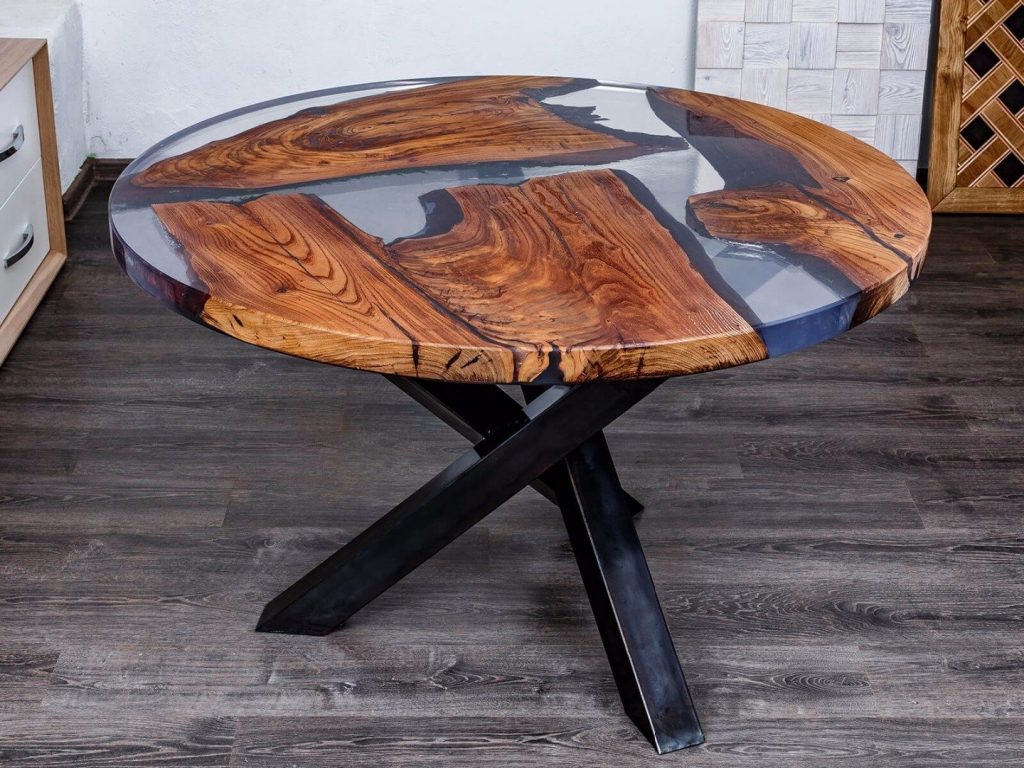
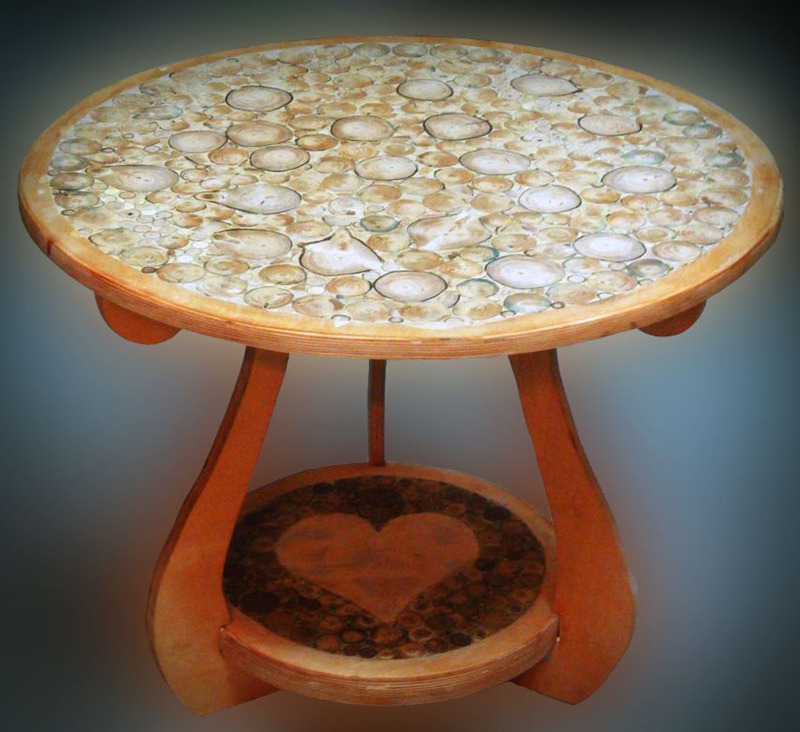
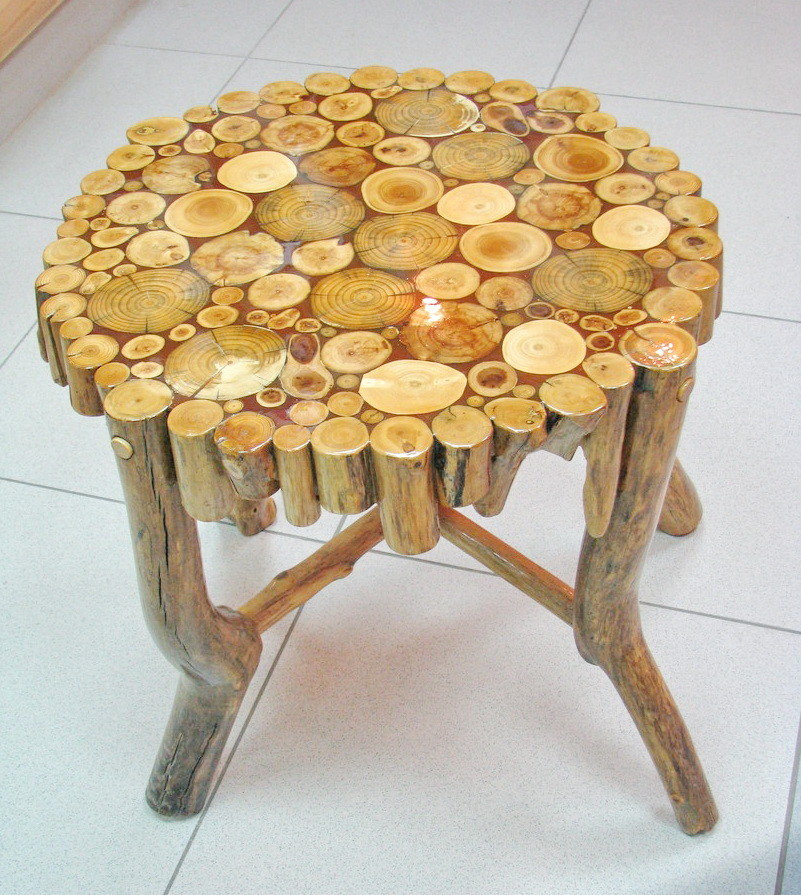
- Solid wood with carvings. The grooves made are filled with epoxy glue.It looks very unusual.
The round table helps create an atmosphere of intimacy in the home. And if it is made with your own hands, it will certainly become a favorite for all family members. Exclusive design will help to give the room an individuality and unique style.
Video
A photo


 (no ratings yet)