DIY Tips for Making Dollhouse Furniture
To make games with dolls more interesting, you need doll furniture. You can buy chairs, cribs or sofas in the store, but not everyone can afford such costs. In addition, handmade doll furniture is original. Therefore, a good solution is to make furniture for the dollhouse with your own hands.
Necessary materials
Furniture for a dollhouse can be made with your own hands from improvised materials that can be found in every home. The advantages of handmade are low cost, safety and original design.
The most convenient materials are:
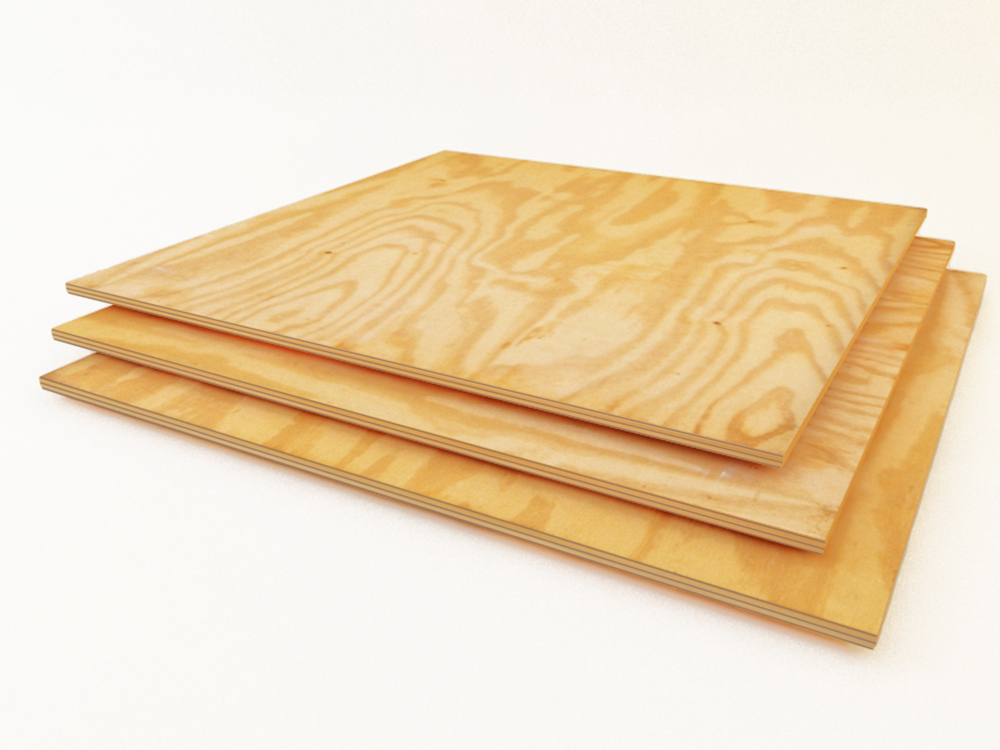
- Plywood (wood) is the material from which durable, stable and beautiful miniature furniture for a dollhouse is obtained. Working with a tree is not easy, so you need to call dad or grandfather who has experience in working with such material;
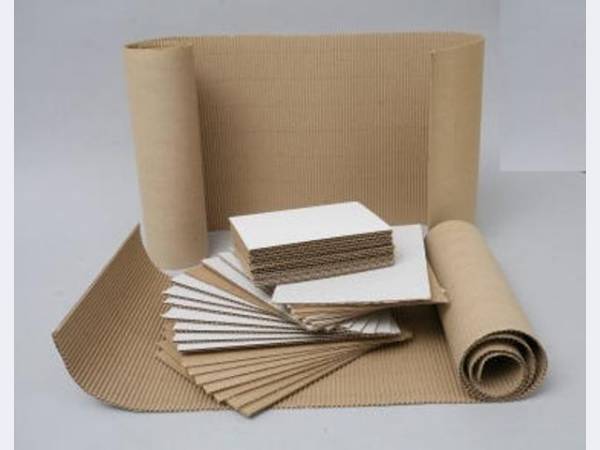
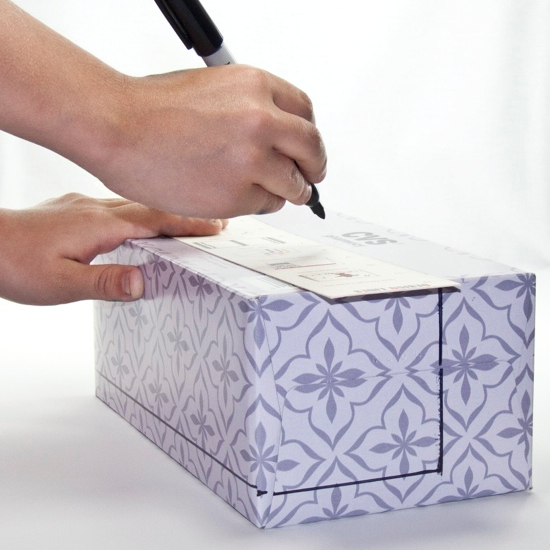
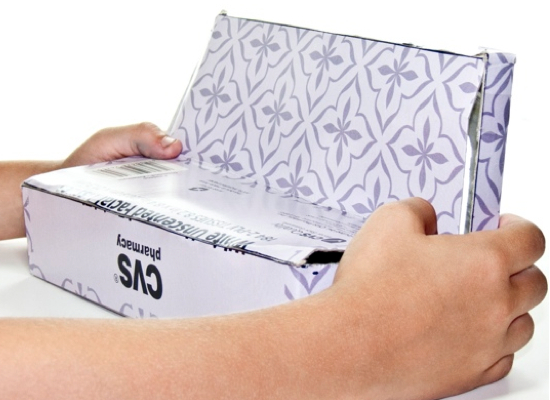
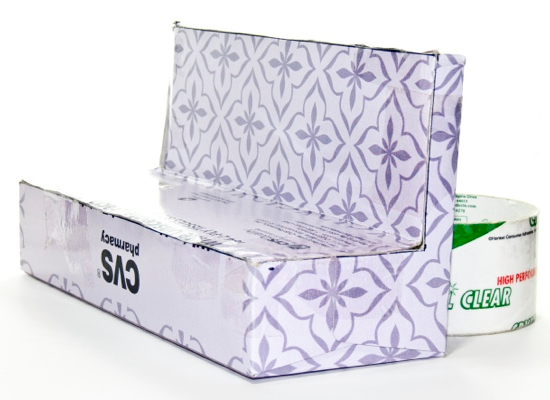
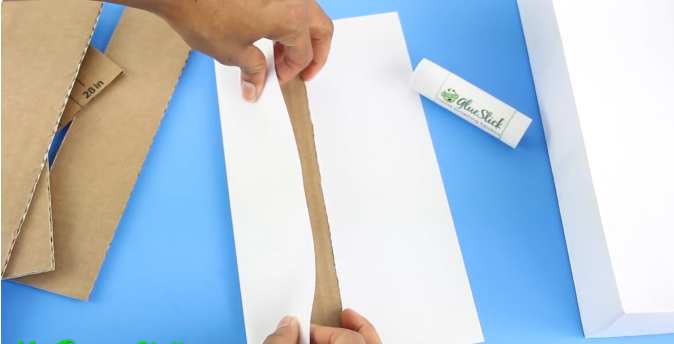
- Cardboard and paper are affordable and easy to process materials. You can take whole sheets or use empty cardboard boxes. Even children can make furniture in a dollhouse with their own hands; for this, adults only need to prepare schemes from paper and give out the necessary materials;
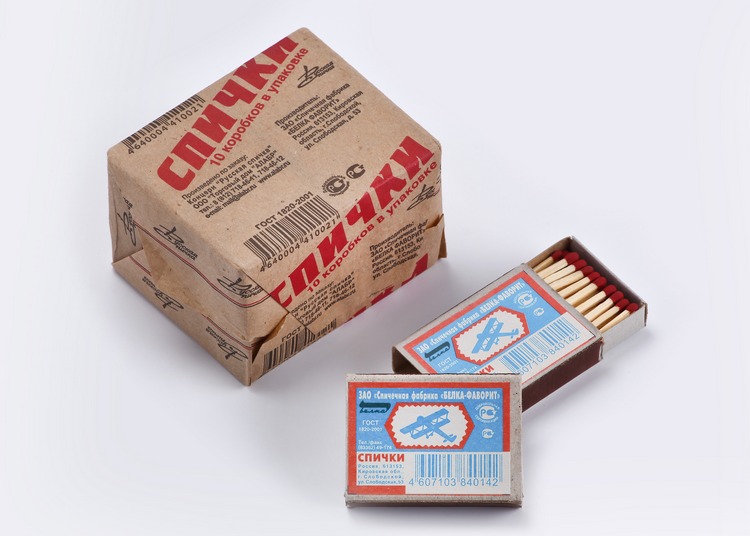
- Matchboxes - material that does not require much effort. To make furniture for Barbie with your own hands you need to show imagination, glue the boxes and decorate at your discretion;
- Wire is an easily bending material that is suitable for creating frames and small parts. From it you can make beds, chairs, hangers, chandeliers, candlesticks, curtains;
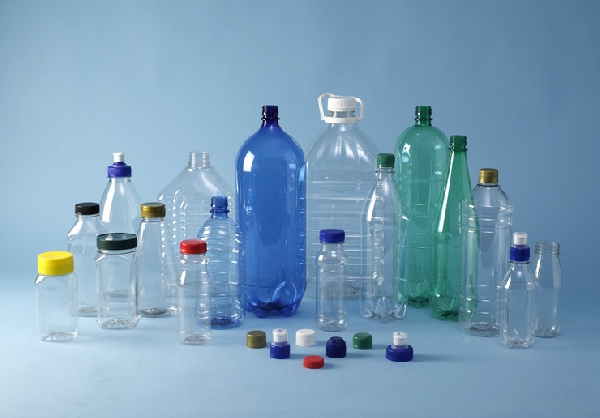
- Plastic bottles or jars. From cans you can make bathtubs for bathing or tables with chairs. And if you show imagination, then plastic containers can turn into a crib, an armchair and other dimensional furniture;
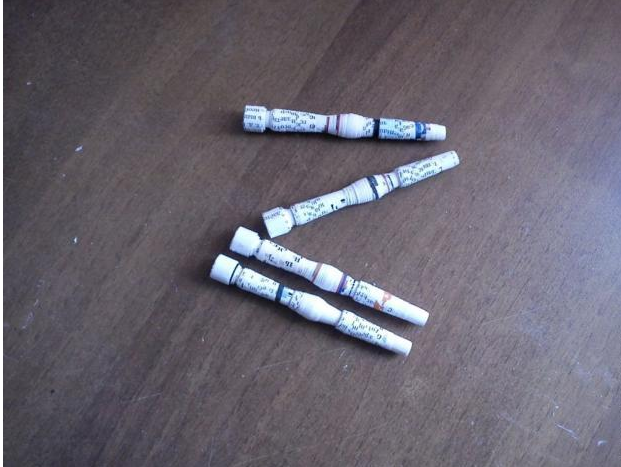
- If you use newspapers or magazines, you will need to wind up more than a dozen tubes. It is not difficult to make wicker furniture, it is quite clear to carry out the actions according to the scheme.
In addition to these materials, you can use covers, juice tubes, polystyrene and egg containers to create do-it-yourself furniture for the dollhouse.
How to make
To make furniture for miniature houses, you need to follow the instructions, amending the course of action if there are no necessary materials.
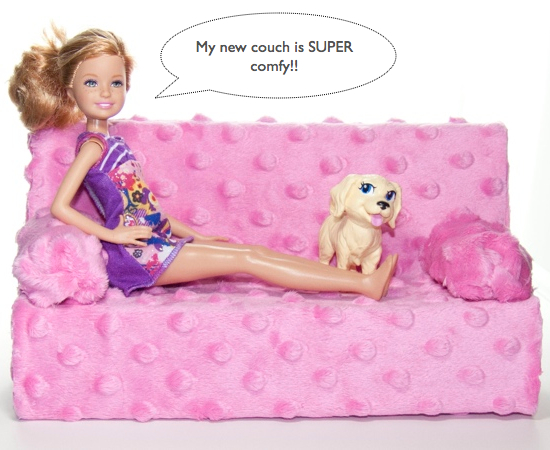
Sofa
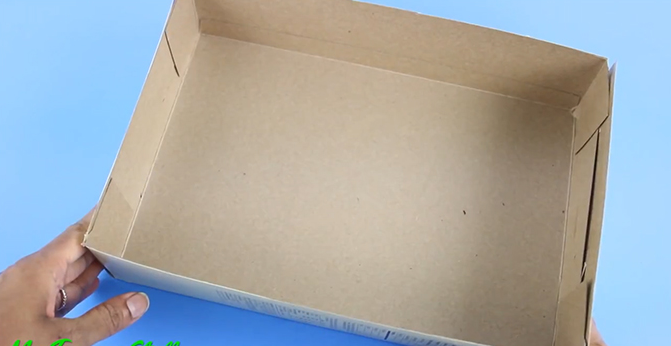
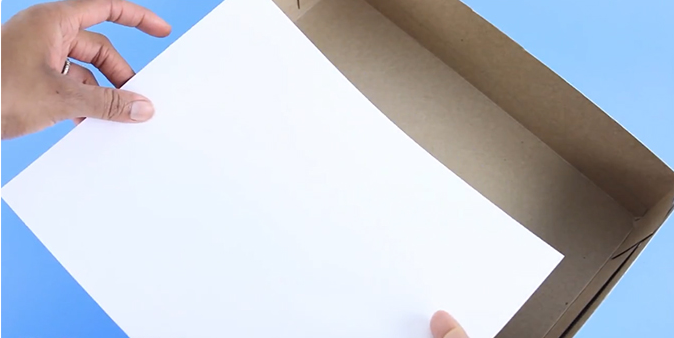
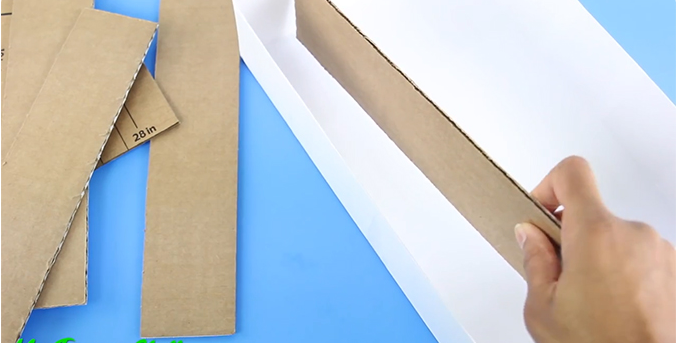
To make a doll’s sofa, the following materials will be required: cardboard box, fabric, foam rubber, stapler, thread, needle, scissors. The first step is to make the foundation. We cut one narrow, one wide part from the box and half on each short side so that we get a frame. After that, we measure the dimensions of the details of the sofa, transfer them to a fabric folded in half and cut it out. We sew the covers on both sides, turn them out. From foam rubber we cut pieces smaller than the details of the sofa. Foam rubber should be put in covers and carefully flashed.Fasten the finished pillows with a stapler and insert them into a cardboard frame. For reliability, you can attach the soft part of the sofa to the cardboard base with a stapler. As a decoration, you can make several small pillows of different shapes.


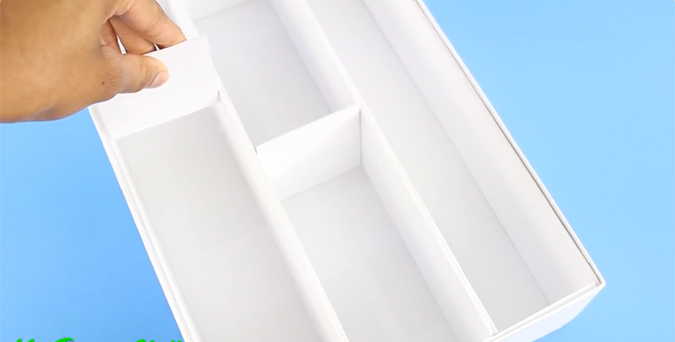
Cupboard
To make a cabinet, you will need the following materials: a shoe box, glue, scissors, decorative cloves, pliers and nippers, scotch tape, toothpaste covers, threads and a needle, thick aluminum wire.
Making a cabinet for dolls takes place in several stages:
- Make the basis - cut off two extra parts of the box (closing elements on top and bottom). The cabinet frame is ready;
- Make the legs. Turn the cabinet upside down and make markings for future legs in four places. Apply glue to each point and glue the covers of the toothpaste with the narrow part up;
- From the cut parts of the box, shelves inside the cabinet can be built. To do this, stick tape on both sides of the cardboard so that its length is several centimeters longer than the length of the future shelf. After that, you need to glue the adhesive tape strips over the shelf and from below so that it is in a horizontal position;
- Make pens. To create them, you can use decorative carnations. They need to be stuck in the door in the right place;
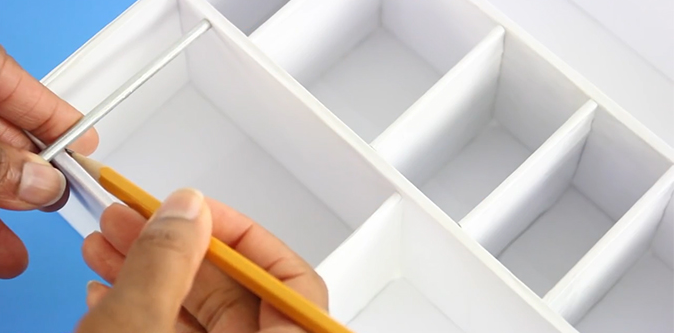
- Now you need to make a holder for hangers inside the cabinet. To do this, take a stiff wire and use a pair of wire cutters to separate a piece that is 1 cm larger than the width of the cabinet. Then you need to mark the points through which the holder will pass inside the cabinet, and draw the wire through them;
- The closet is ready.
Ready-made wardrobe can be decorated with any materials.
Ottoman
An ottoman is not only furniture for relaxation, but also a striking element of the interior. The following materials are useful for work: a plastic comb, a lid or a reel of tape, wire, foam rubber, a piece of red or blue velvet, as well as paint, transparent varnish, glue, and a decorative gold ribbon. DIY furniture for a doll is easy to make, for this you need to carefully follow all the steps:
- To make legs. Anything can do for this, but to make them look beautiful, you need to find an old patterned comb or carved decor element from plastic and saw off four small rectangular pieces;
- Make a foundation. If a reel of tape is taken to make a puff, then you need to stretch a wire across it so that when sitting the doll does not fall into the hole. After that, a piece of thick foam is laid on top and cut off along the edge so that the base is completely covered. The material sticks and leaves for a short while to dry. If a cap is used as the basis, then the wire in the process will not come in handy;
- Decorate the legs. While the base of the ottoman dries, you can do the decoration of the legs. Each detail should be well rubbed with sandpaper and coated with gold paint. When the paint dries, a protective colorless varnish must be applied over the legs;
- Stretch velvet on the base. The fabric will not only decorate the pouf, but also hide the roughness of the primary work;
- Glue a decorative tape of golden or silver shade on the bottom of the pouf. This item will decorate and hide the place of gluing fabric and foam;
- Glue the legs to the base, and check the stool for stability;
- Pouf for dolls is ready.
If you choose the right materials and do not miss a single paragraph of the instructions, you get a beautiful and convenient ottoman.
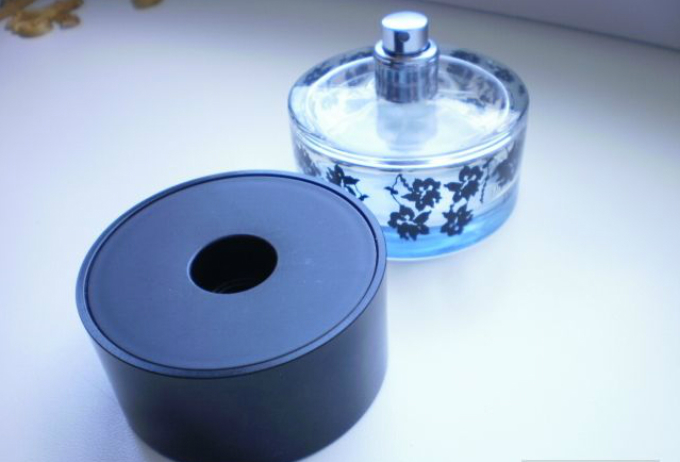
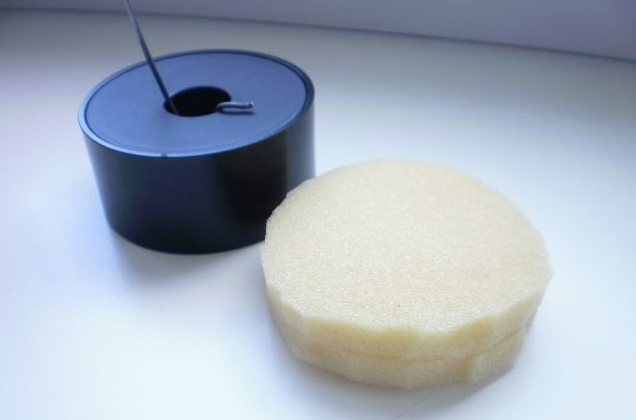
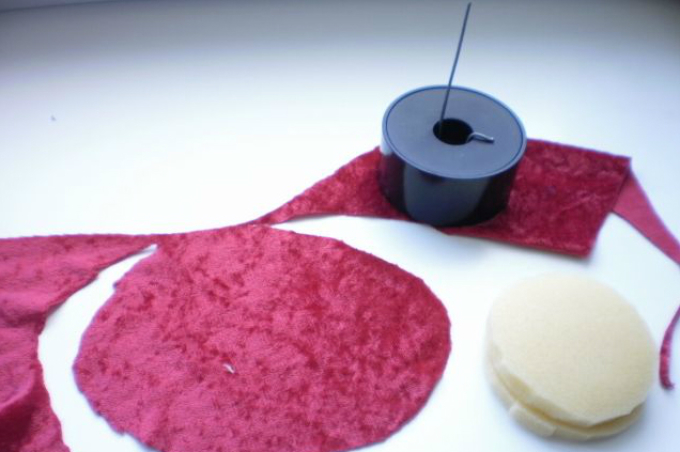
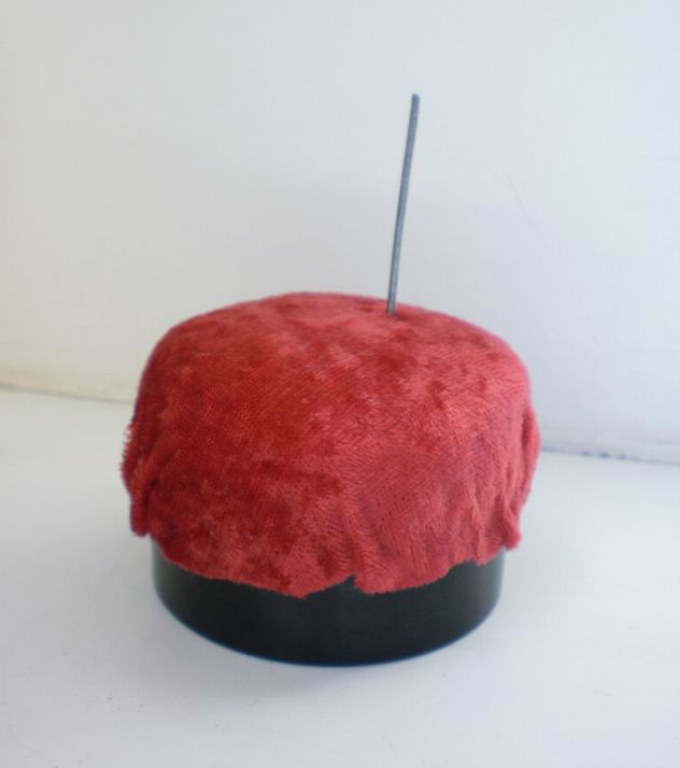
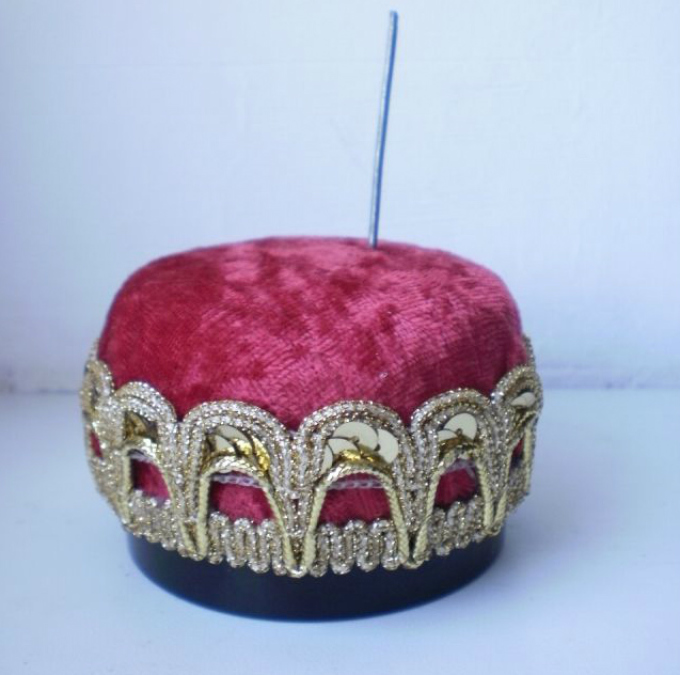
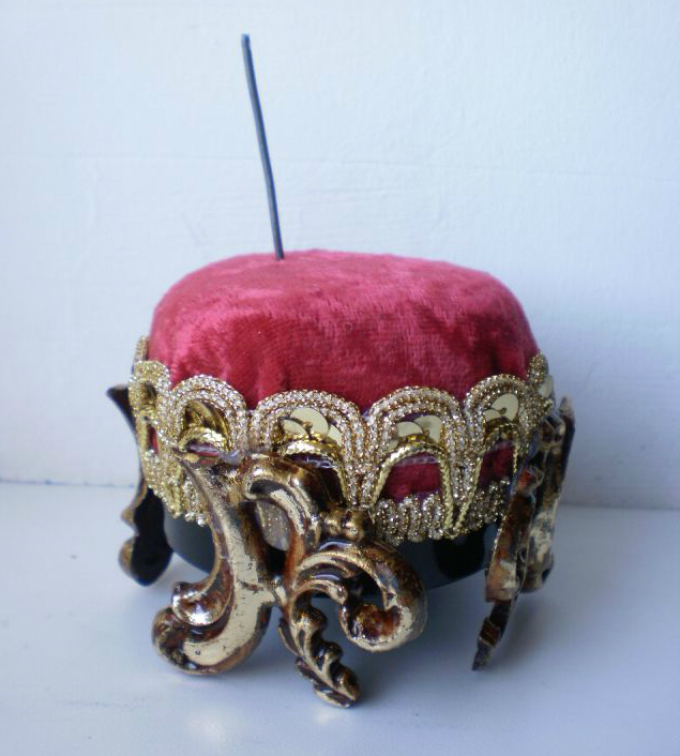
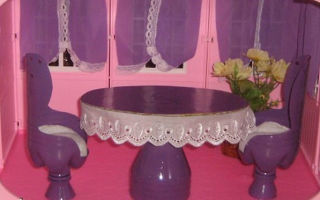
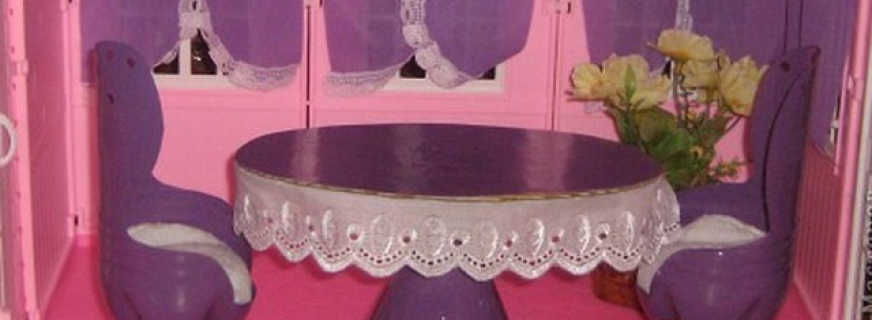
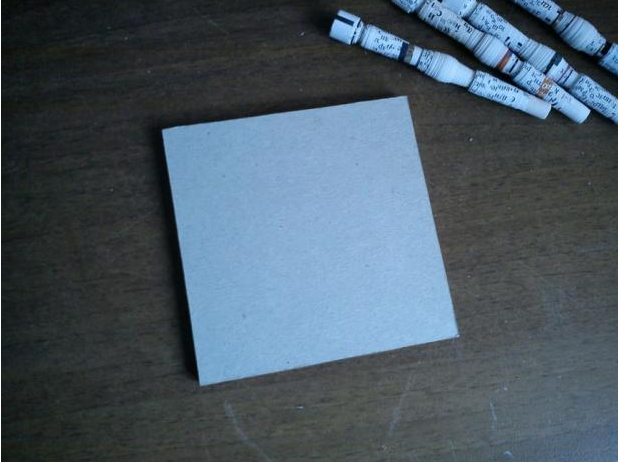
Table and chairs
From plastic bottles you can create a kitchen set for Barbie, consisting of a dining table and several chairs. To create a kit you will need: bottles, scissors, double-sided adhesive tape, marker, pieces of beautiful fabric, cardboard, glue, synthetic winterizer or cotton wool for filling. How to make furniture in a dollhouse with your own hands from plastic bottles.
Chairs:
- We draw a diagram of the future chair on paper, taking into account the size of the doll, cut it out, apply it to the bottle and outline it. Then we carefully cut it out with the help of scissors and we get an almost ready chair;
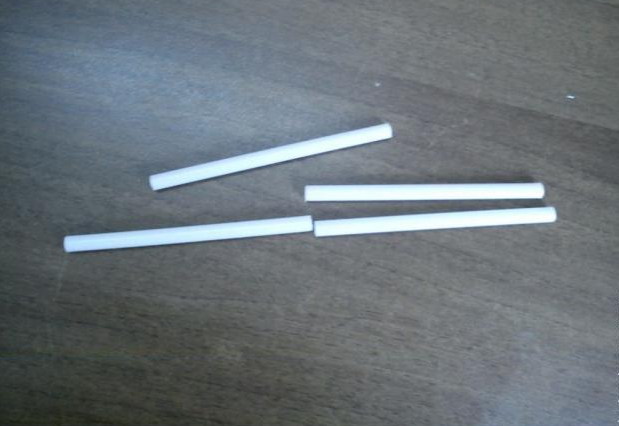
- Now you need to make legs for all the chairs. To make them, you need to remove the cork from the bottle, cut a small piece from the neck and stick to the bottom of the stool. These steps need to be performed as many times as the number of high chairs you want to receive;
- Now decorate the chairs with paint or sew fabric wraps. It is more convenient to use spray paints as a dye. To fill the dimples in the armchairs, you need to sew round covers and fill them with a soft filler.
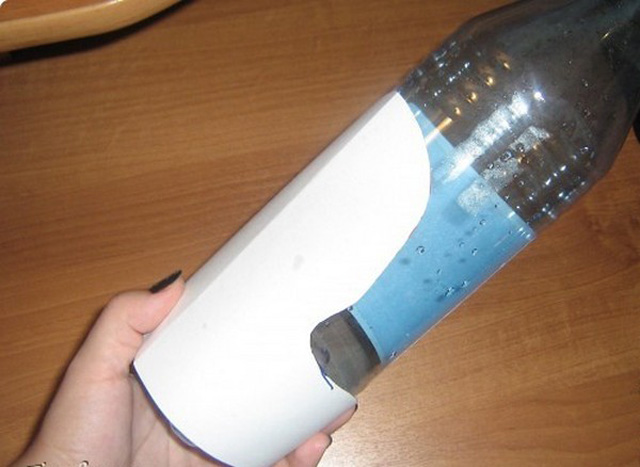
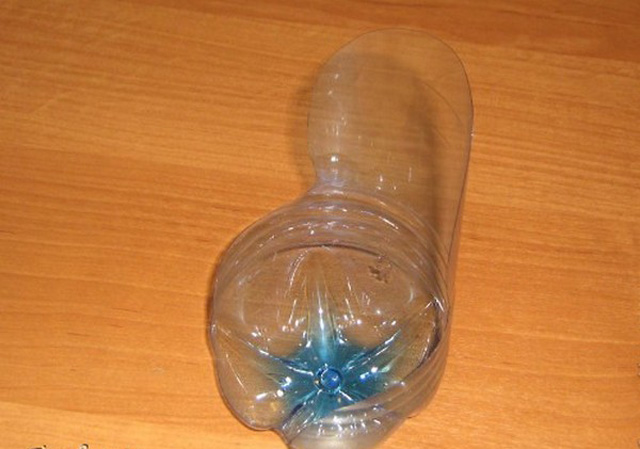
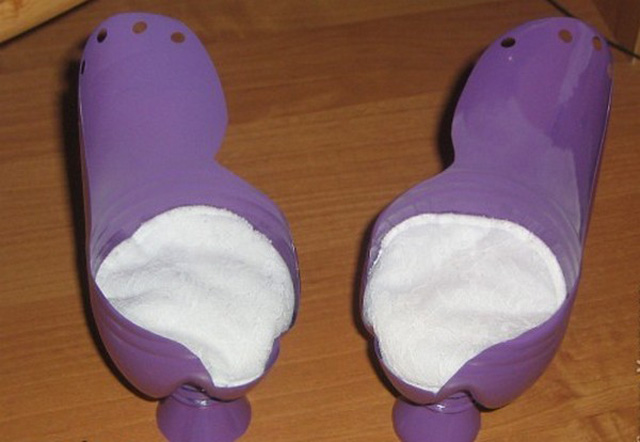
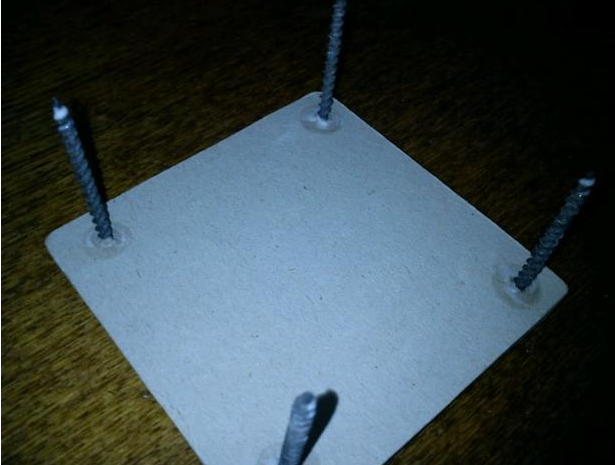
Table:
- We make a dining table. He will need a piece of cardboard and a bottleneck. Measure the desired height of the table and cut off the neck. Cut an oval or rectangular countertop from cardboard and glue to where the cork should be;
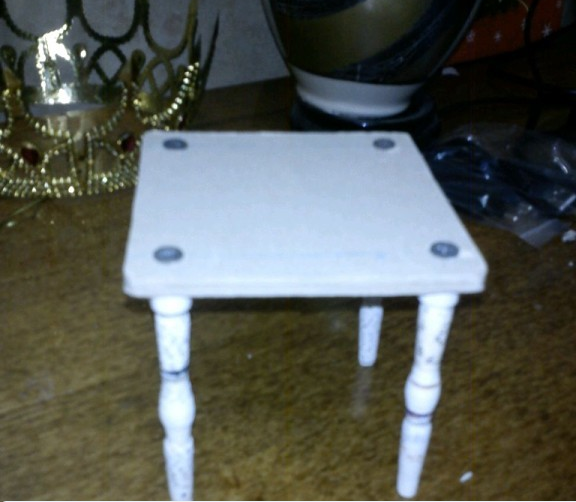
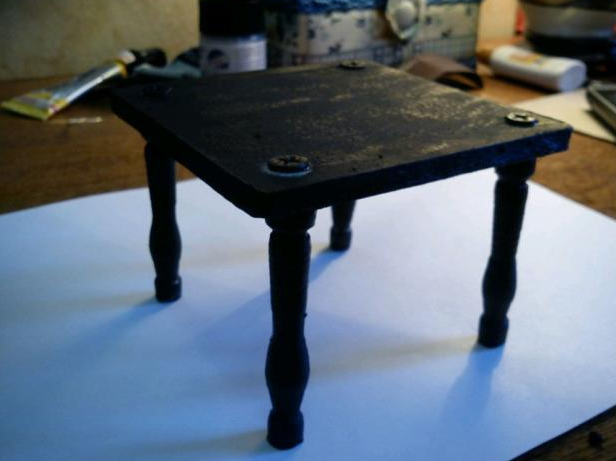
- Paint the table with the same color as the chairs;
- Cut a piece of ribbon lace and glue along the edge of the countertop;
- Make a copy of the countertops and stick them on top of the table. Paint and let dry;
- The table and chairs are ready.
With this set of furniture, you can call guests and arrange a puppet tea party. A similar kit will decorate the kitchen, dining room or living room of the dollhouse.
Hanger
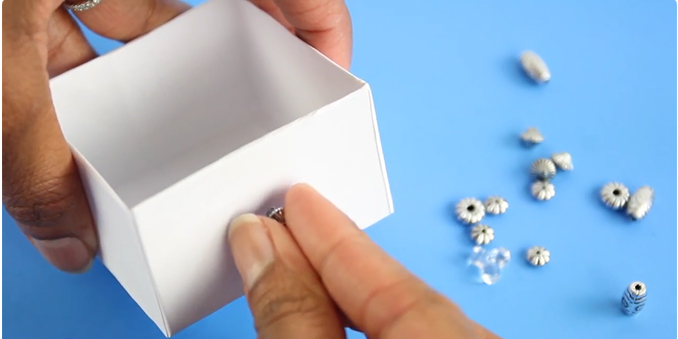
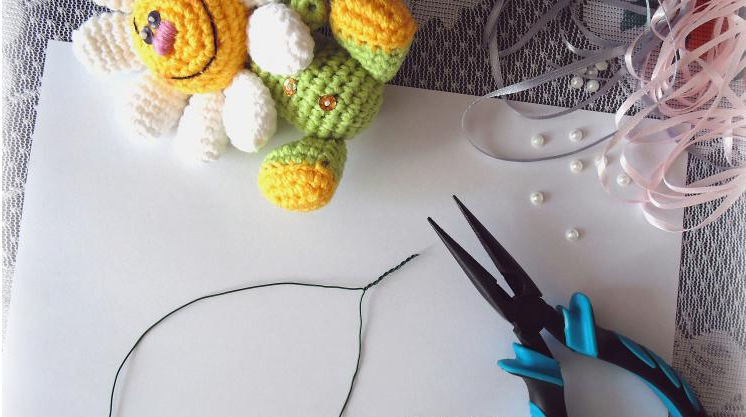
Each doll has more than one set of clothes that needs to be stored somewhere. Lockers and chests of drawers are convenient, but not practical. A hanger is what you need to keep the dresses in the best possible condition. To make a doll hanger you need: thin wire, satin ribbons, glue-moment, beads, pliers. Making a hanger for a barbie or another doll is not difficult.
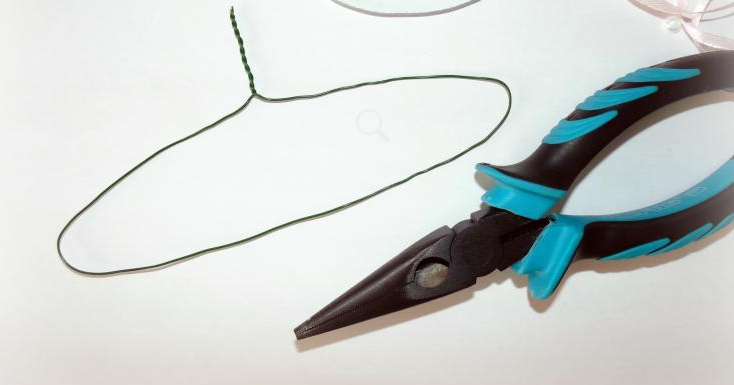
First you need to decide on the size. In order not to depart from the necessary parameters, you can draw a hanger of the right size on a sheet of paper, and apply a wire blank in the manufacturing process.
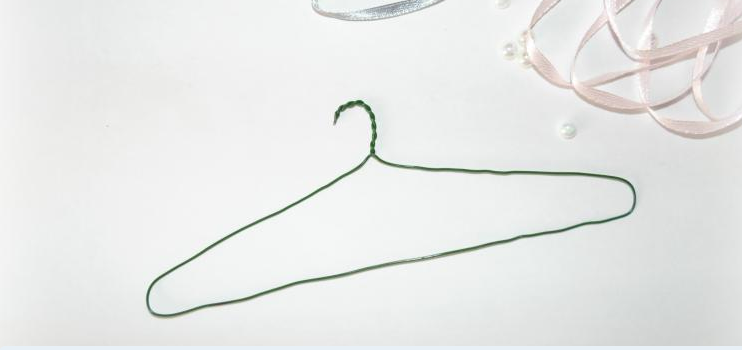
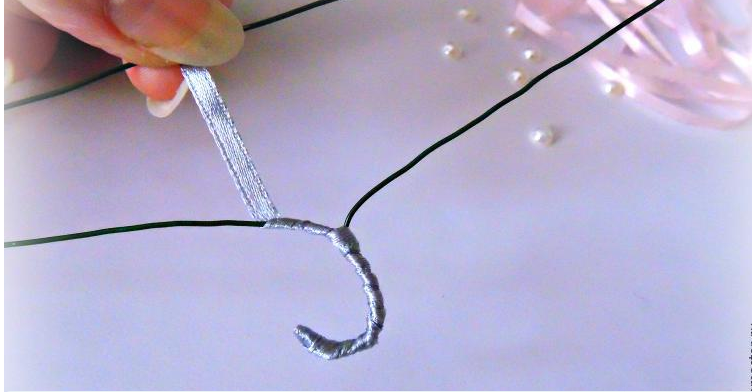
Now we take a wire and with the help of pliers we form future shoulders. It is very important that the finished product does not have sharp ends. To avoid this, you need to bend and twist each edge of the wire. To make the hanger attractive, you can wind a colored satin ribbon over it and fix its ends with super glue. The edges of the ribbon need to be burned so that the fabric does not crumble. If you use beads for decoration, then in the process of creating the hanger you need to put a certain amount on the wire. Ready-made hangers, dried out after glue, can be used to store doll things. They can be placed in the cabinet, the creation of which was described above.
Video