The nuances of making a drywall cabinet, useful tips
The versatility of drywall constructions is that they can be adjusted to any size, including curvilinear, of irregular rectangular shape. So you can fill existing niches, beat ledges, columns, crossbars. In such cases, a drywall cabinet is the best option. One of its main advantages is that it naturally fits into any interior, as it can be decorated with different materials, depending on the design decision of the room. Partition cabinets with false doors are very popular, where one of the offices serves as a passage to another room.
Content
Tools and materials
In addition to the positive aspects of drywall constructions, you need to add that this kind of product is exclusive, does not limit your imagination. It can be made as a suspension element, a rack-mount structure, it can be used as a false wall, a partition. In addition to the use of different types of decors and materials, cabinets complement the highlights.
The natural question arises of how to make a drywall cabinet with your own hands, how difficult it is. If you have certain skills and desires, such a project is beyond the power of non-professionals. It is only necessary to adhere to a certain sequence of rules.
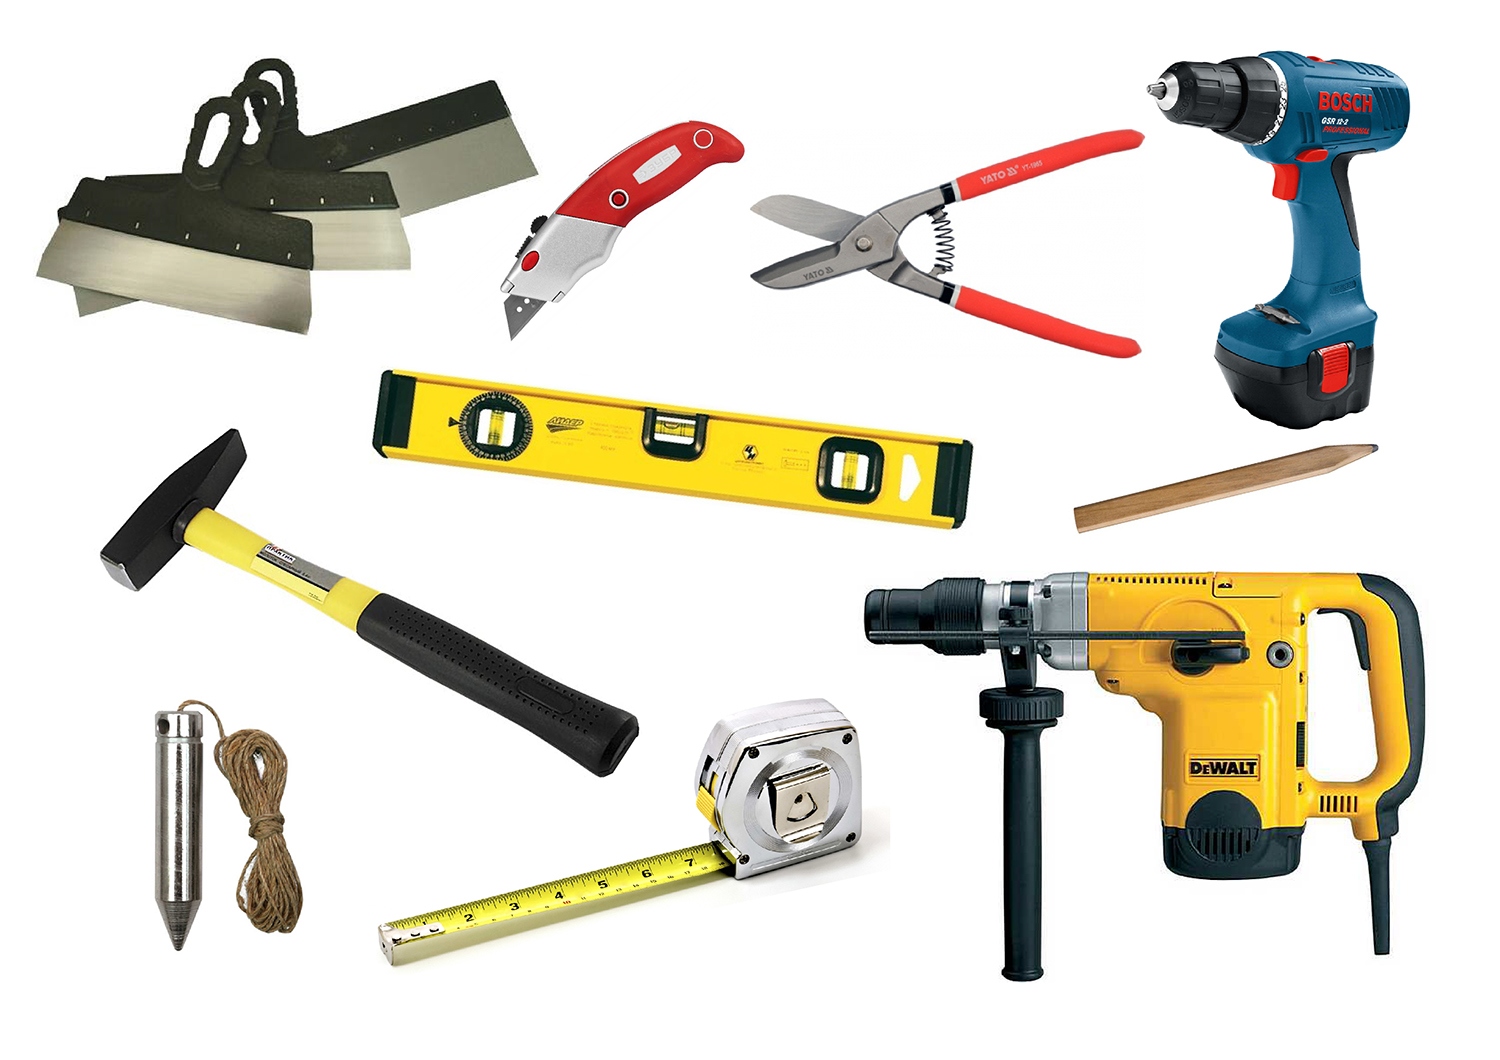
Before proceeding with the manufacture of the product, it is necessary to prepare tools and materials. Of the tools you may need:
- hammer drill - for fastening structures to concrete or brick walls;
- screwdriver - for mounting structures from profiles and gypsum plasterboard sheets;
- a grinder or scissors for metal - for cutting a profile;
- construction knife with interchangeable blades - to cut the gypsum board;
- plumb or level - to check the evenness of structures;
- construction marker;
- putty putty knives, brush, primer roller.
The necessary materials are purchased on the basis of calculations made according to the drawings.
As a frame, you can use a wooden beam or metal profile for drywall. A metal profile is preferable, since it is designed specifically for this material, does not dry out, does not shrink. In addition, a tree, if it is not quality dried, can "lead".
In order to make a cabinet from drywall, you will need:
- two types of profile - drywall cabinets are made of rack profile. It differs from the wall in that it is more durable, can withstand increased loads. Interior walls, partitions are made of it:
- guide metal profile, PN marking (UW) is a U-shaped strip with a width of 42 to 150 mm. In order to make a cabinet on the wall of drywall, a width of 50, 75, 100 mm is enough. Standard level: 2, 3, 4 meters;
- rack profile: marking PS (CW) - it also has a U-shape, but small stiffeners are bent at the ends. It is designed for uprights and should be the same width as the rails. Standard sizes: 2, 4 meters (40, 50 mm thick). From the rack-mount metal profile, transverse jumpers are also made;
- drywall sheets;
- mounting material, dowels, screws;
- mesh sickle, perforated corner;
- hard putty, starting and finishing, primer.
Another question that worries those who decided to make furniture on their own is whether it can be hung, as well as how to hang a cabinet on drywall. GKL sheets are quite thin (12.5 mm); loading an additional profile is also not entirely reasonable. Based on this, drywall cabinets, their fastening must be done in the main supporting wall using a punch and dowels.
To understand how to fix the profile, you should first familiarize yourself with all the stages of work. First, a hole in the wall is made with a puncher, through drywall, then the guide bar is fixed.
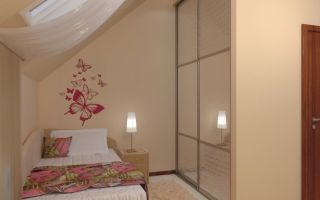
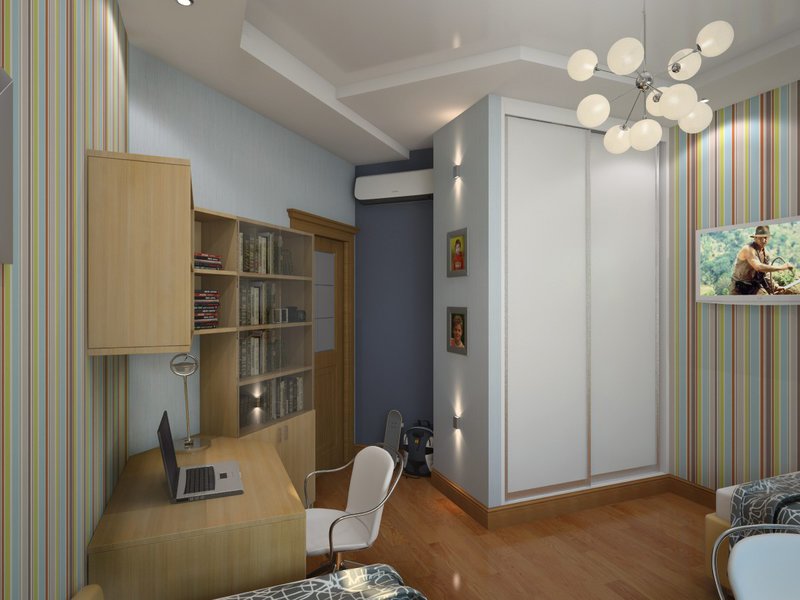
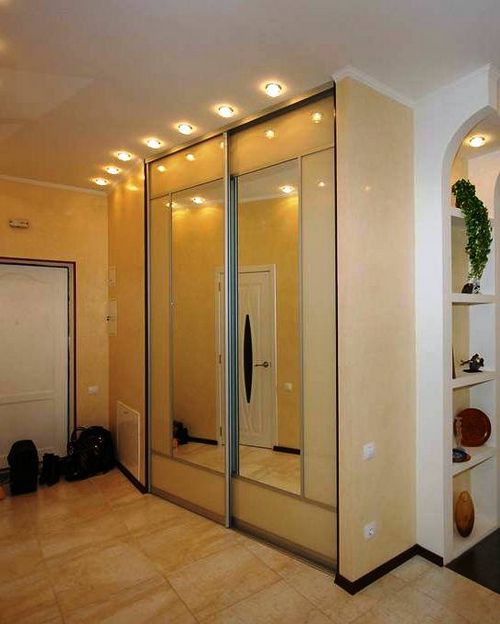
Another point worth paying attention to. When deciding which system to equip a cabinet with, to do it with doors or compartments, it is better to give preference to sliding systems. Hinged loops loosen the guides, over time they can be deformed, and the door leaves sag. It is possible to use swing doors, but then it is necessary to strengthen the rack profile with a wooden beam. You need to hang them only in these places. Another argument in favor of coupe systems is that they look more aesthetically pleasing in the interior, do not block the space.
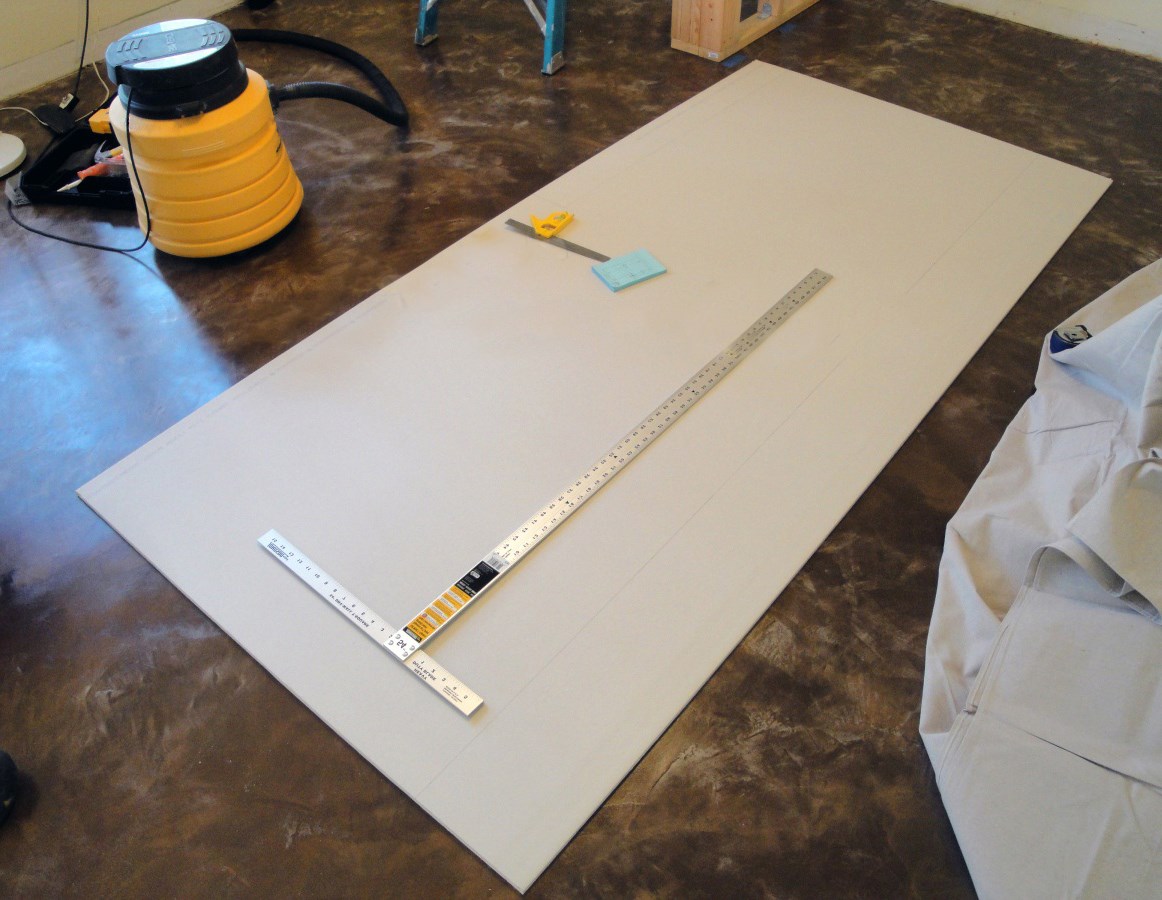
Product drawing
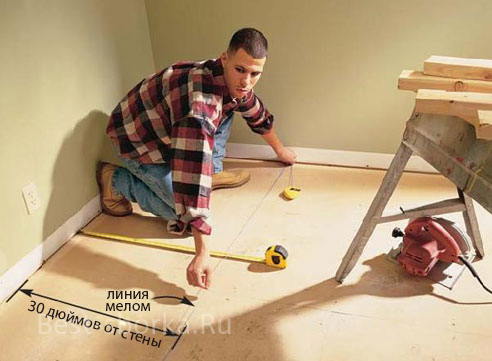
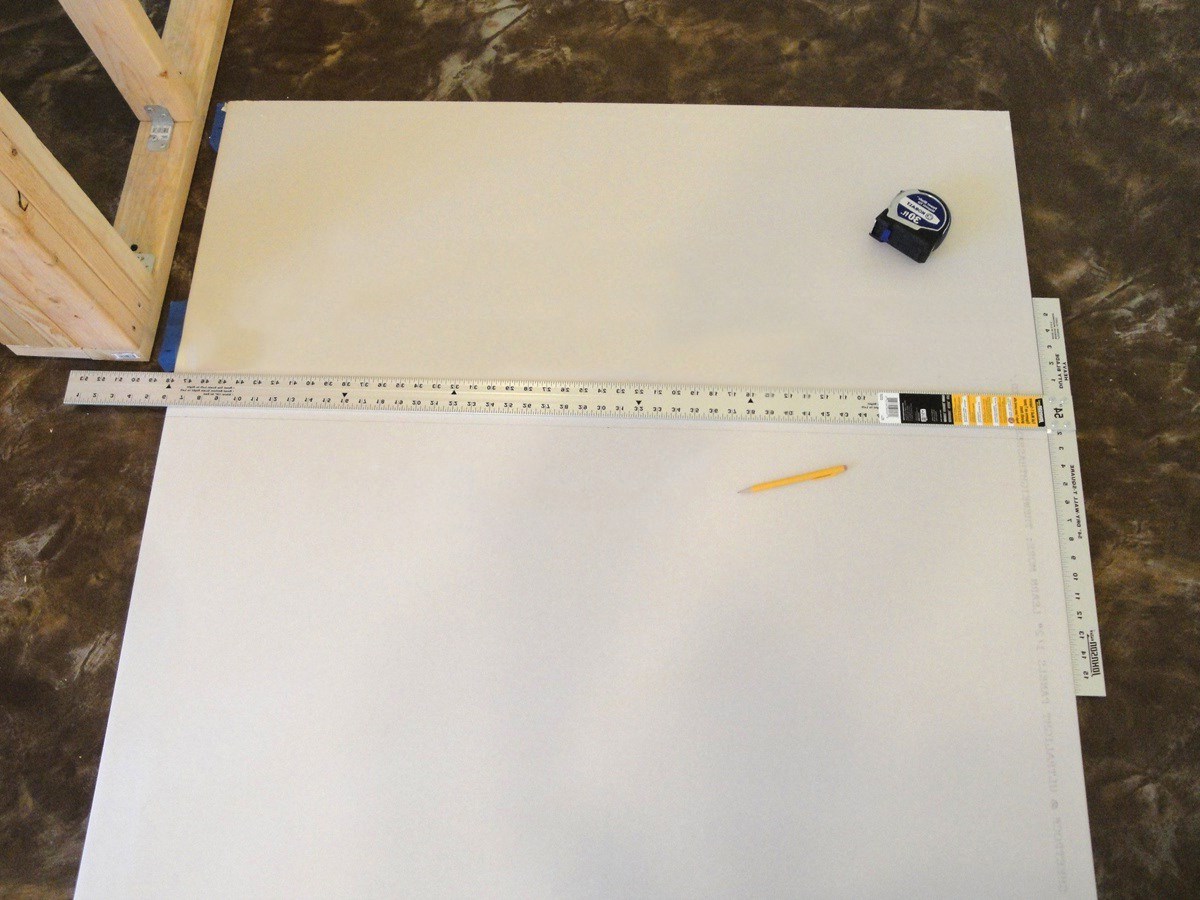
To make even a small cabinet without a drawing is very problematic. Before you buy material and start manufacturing, you need to develop a drawing of the future model in detail.
To do this, you must:
- make a measurement of the place where you plan to place the cabinet;
- transfer measurements to the drawing in the selected scale. It is better to use lined paper for these purposes;
- outline a sketch of the cabinet strictly in size. In this case, it is necessary to take into account the width of the profile (50, 75 mm) and the thickness of the GKL sheet (standard wall 12.5 mm, ceiling 9 mm). The thickness of the shelves is calculated in the same way.
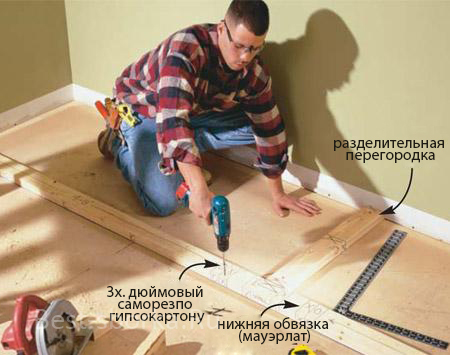
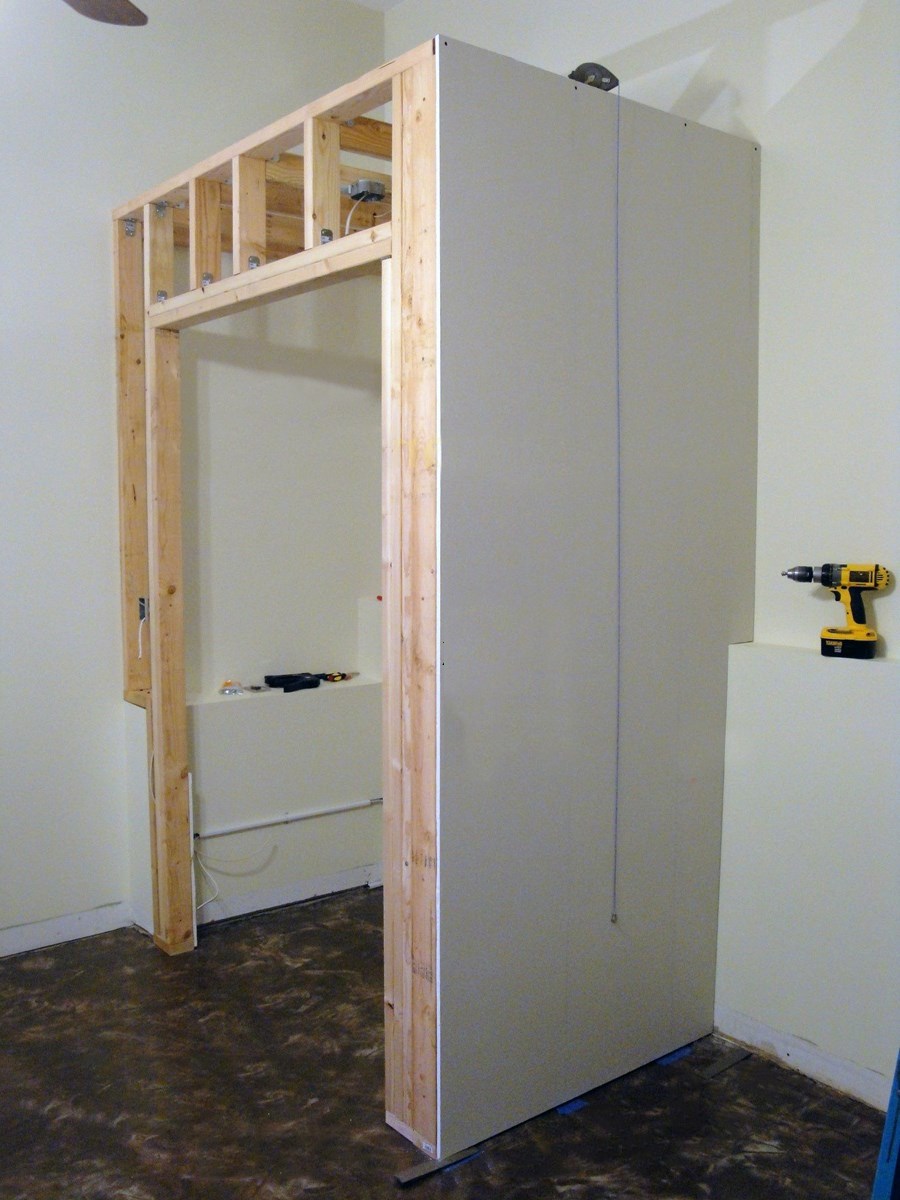
After the sketch with the dimensions is ready, do the calculation of materials. To do this, you need to know that the guide profile is attached to the floor, load-bearing walls, ceiling. The rack is inserted vertically into it, the step between the profile is from 20 to 40 cm, the most optimal gap is 30 cm. When calculating drywall, note that all surfaces are sheathed on both sides. After the material is calculated, you can proceed to installation.
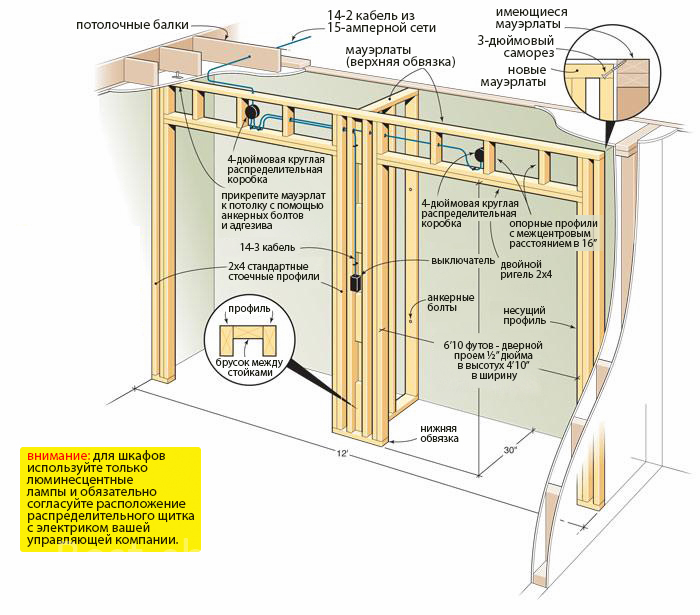
Frame mounting
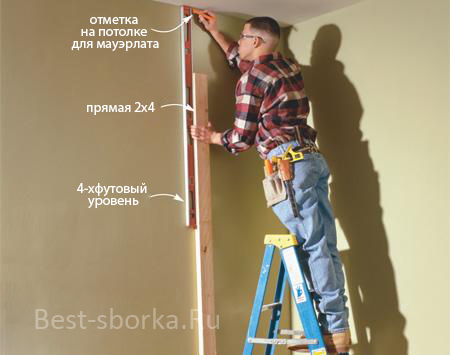
Begin manufacturing with a markup. This is an important point, the whole future product depends on its correctness, therefore it is better to check the markings several times using the level, plumb line.
The installation sequence is as follows:
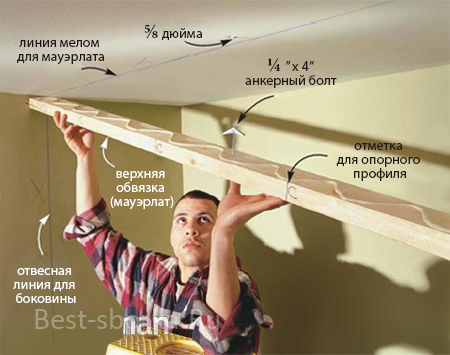
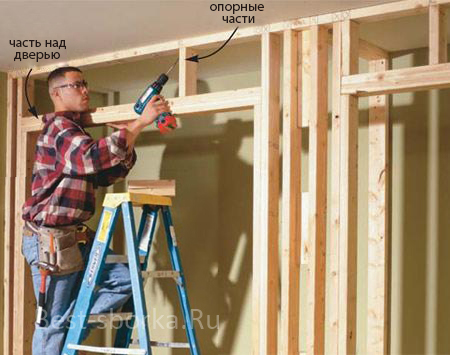
- The guide profile is mounted first. Around the perimeter from the inside, a damper tape made of foam materials is attached to it. It will serve as a shock absorber for the metal, absorb sounds, compensate for possible shrinkage of the structure. We remind you that the guide rack is attached not to the drywall, but to the carrier. Start from the floor, then duplicate on the ceiling, attach to the wall, then connect the racks;
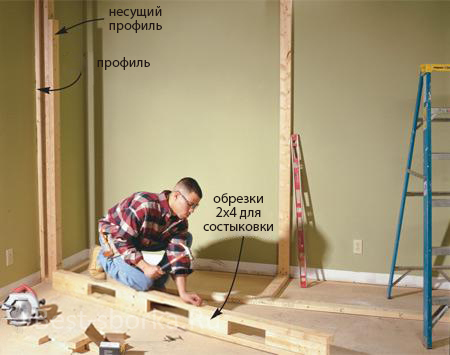
- after the guides are installed, expose the rack profile;
- the next stage, the installation of jumpers, they are mounted according to the drawing.
If necessary, racks and jumpers, which will experience increased loads, are additionally strengthened with a wooden beam. You can install a dual profile by inserting one into the other with the hollow side. A structure fixed in this way will be more stable, less subject to possible deformation. Each stage of work is checked by level, angle.
Please note, if coupe doors are planned, then you first need to purchase a sliding system or decide on its model, since you need to prepare a place for the guide mechanism according to its size.
Drywall Sheeting and Finishing
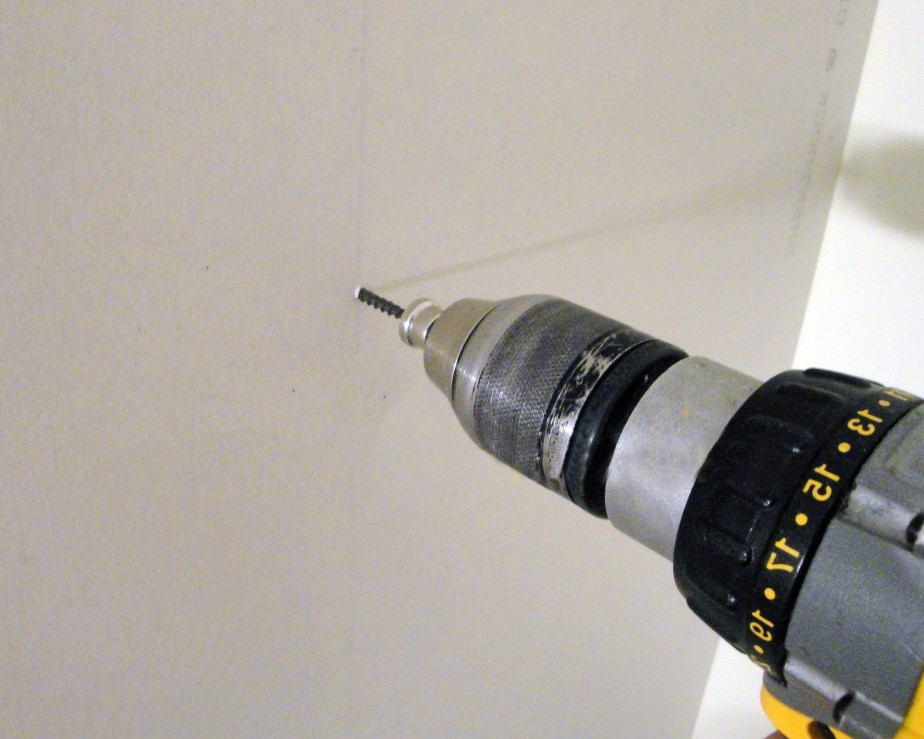
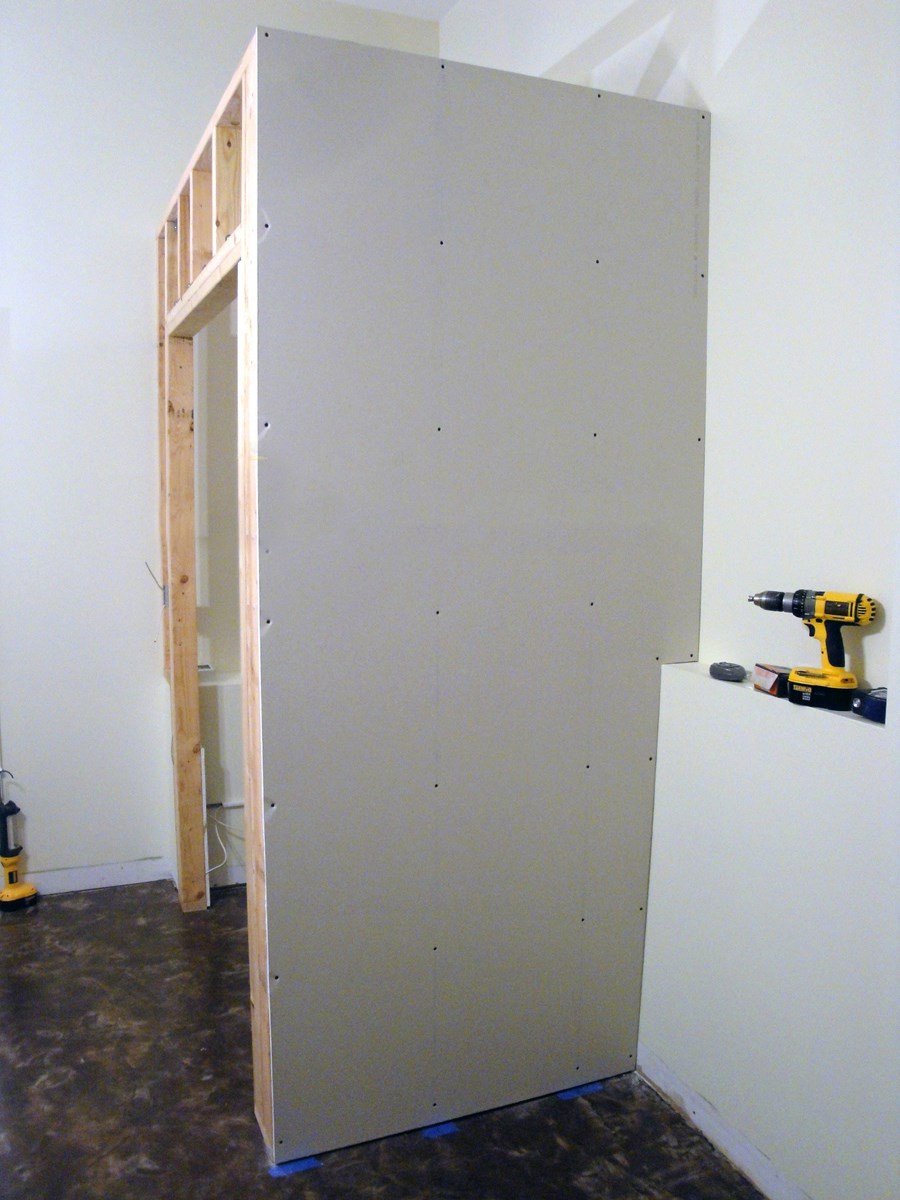
The next stage is the cutting and fastening of drywall. To do this, you need to make workpieces in size, based on an already finished design. The sequence of work is as follows:
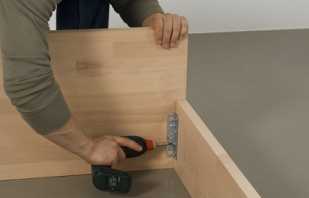
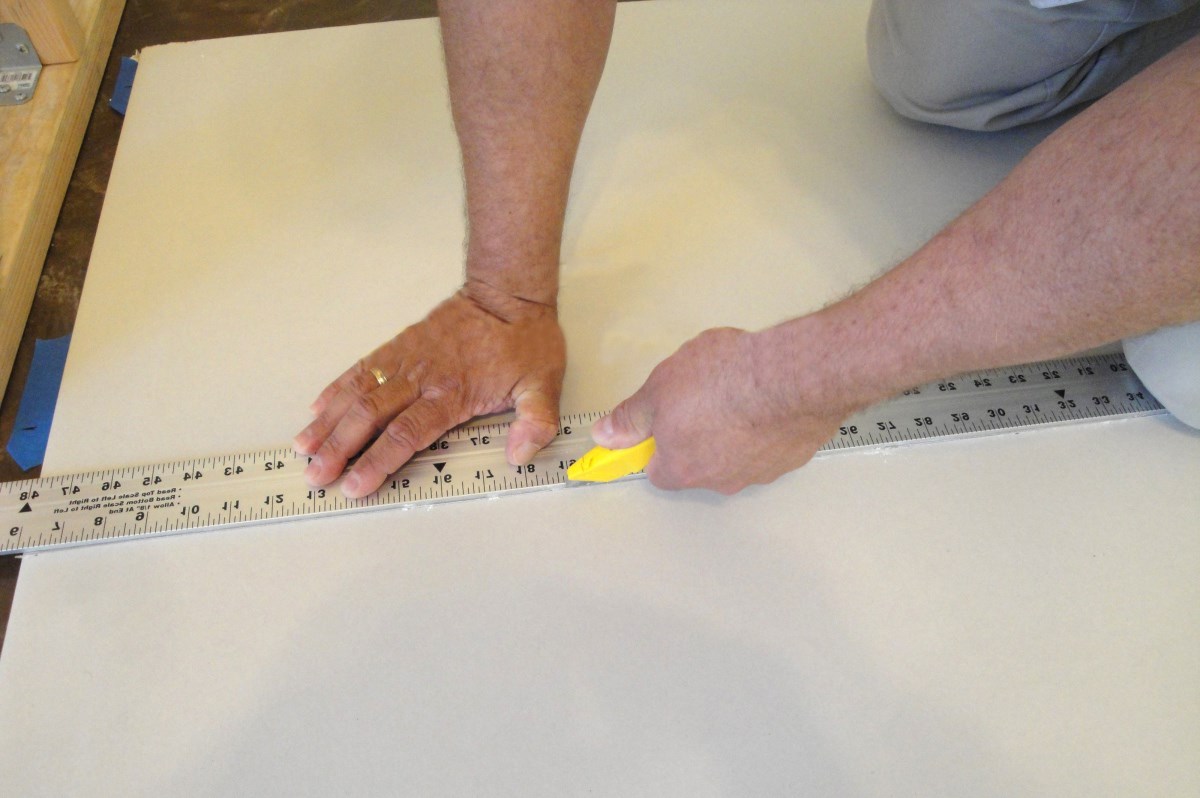
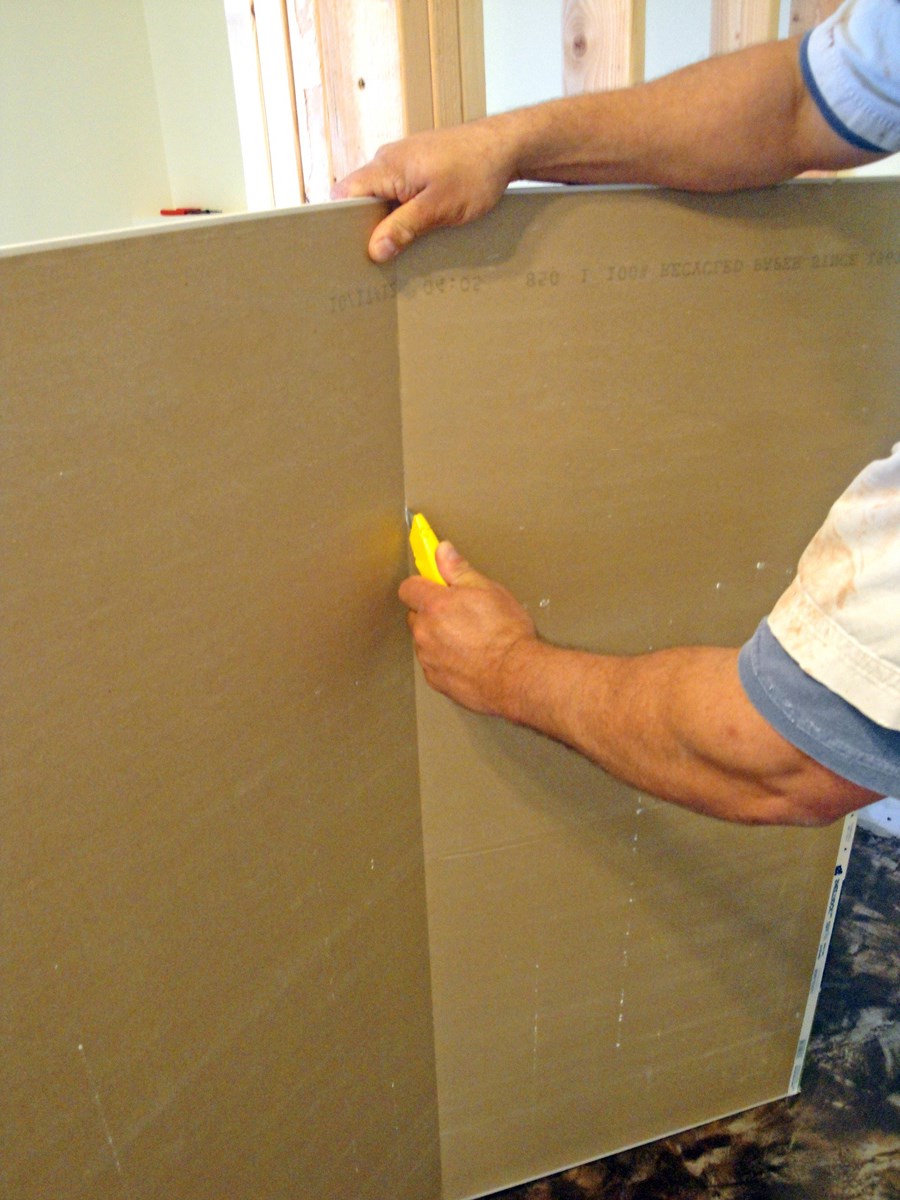
- mark the sheet, then make incisions with a construction knife and break the plate. You can use a special hacksaw. How to fix a cut sheet to a profile - for this, use self-tapping screws 2 (2.5); 4 (4.5) cm and a screwdriver. Fasteners must go strictly into the metal profile;
- then you need to fix the corners of a metal perforated corner. For these purposes, use starting putty;
- the next step is the sealing of the seams with a serpentine tape. Do this in two stages. First, thoroughly putty the seams with a small spatula. Let the layer dry. Then I close up the joints with a serpyanka on the putty. Before applying each of the layers, the seams are thoroughly primed and allowed to dry;
- then the remaining surfaces are putty in the following sequence: they are primed, given time to dry, a layer of putty is applied, and ground with a trowel. Putty layers should be at least two (start and finish), preferably three (two start, one finish);
- only after that you can proceed to the decorative finish: painting, wallpapering, applying textured plaster and other types of finishing materials.
Often they use a combined version of cabinets, the perimeter is made of drywall, and the inner filling of the laminated plate. Such designs are justified. The laminate is perfectly attached to the racks from the profile. The manufacturing process is simplified, since the most difficult, in the construction of gypsum, is the shelf. In addition, they are quite thick. Cutting and installing a laminate is much easier.
Hinged structures
Now we learn how to hang a cabinet on a plasterboard wall. Mounted structures are mounted as follows:
- make markings on the wall according to the drawing;
- then, starting from the ceiling guide strip, the frame is assembled according to the scheme: ceiling profile, then vertical wall, side racks and lower connections;
- the lower connecting strip is paired: one profile serves for horizontal connections. The second, attached to the side surface for vertical connection;
- in order for the frame to become stable, vertical racks are installed. They are inserted into the upper guide profile attached to the sidewall;
- horizontal bridges are inserted into the metal profile located below, with equal steps with vertical ones (perpendicular to it). Now the frame has acquired sufficient rigidity to mount drywall on it.
In order to hang the cabinet on the wall of plasterboard, all the rails are mounted on the wall plugs in the ceilings and walls. Knowing how to hang a cabinet, you can easily do the job by securely attaching the structure to the wall.
Nuances of work depending on the type of construction
The variety of types of drywall cabinets is explained by the versatility of this material. With it, you can realize any design fantasies, for example, with a built-in false fireplace made of glass, which will be viewed from two rooms. Photos of this kind of fireplace partitions can be found in presentations of projects by leading designers.
Here are some of the options:
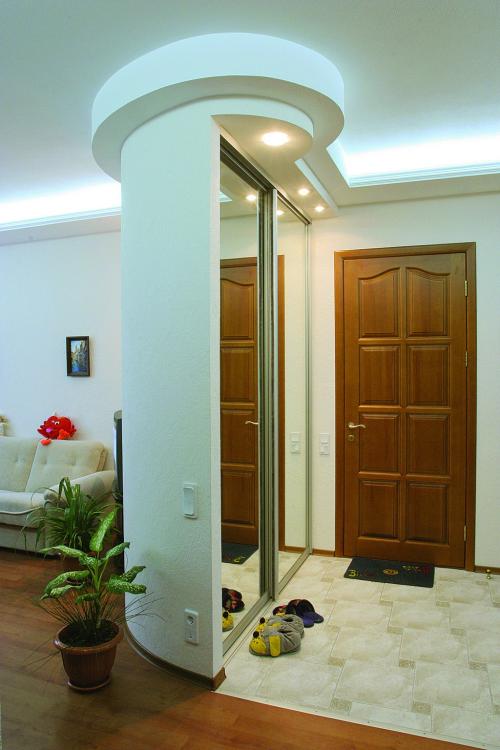
- curvilinear designs with open and closed sections.For their manufacture using arched drywall, which bends;
- angular sections of various types: concave, convex, diagonal;
- hinged structures, they look very impressive in the interior, combined with lights;
- another unconventional trick is fake windows. If there is a sufficiently large room with one window, it can be partitioned off with a plasterboard cabinet with a glass insert, with a backlight that mimics a window;
- spacious wardrobes are made of plaster, where the sliding system simulates a false wall in such a way that it literally merges with the room.
The examples of constructions given above indicate that you can realize any fantasy and transform the room using a drywall cabinet. Of course, more complex designs require certain skills to work with this material. Simple products, if desired and perseverance, can be done with your own hands. The main thing is to follow the recommendations and cross the psychological barrier of a possible failure. If successful, such a product will be a source of pride, beautiful decor and practical furniture.


Video