How to assemble furniture yourself, detailed instructions
Arrangement of a comfortable living space, convenient office, trading floor or warehouse depends on the correct choice of furniture units. All types of furniture can be divided into cabinet, modular, design, soft products and designs made according to individual projects. Factory models are popular with consumers due to their affordability. However, in most cases, after the purchase of ready-made case units, furniture assembly is necessary if the installation of products by specialists is not provided.
Content
Assembly technology
Typically, prefabricated furniture purchased in a salon, shop, market, ordered at the factory, is supplied to consumers disassembled. If the installation of furniture is not specified in the contract, the craftsmen will not assemble it, so the owner needs to do the whole amount of work with his own hands. On the one hand, with a drawing, components, tools, installation is not difficult. But high-quality assembly requires certain skills, a minimal understanding of the technology of installation and installation of cabinet furniture. The main stages of the process:
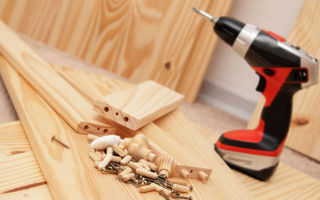
- unpack the furniture parts, fixtures and fittings supplied in the kit. Be sure to check the compliance of units with the declared quantity, quality and color;
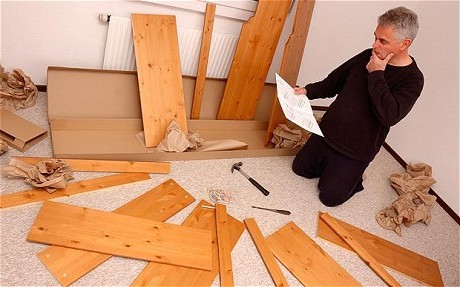
- you should check the availability of instructions, diagrams, detailed drawing, according to which the furniture is assembled. If some elements are not available, you can buy accessories or contact the manufacturer;
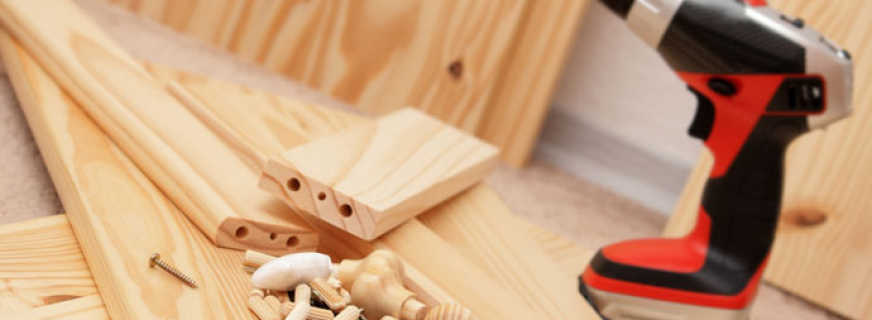
- it is required to select and prepare fasteners, mounting accessories, connecting elements, drills, electric, mechanical tools, hardware and other consumables;
- checking the conformity of the holes for fixing the fasteners to the attached drawing. The assembly diagram should contain clear instructions for installing the furniture structure;
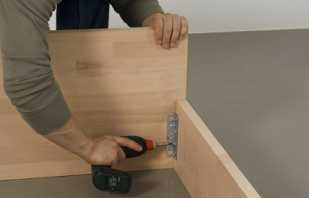
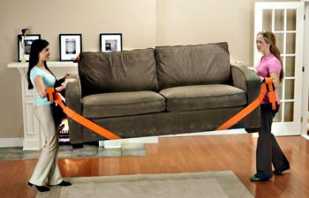
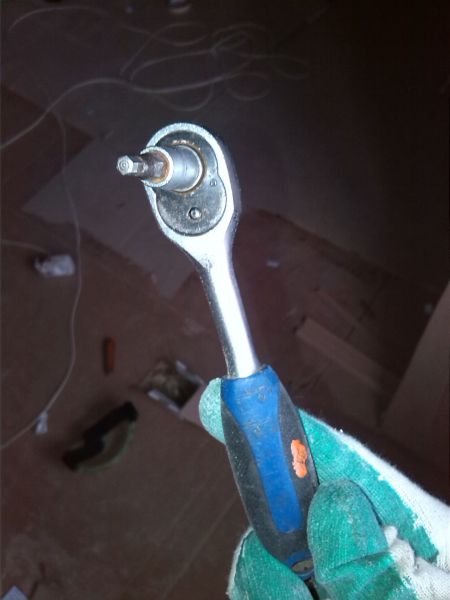
- if there is no assembly experience, it is recommended that you first mount something small, for example, a furniture drawer, and then proceed with the installation of dimensional furniture, as shown in the picture;
- furniture is assembled in the following order: mounting shelf holders, hinges, planks, screeds, joining frame elements, installing doors, gluing mirrors, mounting handles, legs;
- equipment design shelves, drawers, decorative fittings. It is convenient if during assembly it is possible to set the model using adjustable legs;
- the built-in furniture is fixed to the wall, under the sliding wardrobe, the sliding system is first mounted. Stationary furniture is assembled completely, then installed in the chosen place;
- facade adjustment - with a screwdriver, loosen or strengthen the bolts of furniture hinges. It is necessary to ensure that there is no gap between the doors;
- checking the plane of the countertops of the kitchen unit, the accuracy of hanging the upper sections of the upper cabinets, the integration of household appliances.
The furniture assembly lesson contains general information about installation technology. The assembly of metal furniture, upholstered furniture, sofas, beds, tables with superstructures, radial compartments is carried out taking into account certain nuances. Simple designs can be assembled independently without the use of professional equipment, but if there are no skills or the right tool, and the project is quite complicated, it is better to use the services of a manufacturer - professional furniture makers will assemble the product quickly and efficiently.
When assembling furniture with your own hands, you cannot pull fasteners, use poor-quality consumables, using screwdrivers you need to monitor the exact movement of the bit so that the tool does not damage the panels at high speeds. It is better to remove the protective film from the parts after assembly is completed.
The nuances of assembling various designs
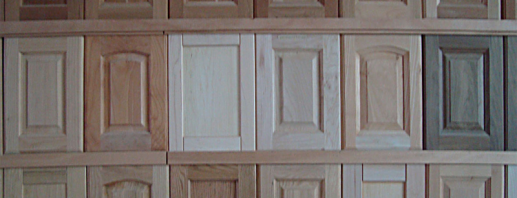
When it comes to assembling furniture, you need to consider that connecting the elements of different products in the same way will not work - for the installation of furniture designs require special fasteners, accessories and a set of tools. There are certain nuances in the assembly process itself - you need to know them in order to work quickly, accurately and accurately. The floor mounting of the bed differs significantly from the assembly of wall cabinets, the connection of the details of upholstered furniture and the installation of the built-in compartment are completely different. Some nuances and recommendations for the assembly of various furniture:
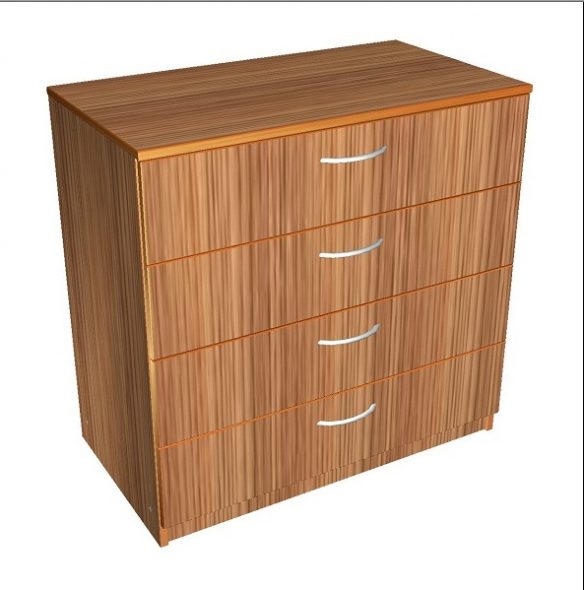
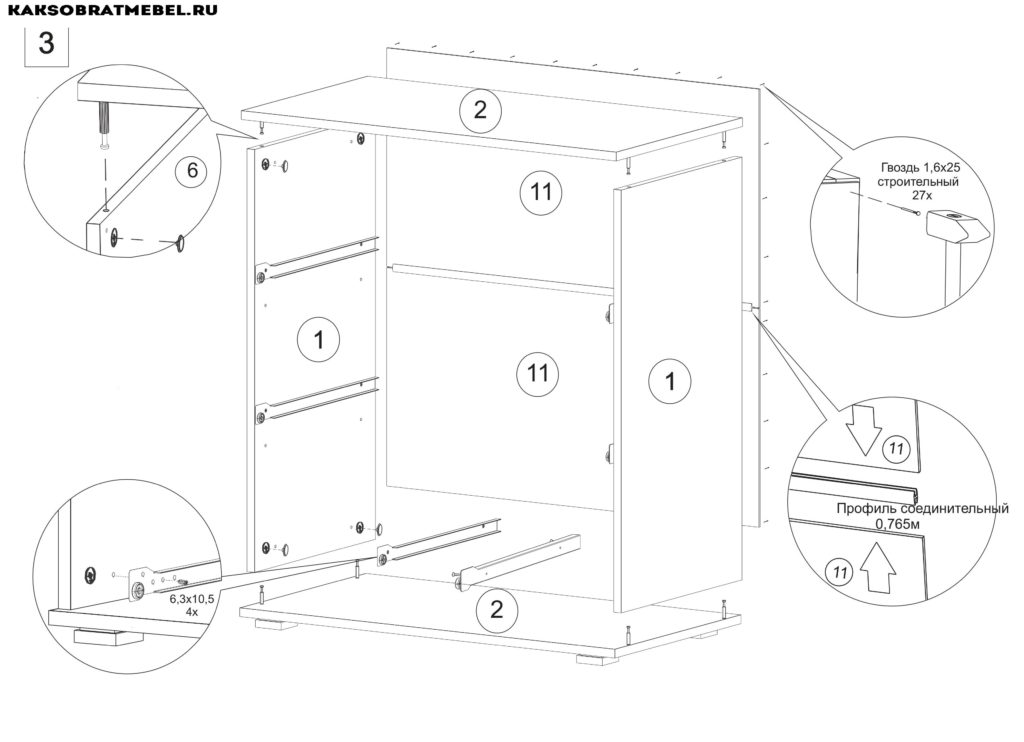
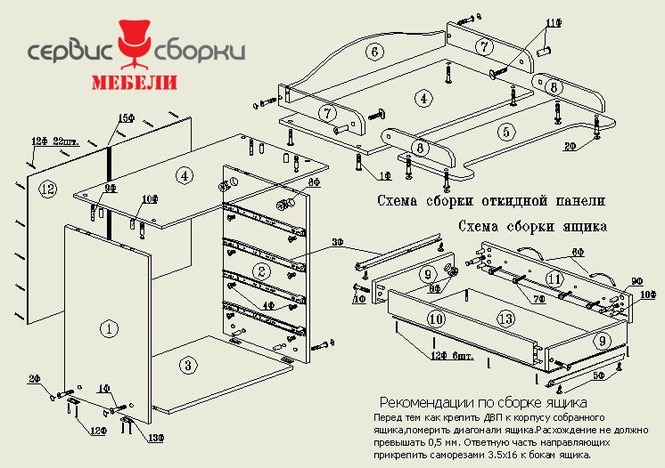
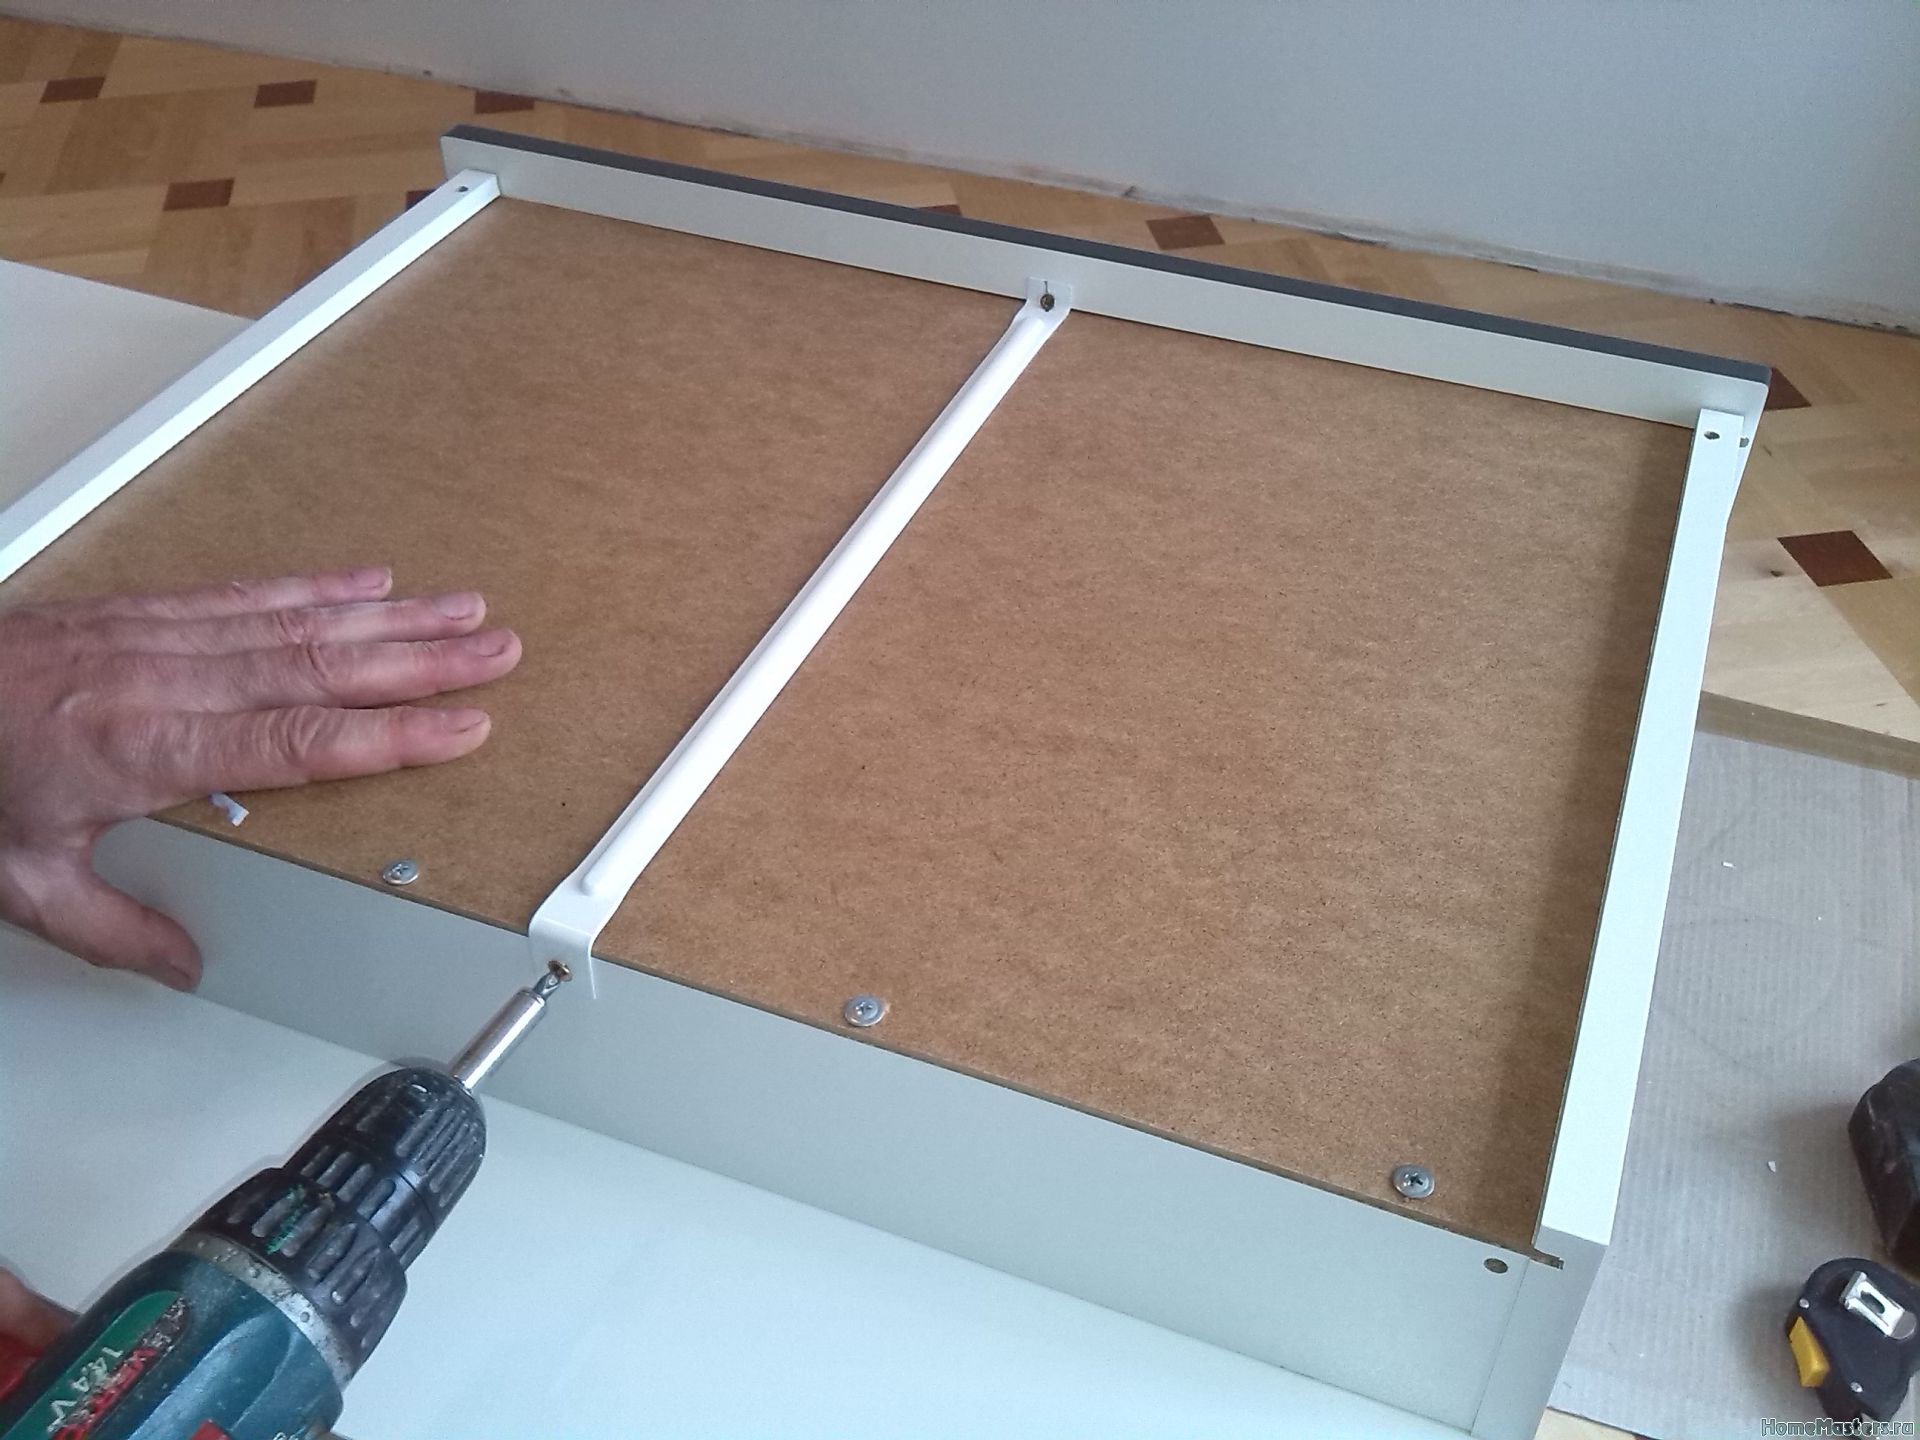
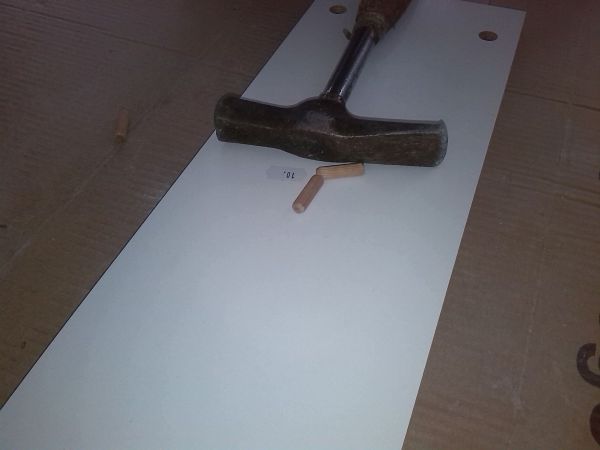
- a chest of drawers with drawers is an example of simple prefabricated furniture with a minimum number of fasteners. It is necessary to install rails for drawers on the side panels. Pour some glue into the through holes of the sides and ends of the shelves of stiffness, insert dowels and easily hammer them with a hammer, connecting the elements, and then make confirmations. The top cover is fixed with dowels and minifixes - a pin in the cover, an eccentric - in the sidewall, then tighten the confirmates to the stop. The next step is to nail the back wall, after checking the diagonal, collect the boxes, install the guides on them, screw the handles into the prepared holes;
- standard sleeping bed. After checking the availability of all structural details, the base is assembled - the transverse and longitudinal bars of the frame are connected with Euroscrews (confirmates) or self-tapping screws. In the center, a transverse beam is fixed, the lamellas are installed in specially prepared grooves. The side walls of the frame are fixed with pins with plugs. The remaining elements of the bed are fixed on the bolts, screw the legs, if any, put the mattress in the base box. The two-bedroom model is assembled according to the same principle;
- bed with a lifting mechanism. The standard model consists of a frame (base), a lifting mechanism, a mattress and internal drawers. You will need a screwdriver with a full set of nozzles, a screwdriver, a wrench, Euro screws with countersunk heads and an internal hexagon, a tape measure and a level. Assembly diagram: the connection of the three drawers and the headboard parts with brackets, corners or screw ties. In the upper part of the tsar, shelves, corners are mounted, a lifting mechanism - a gas shock absorber (cylinder up) is fixed with nuts with a stopper, handles and a limiter for the mattress are installed;
- stationary type cabinets - the easiest furniture to assemble. The sequence of actions: the connection of shelves with side panels with the help of confirmations and screwdrivers, installation of the back wall of fiberboard, for which furniture nails or a furniture stapler with brackets are used. After assembling the box, the same level of diagonals is checked and the right angle between the elements is observed.The next step is hanging, adjusting the facades, then it remains to install the shelves. If the model has drawers or pull-out shelves, the guides for them are installed first;
- compartment body - a stationary compartment cupboard with a base is being assembled by screwing the base to the bottom with minifixes and dowels, and then stuffing the supporting nails. The case is also assembled on minifixes and dowels, it is important to check the correspondence of the opposite holes. Next, fix the back wall (nails, staples, mounting in the groove), check the diagonal and angle. After that, you need to install shelf holders, guides for drawers, install shelves and a bar. If the cabinet without a base and trim in the lower back, the baseboard is dismantled;
- sliding door system - used for all coupe models. Embedded products do not have side walls, often made without a roof and bottom. Installation consists in mounting the shelves to the walls of the room and installing a sliding system. First, stoppers are installed, stops are fixed to the upper guide rail, the lower one does not need to be screwed. The door panel is led into both guides into the distant grooves, the second leaf into the nearest grooves, and adjustment is performed. After that, you can fix the lower rail, stick the sealing brushes;
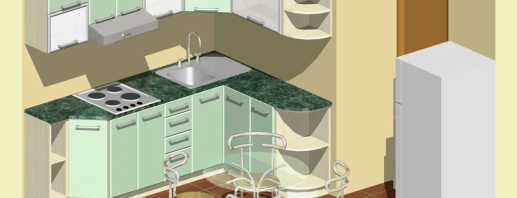
- elements of a kitchen set - a complex installation, a complete set of tools, diverse fasteners, special accessories are required. The assembly begins with the preparation of the lower sections - the bottom is connected with Euroscrews to the side walls, the strips are installed under the countertop, the back wall is made of fiberboard (stapler, nails with a step of up to 10 mm), the legs are fixed with screws. This is followed by the installation of loops in the landing nests, hanging of swinging facades, adjustment. According to the same principle, drawers are assembled. After screeding “bottoms”, a countertop is installed, checking the horizontal with a building level.
The upper cabinets of the kitchen are assembled in the same way as the “bottom”; the products do not have drawers, but more complicated installation is required. The hanging of the upper sections is carried out on the mounting plate, anchor bolts, powerful hinged loops or butterfly dowels on drywall at an optimum height of 550-600 mm from the countertop. An important nuance in the kitchen - between the top of the door and the countertop leave a gap of 2-3 mm, the mounting rail is installed 30-40 mm below the roof of the hinged sections, the installation of the corner kitchen begins with the installation of a radius or direct corner cabinet.


Scheme and drawings
In order to independently assemble any furniture structure, the master needs a drawing on which the technological process of assembling the assembly unit is described in detail and clearly. The presence of schematic images simplifies the task. It is worth noting that the manufacturer is not responsible if customers damaged wood, mirror, plastic parts during the assembly process, so the work must be done carefully, use mechanical equipment, carefully study the attached diagram and instructions. What useful information does the drawing contain:
- assembly instructions for the unit (set). Typically, the manufacturer indicates that the complete set of the order with details, fasteners, connecting, mounting, decorative accessories should be checked upon receipt of the goods;
- the assembly of Italian furniture or the usual headset from a furniture supermarket begins the same way - from studying the specification, which indicates the number of parts, their name, size, code;
- a separate table shows the specification of accessories, consumables, fasteners. For ease of use of the drawing and assembly diagram, the name and size of the hardware are given - screw, bolt, clamp, confirm, kleimer;
- the wizard needs a text instruction in order to assemble the product correctly - the specification and assembly order are indicated for each unit, and the construction details and accessories are marked on the drawing - a template for drilling holes.
Special attention deserves the scheme of how to hang a mirror. There are several mounting options for mirror panels. To choose the appropriate installation method, you must consider the weight of the mirror and the strength of the base plate. Technology how to hang a mirror:
- use double-sided tape - on the surface of the MDF board or chipboard, the adhesive strips of tape are placed pointwise, “try on” the mirror, remove the protective film and fix the glass. The work is carried out in the horizontal position of the part, so that the adhesive on the assembly tape is seized. You can hang the mirror vertically, increasing the consumption of adhesive tape;
- acrylic glue - needed to hang a mirror without breaking the amalgam. The sealant can be applied pointwise or in separate strips, distributing the adhesive on the surface indented from the edge of the mirror. It is recommended to glue the plate with the mirror part in a horizontal position. Equipment for work - glue gun, glue dries in 24 hours;
- colorless building silicone is well suited to securely hang a mirror on the cabinet door. To firmly glue parts, it is not necessary to apply silicone to the entire rear surface of the mirror, it is enough to distribute the substance with thin transverse stripes, attach a mirror glass, fix the decorative frame to the glued mirror.
Alternatively, you can use fasteners made on the principle of the tabs of the clamps. But the disadvantage of this method is the presence of visible parts of the mounting hardware. In order not to drill mirrors and glass parts, such accessories as a kleimer are widely used. There is a large selection of products in terms of construction, design, and material of manufacture - the klemer can be made of plastic, have a transparent structure, round or rectangular shape. Kleimer is a universal device that acts as a mirror holder or retainer for glass shelves. Mounting option - fixation with a self-tapping screw or under the kleimer make drilling.
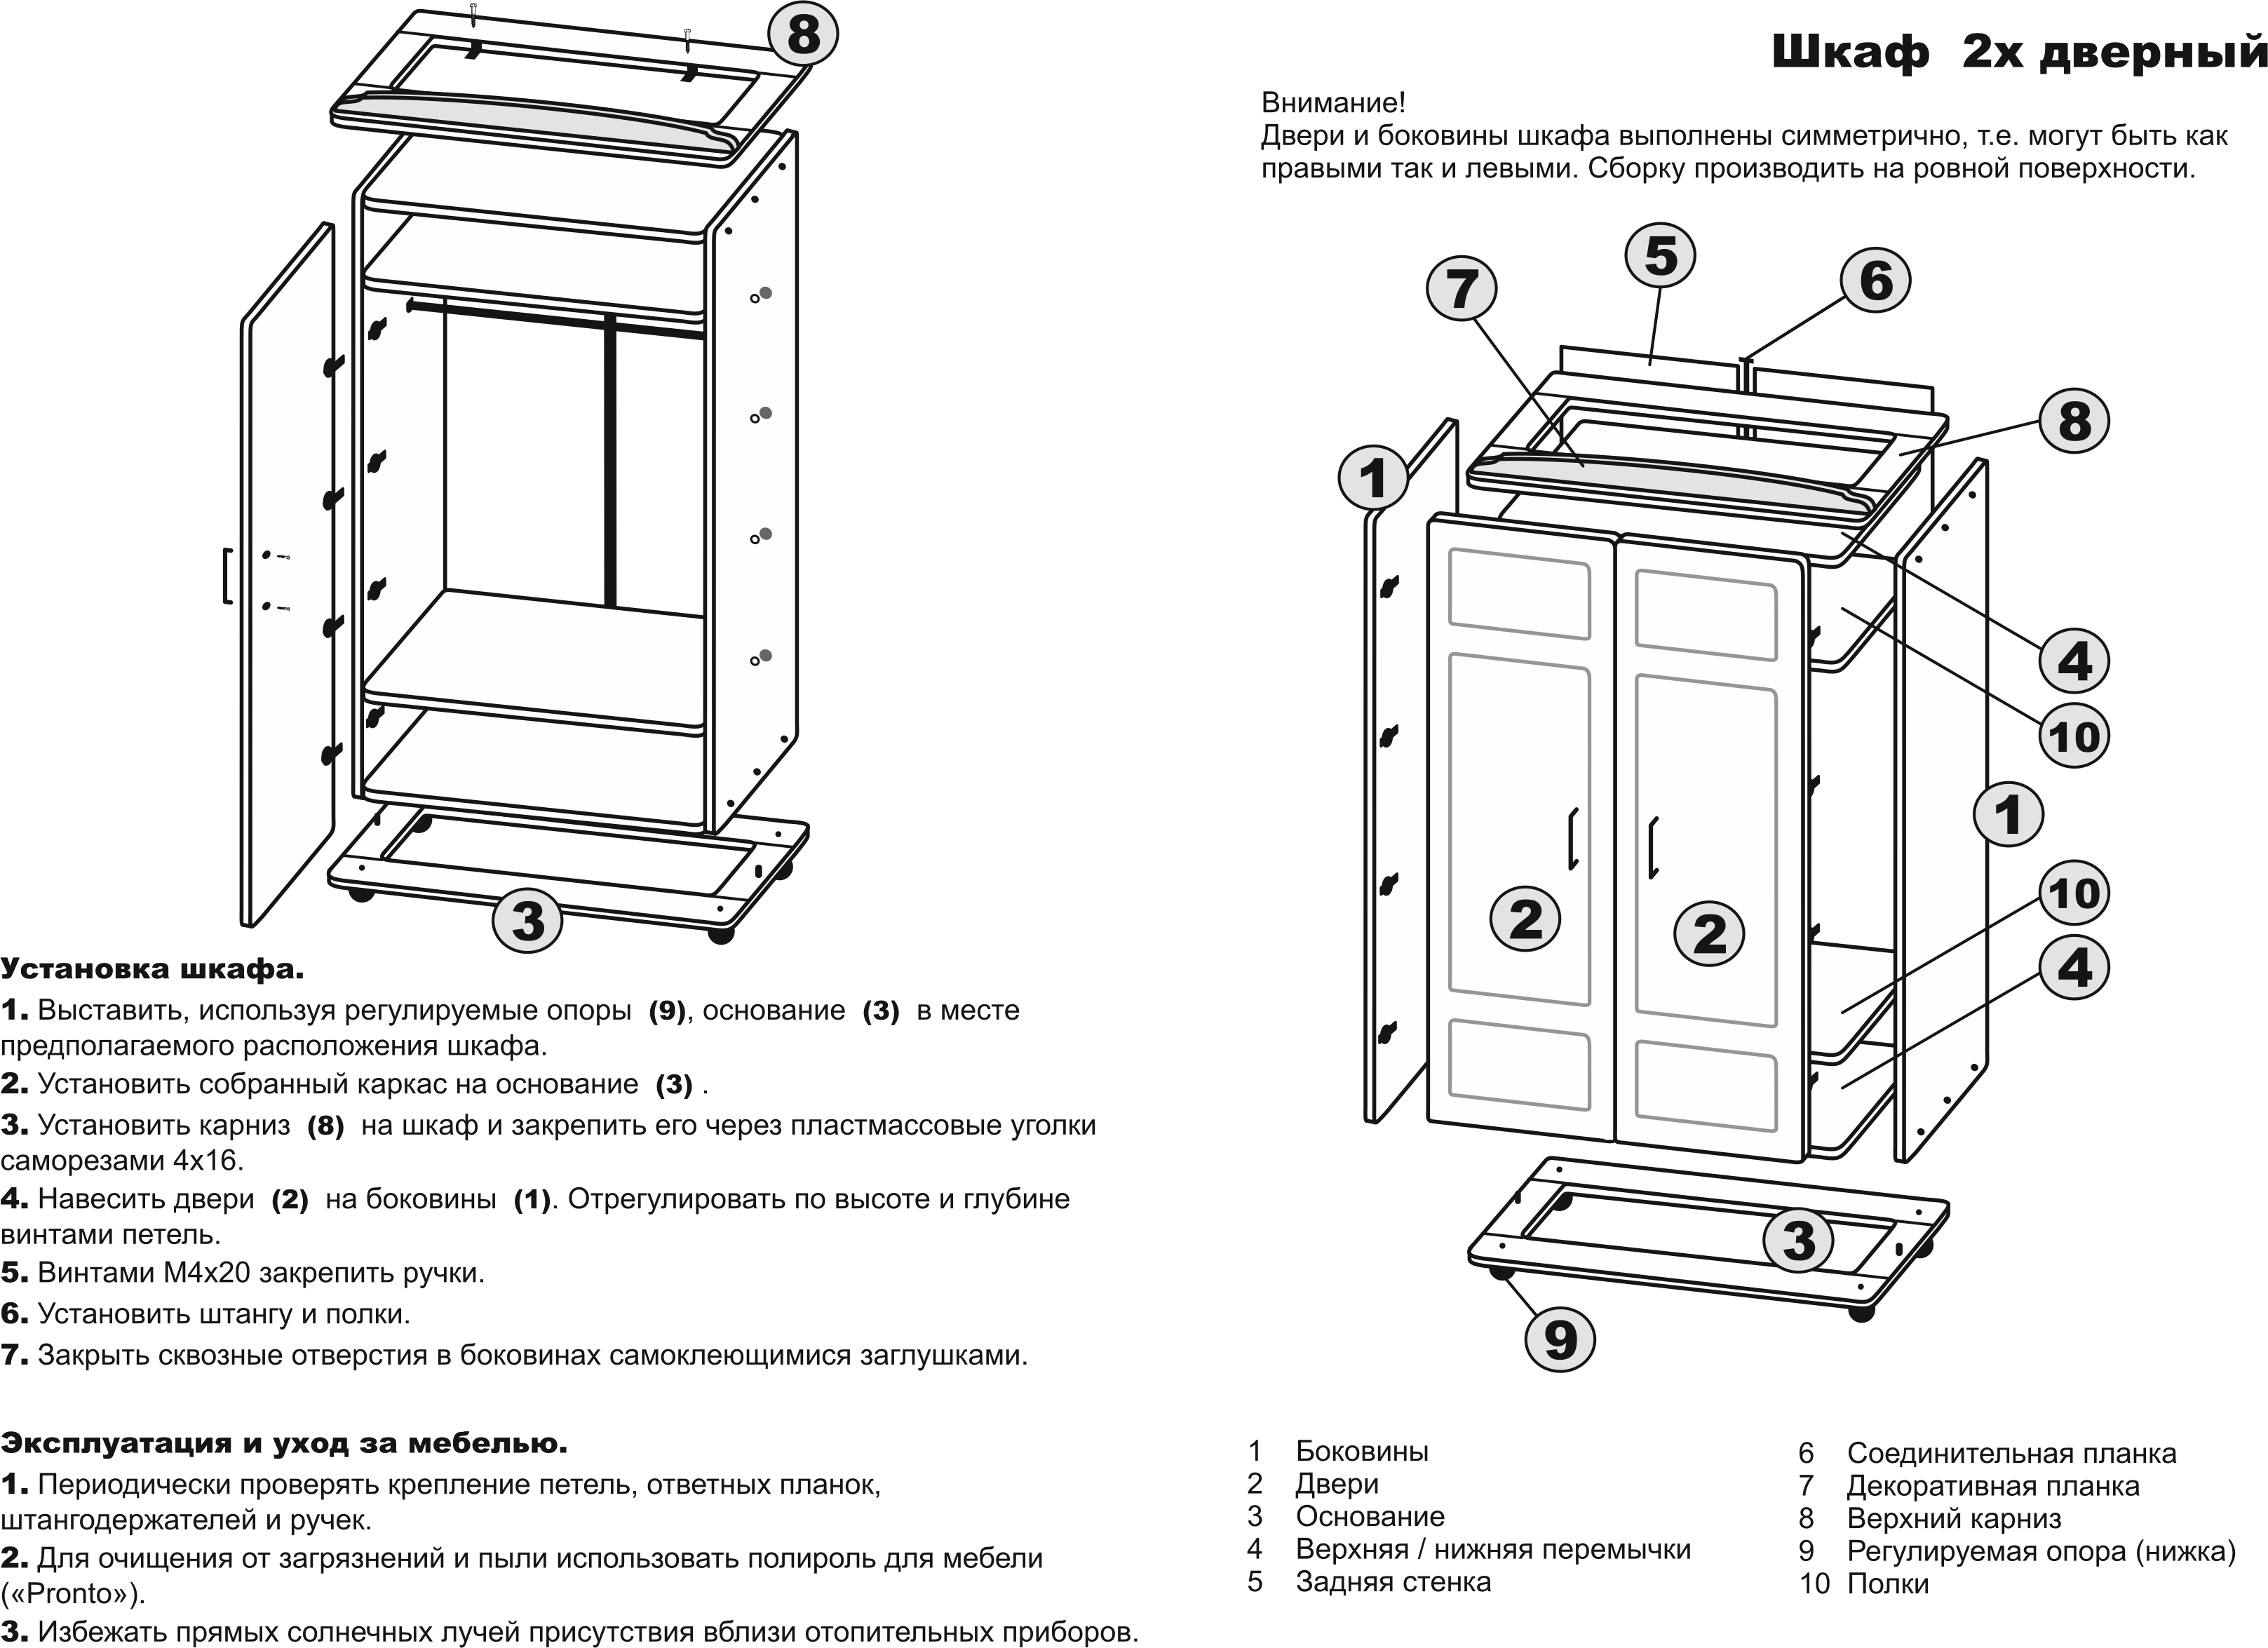
An example of the assembly diagram of a children's wardrobe for clothes according to the manufacturer’s drawing: lay the right side on a table for assembling furniture, install a bar holder, guides, mating loops, rods. Put the bottom on the dowels, fix the left sidewall using eccentric fasteners. Insert the back wall into the groove, fix the connecting bar, fix the left sidewall. Then, according to the scheme, the box is assembled - the rods are screwed in, the sidewalls of the box are mounted, the unit is fixed with eccentrics, and the bottom is fixed with Euroscrews - confirmations.
After clogging the thrust bearings, the children's wardrobe is placed in an upright position on a table for assembling furniture, and the hinges for doors are mounted on self-tapping screws (the size is indicated in the drawing). The final stage of assembly is the installation of doors, bars, handles, then a drawer and shelves are inserted into the cabinet. According to such a simple and understandable scheme, which is attached to the furniture design in the drawing, you can assemble any cabinet unit - a table, chair, wardrobe, bed.

Necessary tools and fasteners
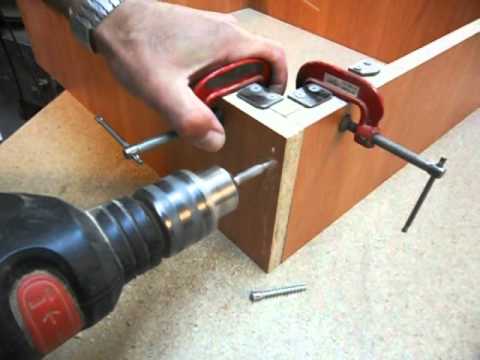
To properly assemble the furniture structure, you should have at hand a complete set of tools, connecting fittings, decorative accessories. Furniture fasteners are supplied complete with products, but there are situations when not all fittings are available, then some elements of the fasteners can be chosen independently. Furniture manufacturing and assembly are two different processes.In the first case, sawing, grinding, milling, sticking equipment is required, in the second case, the client collects the product with his own hands, using a set of tools and accessories. Types of connecting fittings:
- confirmation (otherwise Euroscrew, screw coupler) - an inexpensive, reliable, durable furniture connection, does not require accurate reaming to add a landing hole. Used for the assembly of wooden products and furniture from chipboard;
- metal, plastic furniture corners are the simplest devices for connecting parts. Products differ in durability, reliability of fixing, ease of installation. Scope of fastening - upholstered furniture, cabinet models;
- Minifix eccentric design - a common type of connection of elements, the screed of which is performed at right angles. The mounting option is an angular minifix designed for complex designs. Withstands many assembly / disassembly cycles;
- rafix - a fastening connection of an eccentric type, the fixation of which is carried out in two mounting holes. The design of the rafix, the photo of which is presented below, is an eccentric, a plastic case, a stock, a futurka (not in all products);
- self-tapping screws - devices for intersectional couplers of parts that are convenient to use in places of installation of shelves, canopy furniture hinges. Self-tapping screws do not have such high reliability as Euro screws and minifixes, but they are inexpensive;
- countersunk screw - simple fasteners, usually not supplied with furniture. The scope of use of the countersunk screw is the installation of shelves, rear walls of fiberboard, handles, hinges, guide rails for drawers.
The list of tools required for assembly must be selected depending on the type of furniture structure. So, to connect soft products, use a wrench, a screwdriver for fixing hardware, and when installing parts of the kitchen set, connecting and mounting accessories for hanging the upper cabinets (anchor bolts, metal hinges) are required. For furniture units delivered ready-made, a drawing, an assembly diagram, packaged fasteners are attached. Drilling for connecting fittings is carried out by the manufacturer, so the task of the master is to assemble the furniture with your own hands according to the drawing, which indicates where the holes are drilled.
Currently, for the production of cabinet furniture, the demand for which is steadily growing, they use the same type of materials, so a standard set of tools is required for assembly. It is only a matter of combining finished (machined, glued, drilled) parts.
The list of tools for assembling furniture:
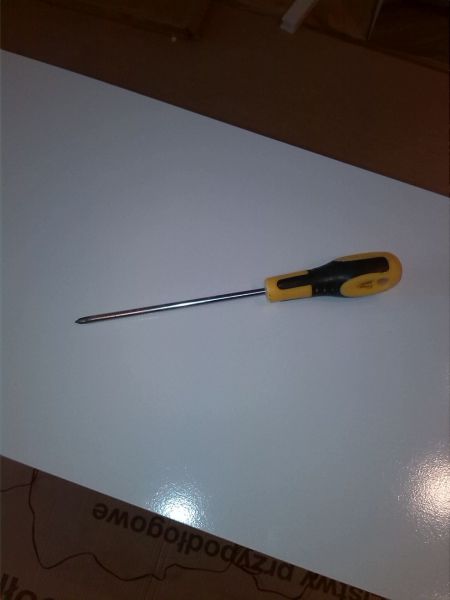
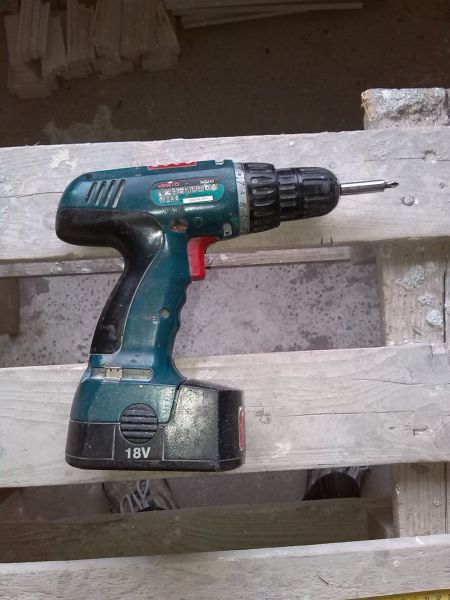
- a screwdriver is an easy-to-use and maintenance tool with which the master performs almost all operations - tightens self-tapping screws, minifix rods, screws, clamps, dowels. A cordless screwdriver is used to assemble all types of furniture - compartments, walk-in closets, hallways, kitchen and bathroom sets, beds, sofas, coffee tables;
- bits for magnetic holders. Types of bits - cross, asterisks, hexagons. To use a screwdriver, consumable fasteners are fixed in a magnetic holder. Cross bits are suitable for self-tapping screws with crosswise slots, installation of eccentric couplers. Asterisk bits are required for installation of built-in household appliances, hexagons - for installing a confirm coupler;
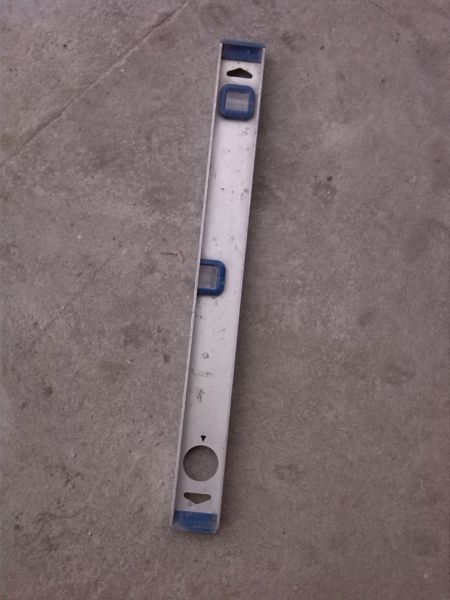
- stationery knife, level, tape measure - a list of tools without which assembly and repair of furniture is impossible.Using the level they control the position of facades, countertops, doors in the horizontal and vertical plane, all measurements are performed with a tape measure - if the parts have a reamer for self-tapping screws or a sample cutter for minifixes, you need to check the accuracy of the holes;
- puncher, drill, jigsaw is a professional tool that you may need to insert a sink, make holes for communication systems, and install the upper sections of kitchen sets. Which tool to choose depends on the design of the furniture, the characteristics of the installation, the need to mask communication systems (bathroom, kitchen).
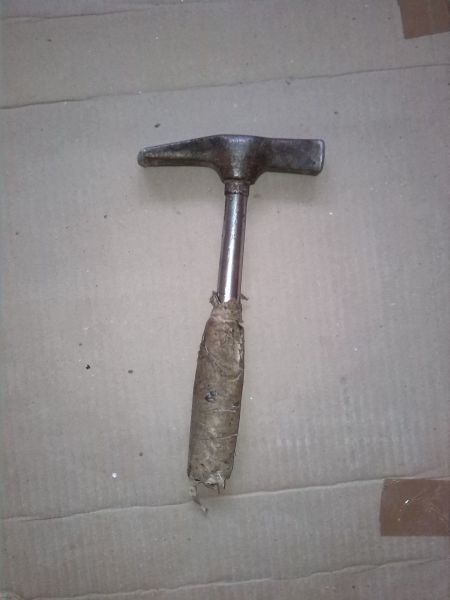
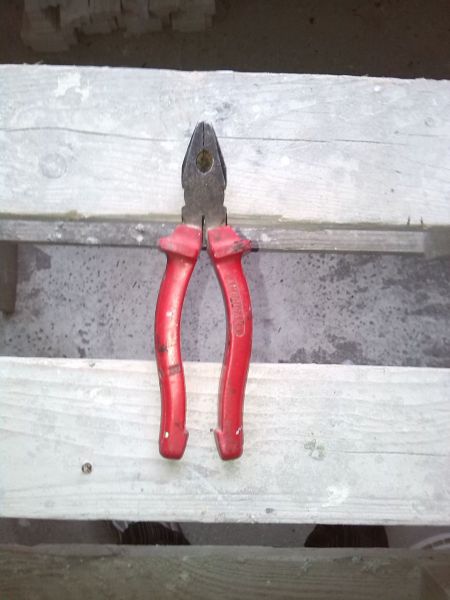
A set of hexagons, a clamp, drills and bits, as well as a screwdriver for adjusting the hinges, a hammer, pliers may be required by the master to mount the furniture with his own hands according to the drawings and assembly diagrams. A pencil will not interfere with the work - before proceeding with the assembly of furniture, you need to check the coincidence of the holes according to the attached diagram. If they are located inaccurately or incorrectly (this sometimes happens), the fasteners will have to be fixed independently in a strictly defined place, using conductors for drilling. Such devices are templates with which you can accurately make holes for drills, Euro screws, dowels. Furniture production and assembly will be more accurate if you use patch conductors - they are suitable for making holes on flat parts made of chipboard and MDF.
In addition to the common mounting and connecting fittings, furniture structures use supports, studded one-piece connections (rods, fixation on dowels for gluing), couplers for fixing countertops, intersection ties, transformation mechanisms and support rollers (upholstered furniture). All parts must be in stock, otherwise the assembly of furniture at home will not be performed correctly.
An important point - handles, hinges, shelf holders, awnings, legs, sliding systems, rails, moldings, that is, finishing fittings and parts of internal filling systems, are established by the manufacturer of furniture structures. But if the model is large, you can only connect parts at the installation site. Professional assembly of furniture in this case is preferable to self-assembly.
Common mistakes
Each private furniture maker has his own secrets on how to quickly and accurately assemble furniture. Some professionals use a table for assembling furniture, other craftsmen can mount a large tall cabinet on the floor and install the finished structure, measuring the diagonal of the room and the product.
Difficulties can arise with inserting sinks into kitchen countertops, making radius curves, for which you need to use special equipment, hanging mirrors on glue, scotch tape, kleimer.
To become a professional assembler, a future master needs to be able to draw up a project, calculate material consumption, perform detailing and cutting chipboard, MDF boards, use equipment, tools and have some design skills. Then the finished product will be characterized by impeccable quality, durability, and long service life. Frequent mistakes made by novice masters when assembling furniture:
- start work without first checking the availability of the mounting kit, the basic structural elements, without having studied the manufacturer's instructions;
- they begin to assemble universal assembled furniture by connecting large parts - you need to decompose all the elements into units (drawers, cabinets, tables), and try to assemble a small structure;
- do not pay attention to the specification in the manual - in vain, at first glance, the details are similar, but there are left and right elements, facades of the upper and lower cabinets, and other nuances of assembly;
- ignore the need to assemble the product on a solid, clean surface.To work, you need a sufficient amount of free space, you can use the fixture for assembling furniture;
- panels made of MDF material can be damaged using an electric tool (drill, screwdriver) - use screwdrivers until you acquire the necessary assembly skills;
- do not change the diagonal of the cabinets (compartments, cabinets, chests of drawers) before installing the back wall of fiberboard - this leads to a skew of the part and the entire structure;
- do not take into account the assembly order specified by the manufacturer in the instructions. As a result - low build quality, dismantling and re-installation of the product;
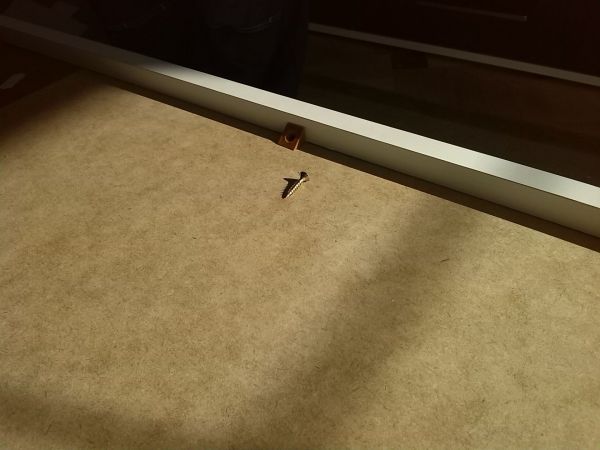
- they do not check the performance of the holes for fixing the fasteners, do not measure the distance between them for compliance with the drawing - as a result, you have to close the flaws with plugs.
There are masters from whom you can hear that they violate the assembly technology in order to quickly complete the work - for example, "I hang the top of the kitchen set before installing the lower cabinets." This is technically wrong - the assembly of a complex kitchen design begins with the installation of the lower corner cabinet (often it is a sink), then the remaining floor units are installed, they are connected together by self-tapping screws or intersection ties, the sink is cut, the table top is installed, and only then they begin to install the upper tier of the kitchen headset. There are many such subtleties in the process, and to do the work clearly, watch the video on the assembly of furniture.
When the master assembled the furniture structure using simple equipment, fasteners, tools and accessories, he always makes adjustments, checks for the absence of visible technological gaps, and observes the diagonal of the doors. Transportation and installation of furniture is not an easy task, but after acquiring the appropriate skills, everyone will be able to master the valuable experience of assembling furniture units of various designs. To simplify the assembly of furniture, the video below will help you understand the process.
Such an occupation can be used as a business option in a few steps - ordering factory furniture, delivering it to the consumer by car, installation at the installation site. Presentation of photographs of assembled furniture will expand the customer base if the furniture assembler is interested.
Video

 (votes: 1, average rating: 4,00 out of 5)