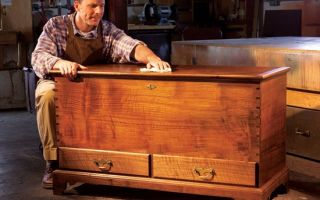
DIY furniture manufacturing technology
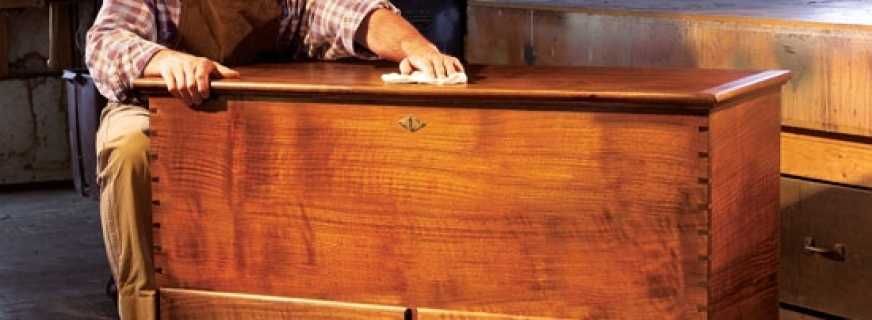
Each person seeks to organize their space in such a way that maximum comfort is felt in it. However, in addition to a worthy aesthetic appearance, its functionality is important, therefore cabinet furniture is made independently by many residents of country houses and summer cottages. Many in this business have no experience, so they often turn to ready-made instructions.
Content
Necessary materials and tools
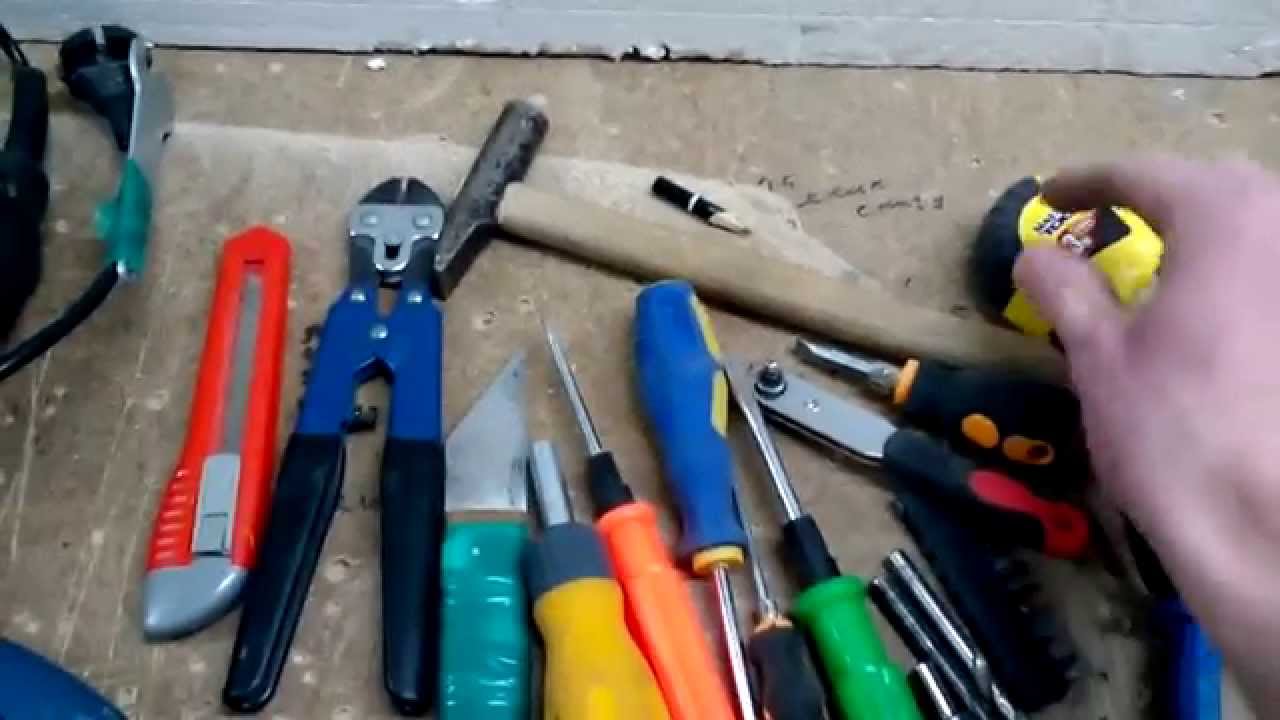
Before you begin to study the assembly process yourself, it is first of all important to prepare the necessary tools:
- Screwdriver. It will be needed in order to tighten various parts: bolts, confirmats, screws. With their help, the prepared parts of accessories are mandatory attached. There is an alternative method of assembly - using ordinary screwdrivers, but in this case the whole process can drag on for a long time, and not every person has such an opportunity.
- It is advisable to immediately purchase drills of various diameters. In many construction stores they are sold as a set (from 4.5 to 10 mm). It will also save time searching for all the necessary materials, especially since such a tool may be useful in the future;
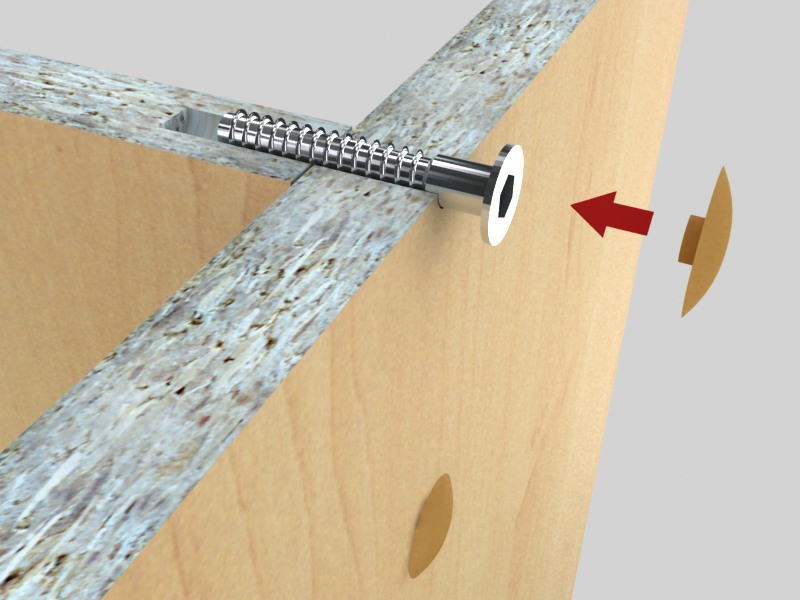
- A drill for confirm is purchased separately. In this case, a 5 mm hole can be drilled in a very short time. For a step without special expenses, the hole expands to 7mm;
- In order to tighten the confirm and tightly, it is recommended to purchase a hexagon. As an alternative, some home craftsmen use a screwdriver equipped with special bits, but with such a design it is impossible to climb into hard-to-reach places;
- Forsnel drill should be available to everyone who wants to assemble cabinet furniture, since with it, loops and other accessories are twisted;
- Marking accessories: ruler, pencil or bright felt-tip pen, metal square, tape measure, stationery knife;
- Circular saw;
- Electric jigsaw;
- A hammer, preferably with a nail puller (needed if you need to dismantle the individual elements);
- The hair dryer is construction.
If the furniture does not have any features, it is recommended to use universal schemes during assembly, which are designed for a drilling angle of 90 degrees. Unfortunately, such an adaptation cannot be called a budget option, therefore, such an acquisition is advisable only when the assembly becomes a professional craft.
Manufacturing technology
Answering the question of how to make cabinet furniture at home, we divide the whole process into several stages.
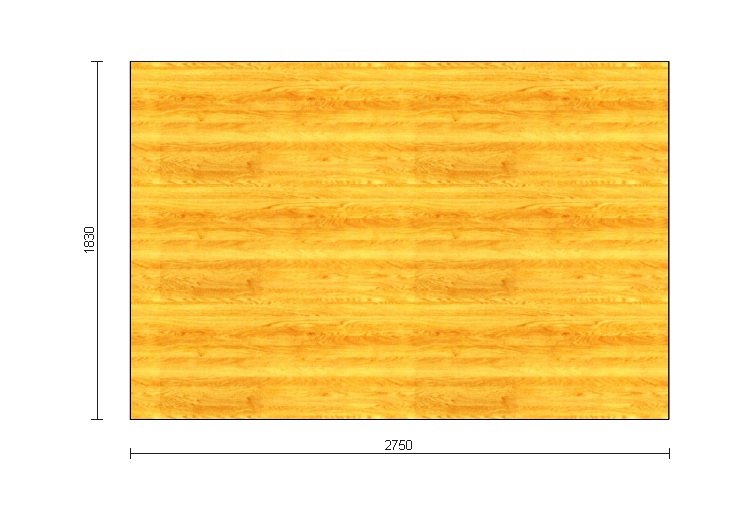
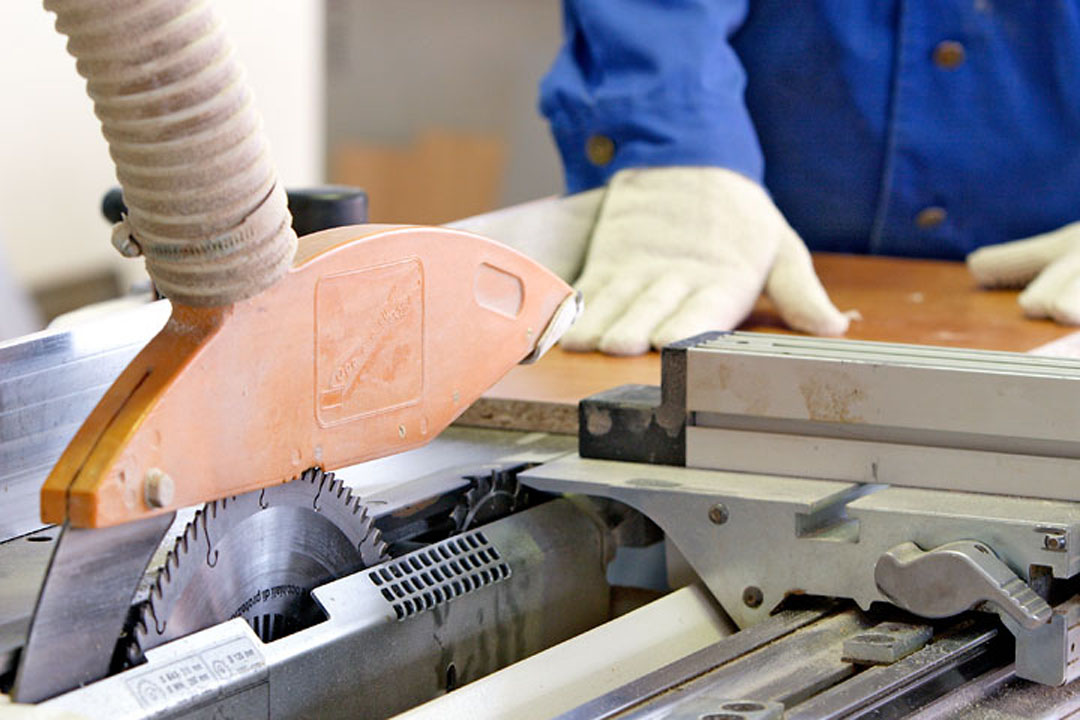
Cutting parts that make up the overall design
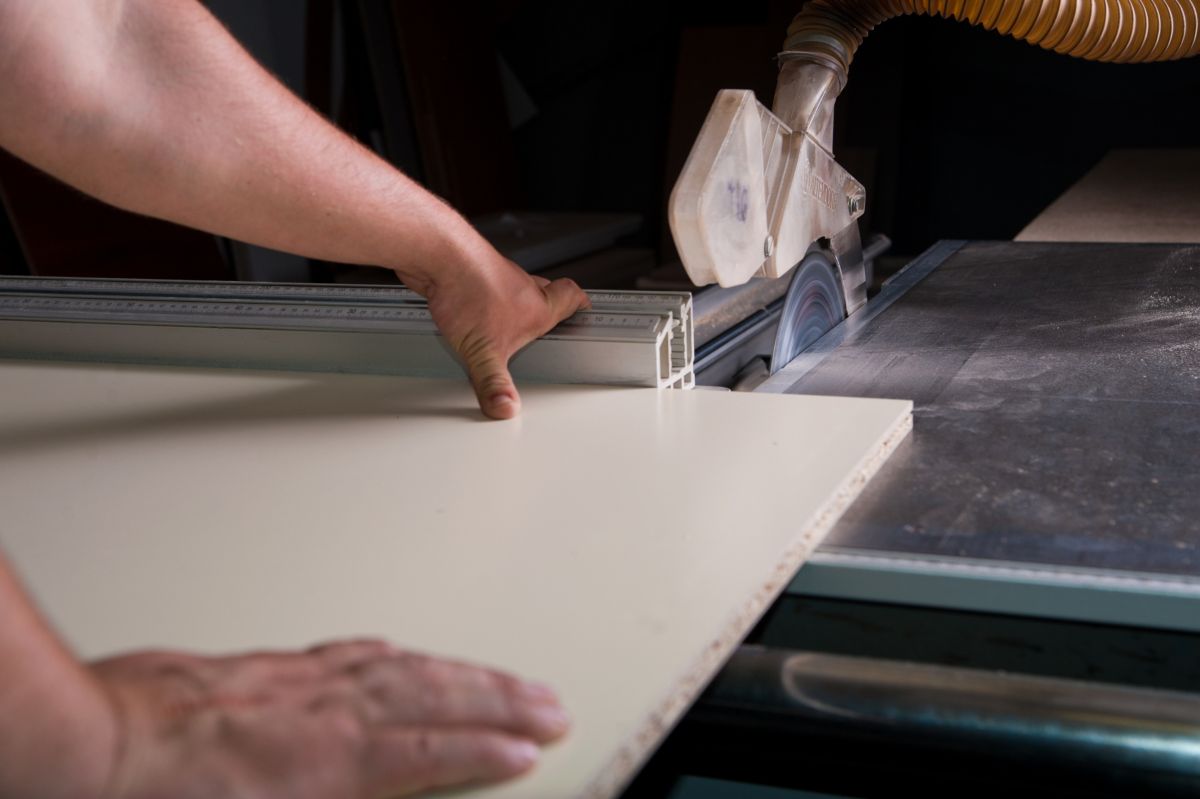
When it is planned to work with chipboard, it is impossible to do without cutting. Using a machine, we saw through chipboard, on which we distribute all the workpieces in advance. This will help reduce material consumption. It is recommended to use a high-performance machine, due to which the optimum sawing frequency is achieved, since an undercut saw is installed here.
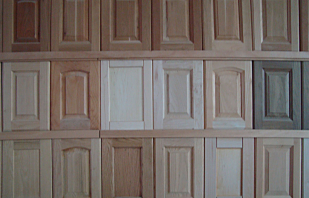
It is easier to work with ready-made laminated particleboard. In stores, you can buy options covered with a decorative layer for every taste. All that remains is to cut out the necessary details. If the furniture is made from raw raw materials, then you need to paste over already cut parts. Facing can be done with a self-adhesive film or special plastic.
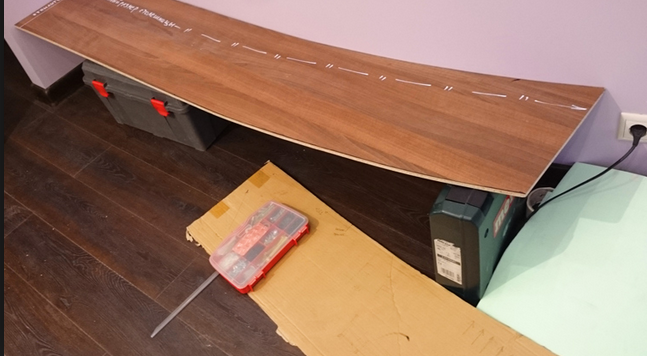
Slicing
Before collecting cut details, you need to process slices. For this, an adhesive-based edging tape is used. Before working, it is important to pay attention to the conditions in the room:
- The percentage of humidity should be as low as possible;
- It must be warm to avoid deformation of the material.
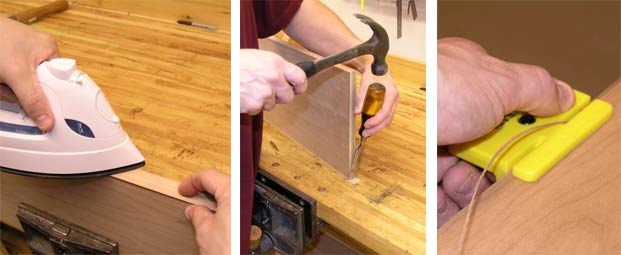
For gluing parts with an edge tape, a breadboard or construction knife and an ordinary iron are prepared. Most often, the edge is sold with an already sticky layer, and additional surface treatment is not required.
You can use a professional iron. In the process, it is important to keep it at a certain distance from the surface in order to avoid displacements and tightly fix all the parts in their places.
It is important to remember that the iron should be held on the edge for a small amount of time, otherwise it will overheat and go in bubbles. As soon as the edge is fixed and takes a certain position, we take a knife, cut the edge and clean out all the bumps with the help of an emery cloth.

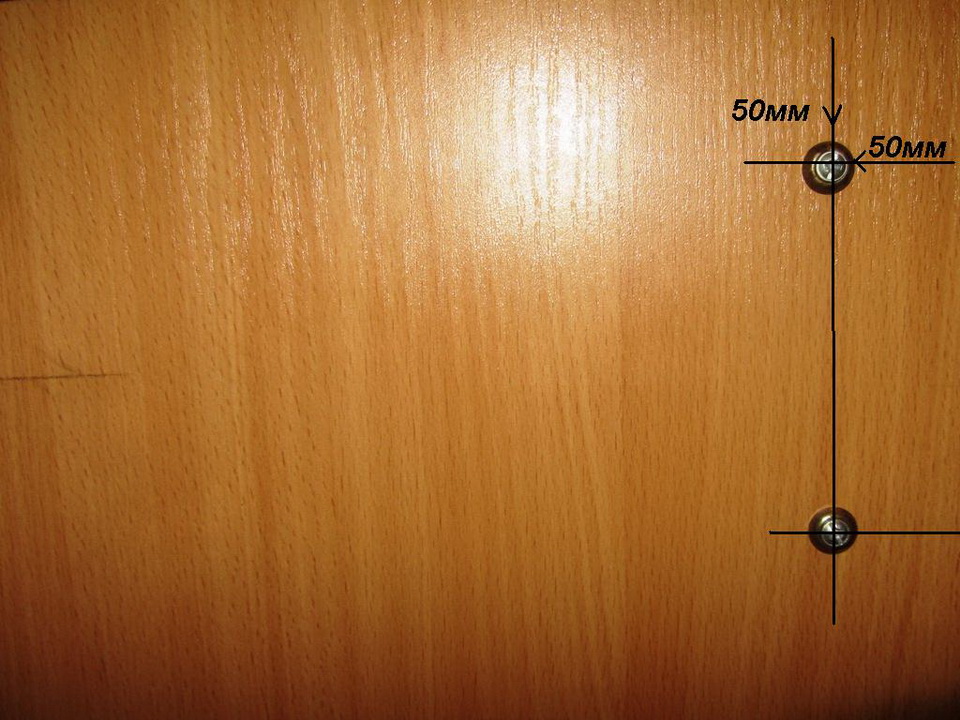
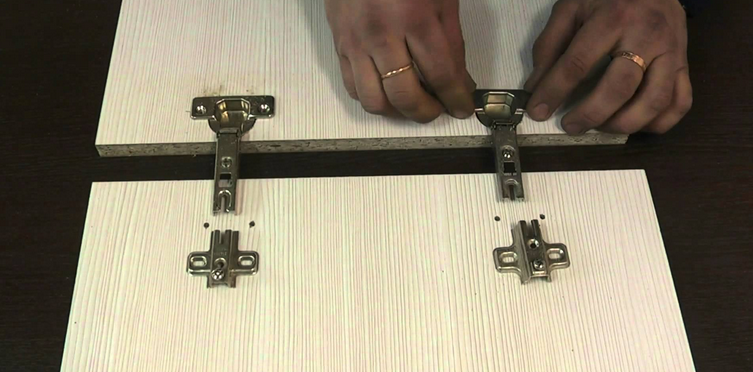
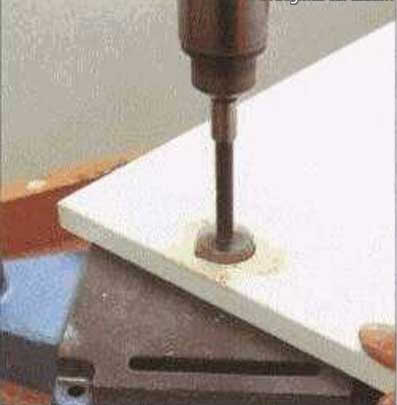
Marking points for fittings
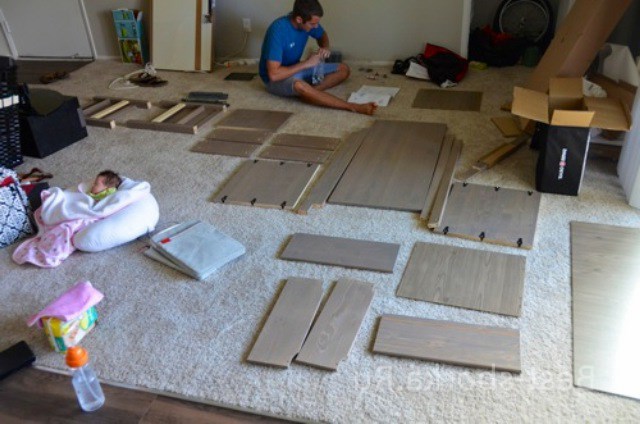
Finished parts must be laid out on a flat surface. Next, mark the attachment points of the fittings, in accordance with the plan of the finished product. Check all sizes, an error of only 1 mm can provoke a skew of the entire structure. Lockers will stop opening, doors will converge incorrectly. Next, you need to drill all the holes of the required diameter in order to fix the fittings.
Mounting
After the work with accessories is completed, we proceed to the assembly of all the elements. Many beginners in this case preliminarily turn to video instructions, where not only the assembly order of a certain model is shown, but also practical advice is given on how not to mix up the whole process. We collect nodes. This is the final stage when it is necessary to assemble all the prepared parts into a single design. It is important to perform all operations sequentially.
Step-by-step instruction
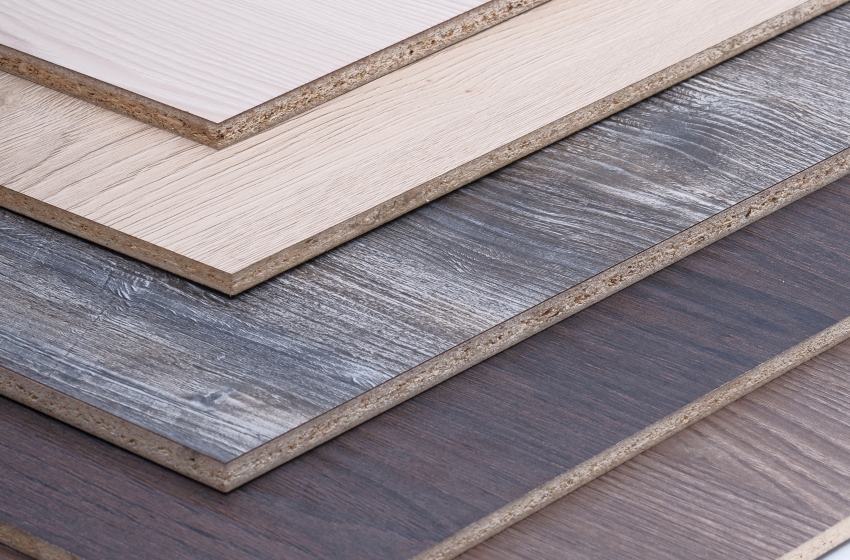
First you need to determine what cabinet furniture is made of. The most common and available materials are chipboard, fiberboard or particleboard. An array of wood is more reliable and stronger, but it costs more, and it’s more difficult to work with it.
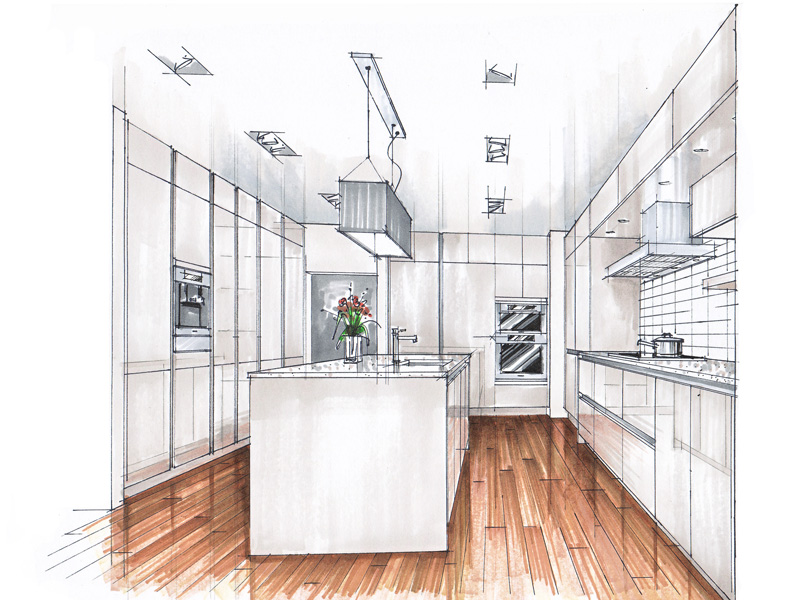
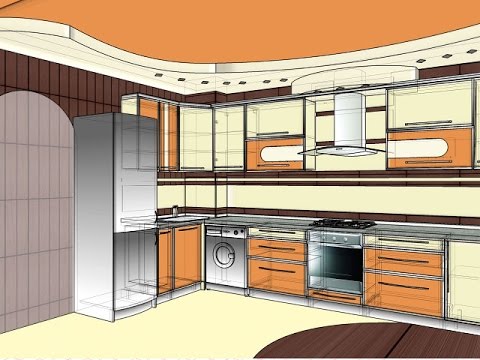
Design
All instructions for creating cabinet furniture can be divided into two stages. The first is the design of cabinet furniture. This stage involves an artistic or graphic depiction of all elements (drawings of cabinet furniture). This is a difficult event, because a project scheme should be correctly developed to help visualize the necessary furniture functionality.
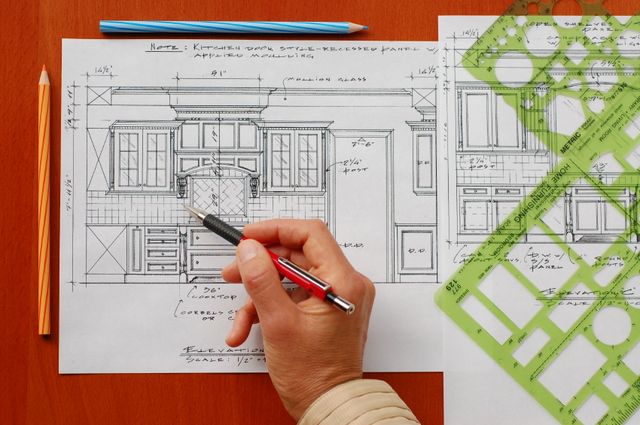
A few years ago, such a project could be developed exclusively by a qualified designer, but with the help of modern applications and programs, you can work on the task yourself. To make a clear plan for the design of cabinet furniture with your own hands, it is worth determining what information should be contained in it:
- On a separate plan, you need to draw the overall design of the room to visualize the position and appearance of cabinet furniture;
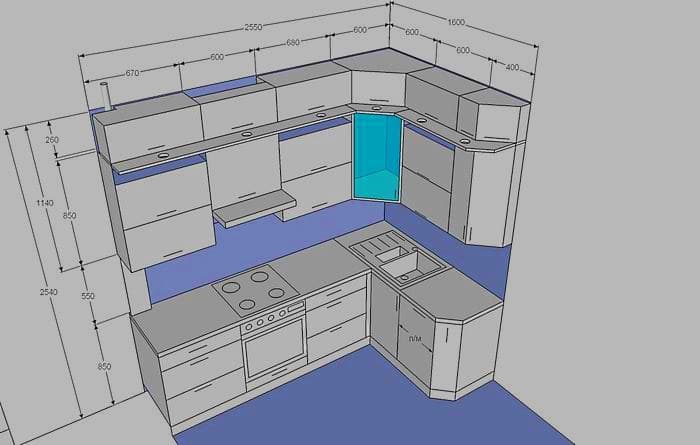
- All dimensions are introduced into the project - dimensions of sections, height, depth;
- All details are being worked out that will act as the basis for cabinet furniture, drawings of facades with the required dimensions are introduced;
- Selected texture, color scheme.
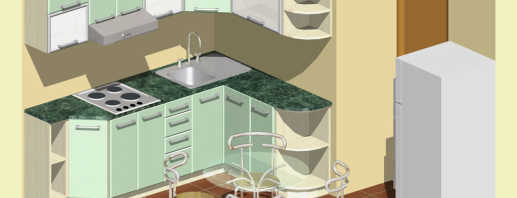
On the Internet you can find special 3D-programs with which you can recreate absolutely any furniture project. In the functions, you can set special parameters and even choose the material from which it is planned to create the desired interior items. The main advantage of such services is the lack of the need to study information, how to calculate dimensions or draw "the old fashioned way", especially since not everyone has such skills. The finished version is printed on the printer as a photo project, and then a matter of technology and practical skills.
Graphic drawing of the overall project determines the success of the business, but the creation of parts is no less responsible. First of all, everyone should think about what functions the furniture should perform and only after that start drawing. Correct dimensioning is a determining factor in the success of all further assembly. Otherwise, the part may not fall into place, which means that it will require adjustment of its shape, which implies additional financial costs. Even if the plans include the manufacture of an ordinary cabinet for storage, each part must appear in a separate perspective on the drawing:
- Back wall;
- Front Panel;
- Side walls;
- Each shelf;
- Door.
As for the parts to be retractable, they are also drawn separately from the rest.
Create Parts
Parts are manufactured according to the general instructions:
- The choice of material from which the parts will be formed;
- Creating a project on a computer using a 3D program or drawing by hand on a paper;
- Making patterns by printing on a printer or making patterns by hand;
- Transferring blanks to material by stroke patterns with a pencil or a bright marker;
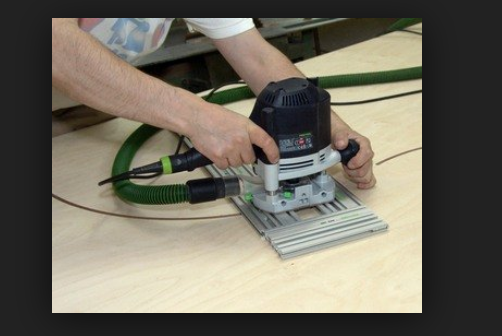
- Cut with a high-performance machine;
- Edging, if necessary grinding;
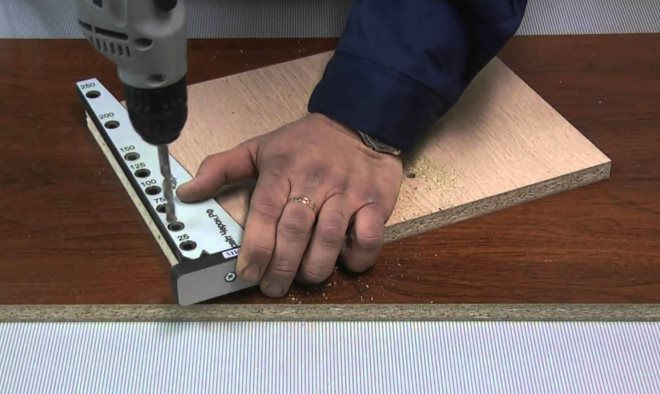
- Drilling holes for fasteners.
Assembly
With the transition of do-it-yourself furniture design to assembly, the whole process can be described in the following steps:
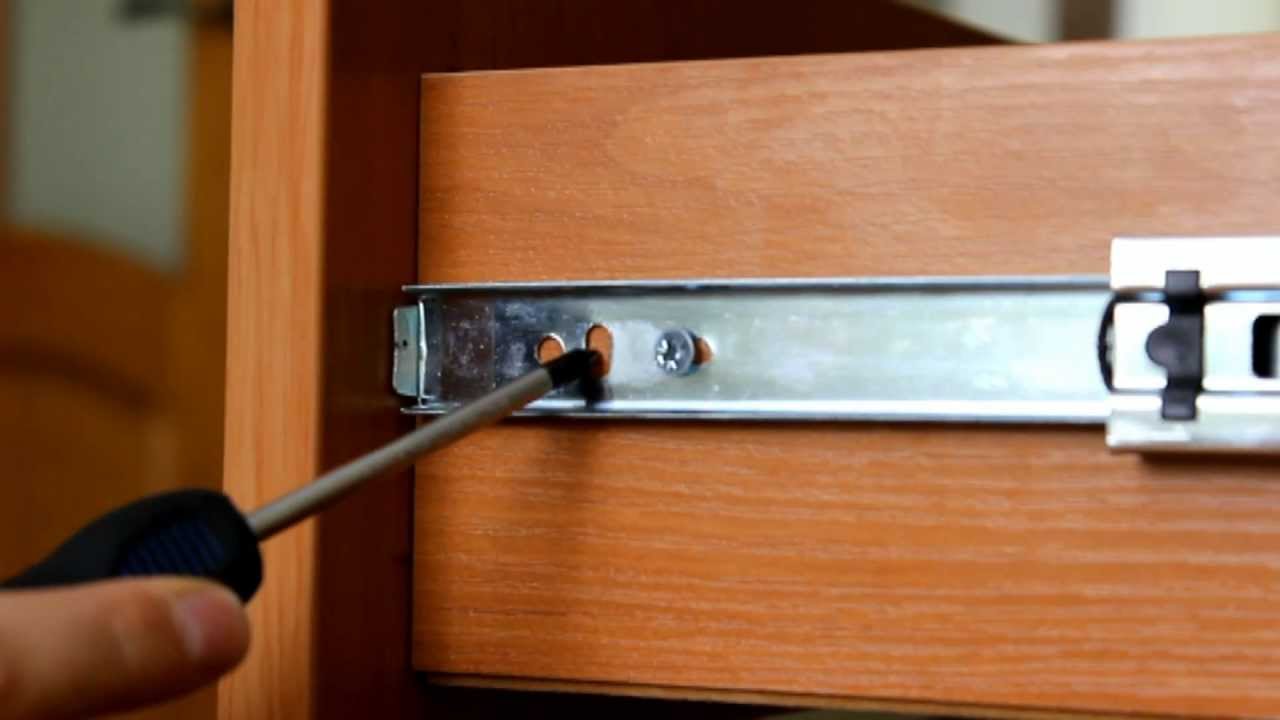
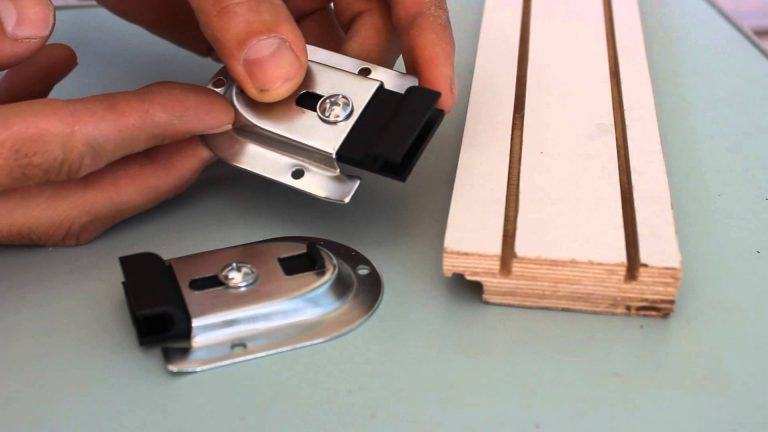
- All components of the hardware (hinges, locks, couplers, runners) are attached to the main parts;
- Assemble the frame and the back wall, mount the mirrors;
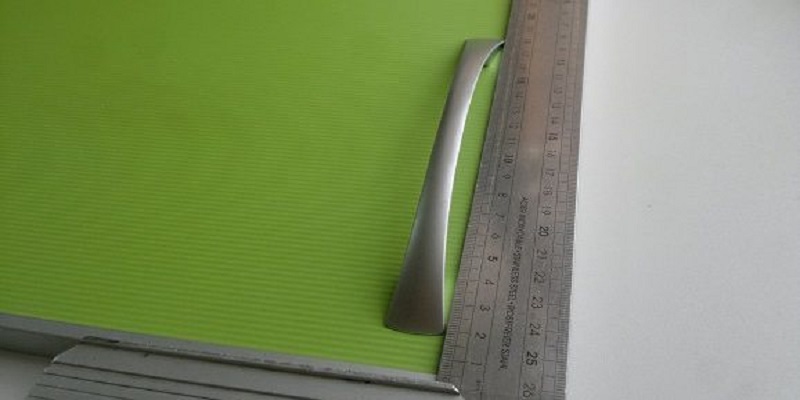
- Check the fittings, attach the handles, plugs, install the sliding elements in their places.
Depending on which piece of furniture you plan to assemble, the process may vary slightly, but the basic procedure remains unchanged. So that every person who plans to create furniture with his own hands, understands how he needs to act, you can analyze the whole process using the example of creating an ordinary cabinet.
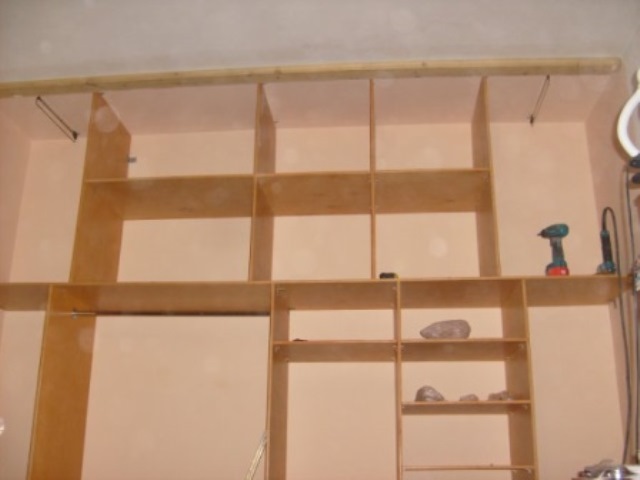
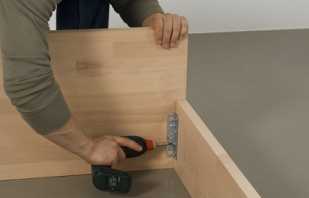
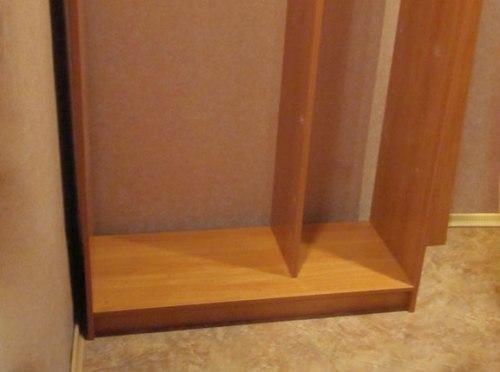
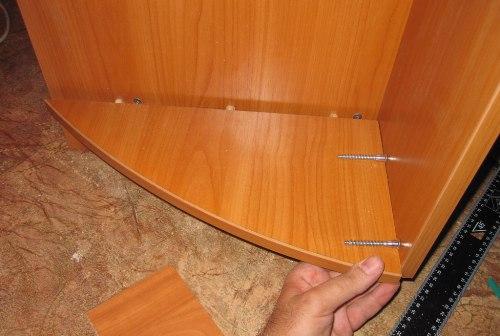
Stage 1. Frame
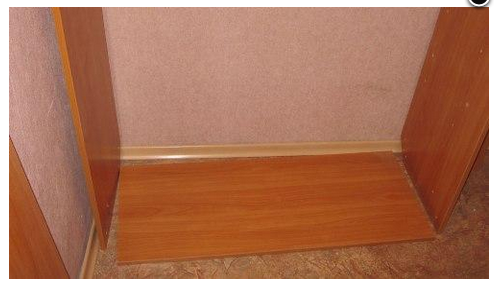
Cut out details connect according to the plan. To perform the screed, it is recommended that you first prepare a screwdriver with special bits. Twisting will occur much faster than using a screwdriver. In addition, much less energy will be spent on such work. It is important to take care of the maximum structural strength, so it is not recommended to use nails to strengthen the bottom of the cabinet. The best choice would be self-tapping screws 4 to 16. The side surfaces, as well as the top and bottom are connected at right angles with the help of furniture corners. You can nail the rear wall of the cabinet to the finished frame with nails.

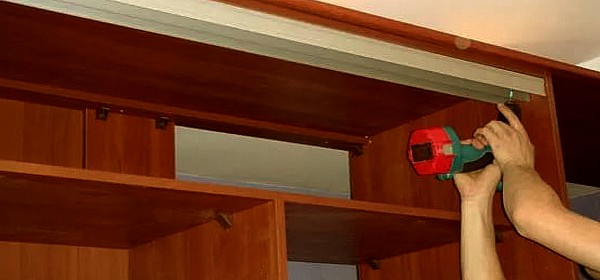
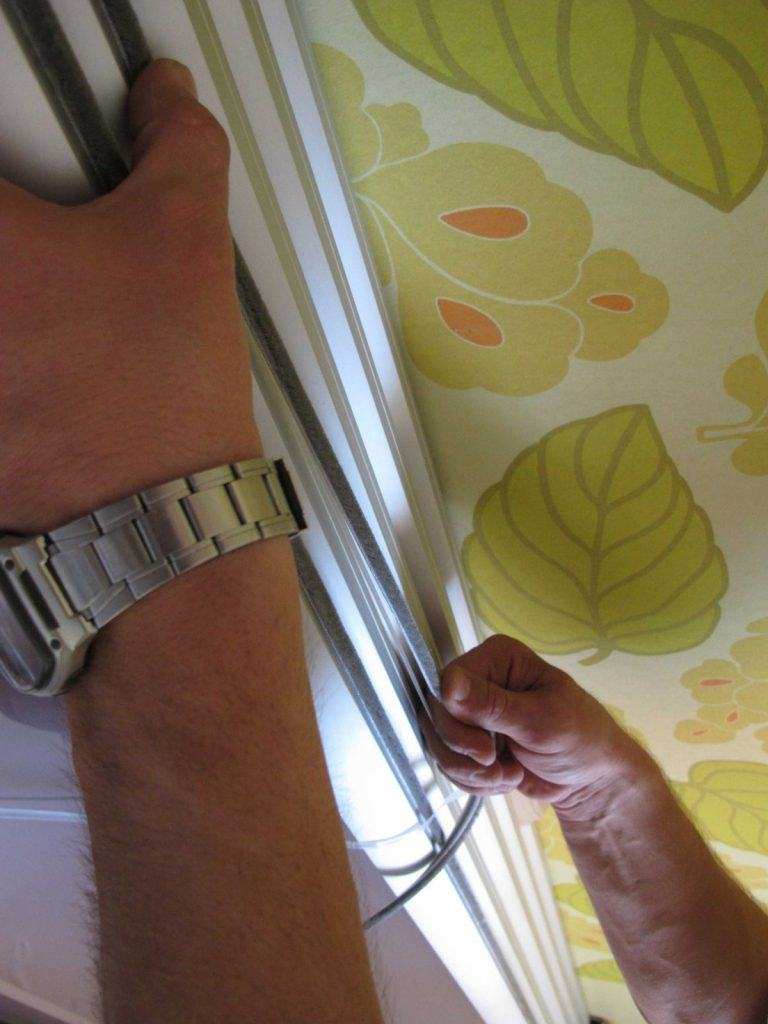
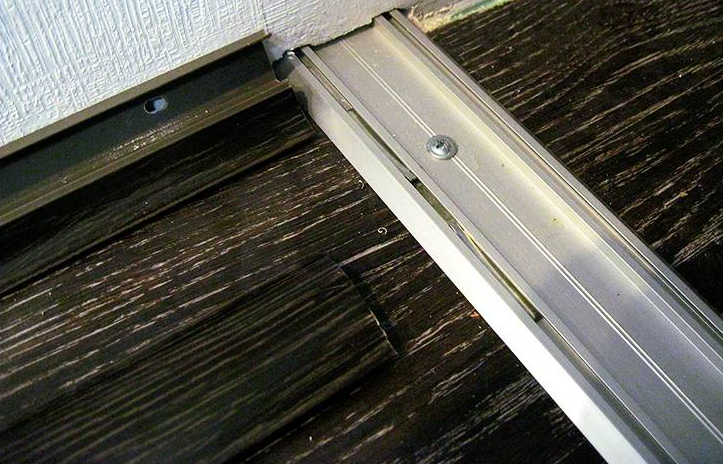
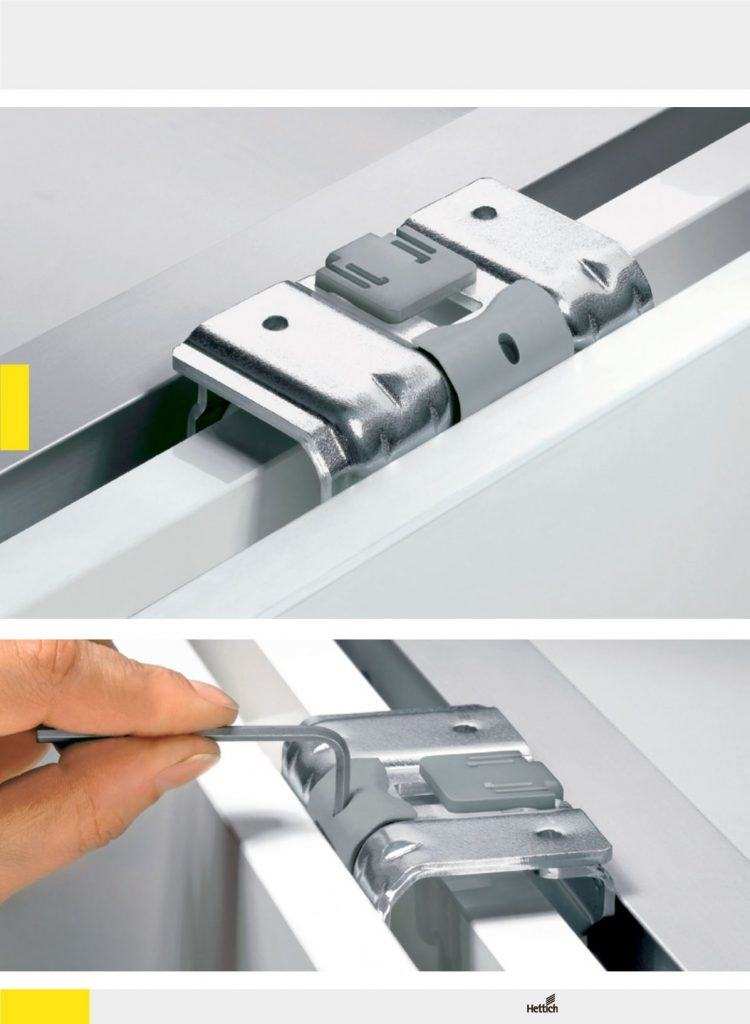
Stage 2. Sliding system
To ensure the correct movement of the sliding doors, the guides are first attached. They are mounted parallel to the upper and lower plane of the cabinet. One of the best options would be to use a specially designed system called “Commander”. Without much effort, you can not only move the doors to the desired position, but also easily adjust. As a rule, adjustment is necessary if cracks are observed during the assembly process, which not only spoils the appearance, but also makes operation difficult. In most cases, the first time after assembly, the shrinkage of cabinet furniture occurs, as a result of which cracks can also appear. This is considered normal due to the specific characteristics of the material.
Special rollers are screwed to the doors. The finished design is installed in the guides and check the progress.
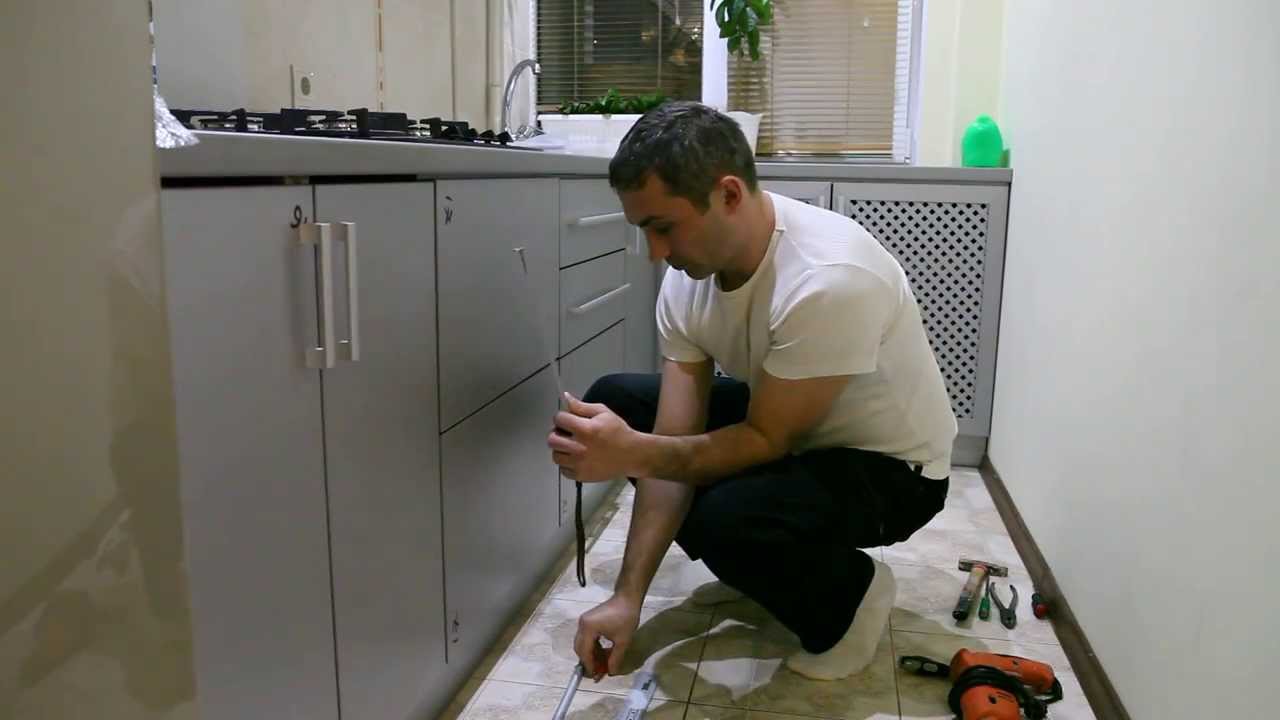
Stage 3. Installation of fittings
At this stage, all shelves, drawers are inserted in their places, clothes hooks and other small elements are attached. The closet is ready. Even a person who does not have experience in creating cabinet furniture with his own hands will not spend a lot of time on creating things of excellent quality. The average assembly time is no more than three hours, excluding preparatory work. In addition, the cost of a home-made product is much lower than the price of finished furniture in a store.
Do-it-yourself assembly of cabinet furniture is a combination of the optimal design solution, the choice of high-quality materials, as well as the acquisition of new skills with which you can create entire furniture sets in the future.
Video