The steps of making a built-in closet with your own hands, everything is in detail
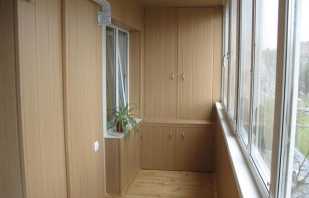
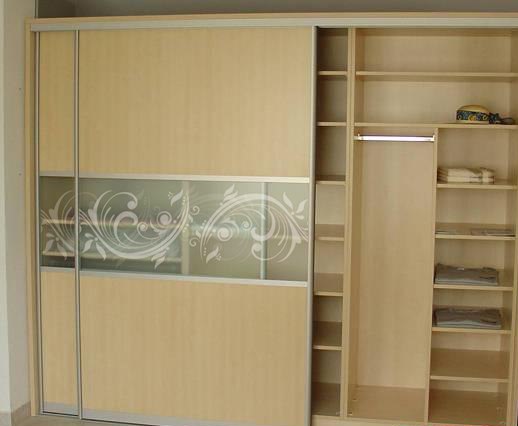
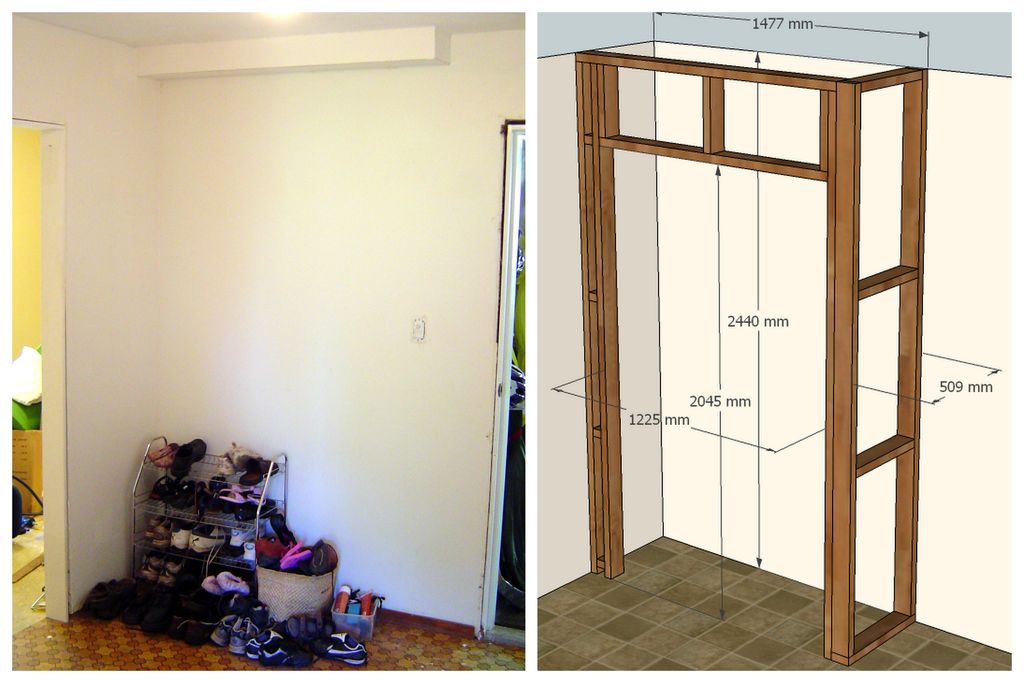
The layout of Russian apartments is such that sometimes you can find niches in them, where a closet just begs. Such spaces are located in the corridors, in the kitchens or in the bedroom. You can’t put a sofa or chairs, it’s a painfully detached corner, but it would be an optimal solution to mount shelves for storing things. Often, the owners have the idea to make a built-in wardrobe with their own hands and this decision is justified. Thanks to this design, you can effectively use the space of a niche, and a beautiful facade and false panels can not only enliven a room, but visually even make it bigger, for example, if you make the doors of the closet mirrored. So, where to start if the desire to personally put your hands to the improvement of the apartment burns in the shower. We propose to consider all stages of work on the items.
Content
Materials and Tools
Before you start working on your own, first you need to decide what material the built-in closet is planned to be made of, it depends on:
- how to build drawings;
- what tools are needed for installation;
- what assembly scheme to use in order to integrate the cabinet into its designated place.
Depending on the specifics of the material, the process of arranging cabinets in niches can differ dramatically.
| Material | Degree of compliance with the task | Justification | Decision |
| Tree | Not very suitable for built-in cabinet type. | The humidity in the niche is higher relative to the room as a whole. Wooden parts may swell, warp. The reason is moisture drops from a blank wall towards the doors. When you open the cabinet, humidity changes dramatically, which triggers negative processes. | Take straight wood, without knots, twigs, cracks. The tree should be seasoned and as saturated as possible with a water-polymer emulsion or hot drying oil. |
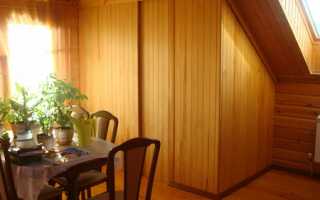
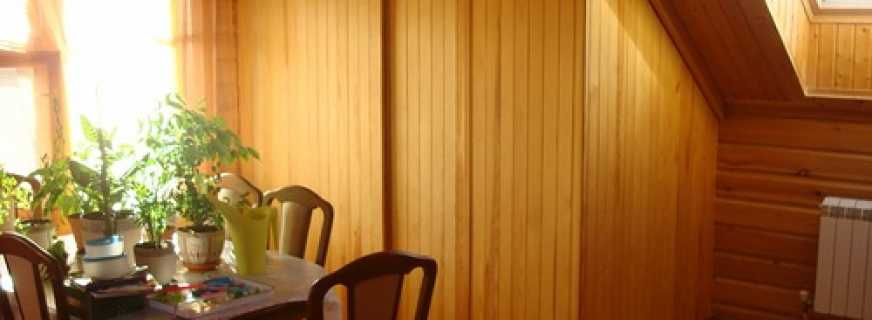
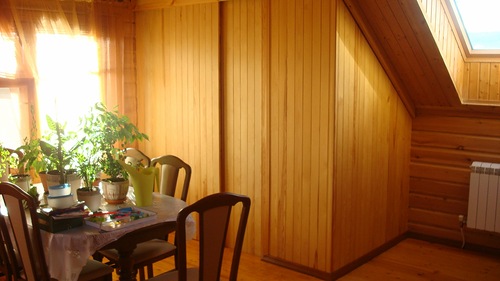
| Lining | Limited fit. | Due to the fact that the sash frames will need to be made of wood, which is sensitive to moisture. | Use only when the interior solution requires it. |
| Gypsum plasterboard (GKL) | Unsuitable as a basis, although it has wide potential. | Heavy, brittle and low tensile material. For the manufacture of supporting structures is not suitable. It can bend under its own weight. When installed vertically, it is deformed. | It is used only for decoration.
Shelves are made in the form of a box-shaped spatial design based on the frame. Putty and decorative finishes are required. Only regular C and U profiles with standard fasteners are suitable for the frame. |
| Laminate, MDF, Fibreboard | Great choice. | Simple fabrication. The minimum costs.
Materials are not sensitive to moisture differences. |
Fiberboard - medium, high density. A thin bar inside a niche will quickly lead. |
You will also need to purchase:
- screws with dowels;
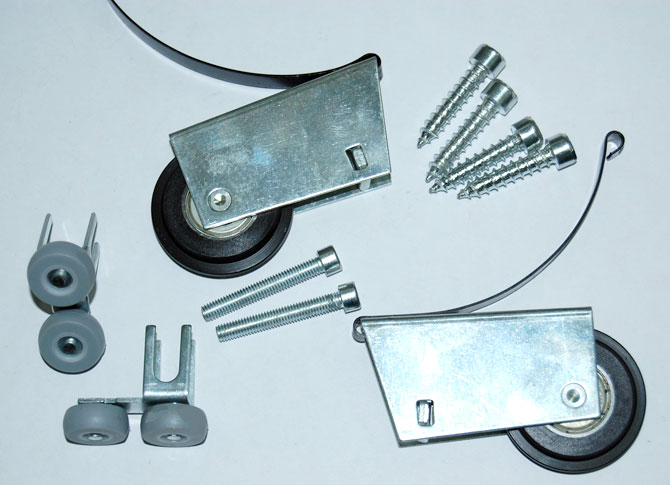
- guides and a mechanism for sliding doors;
- double sided tape;
- alcohol wipes for degreasing surfaces;
- friezes to guides;
- mounting angles;
- racks hung;
- holders.
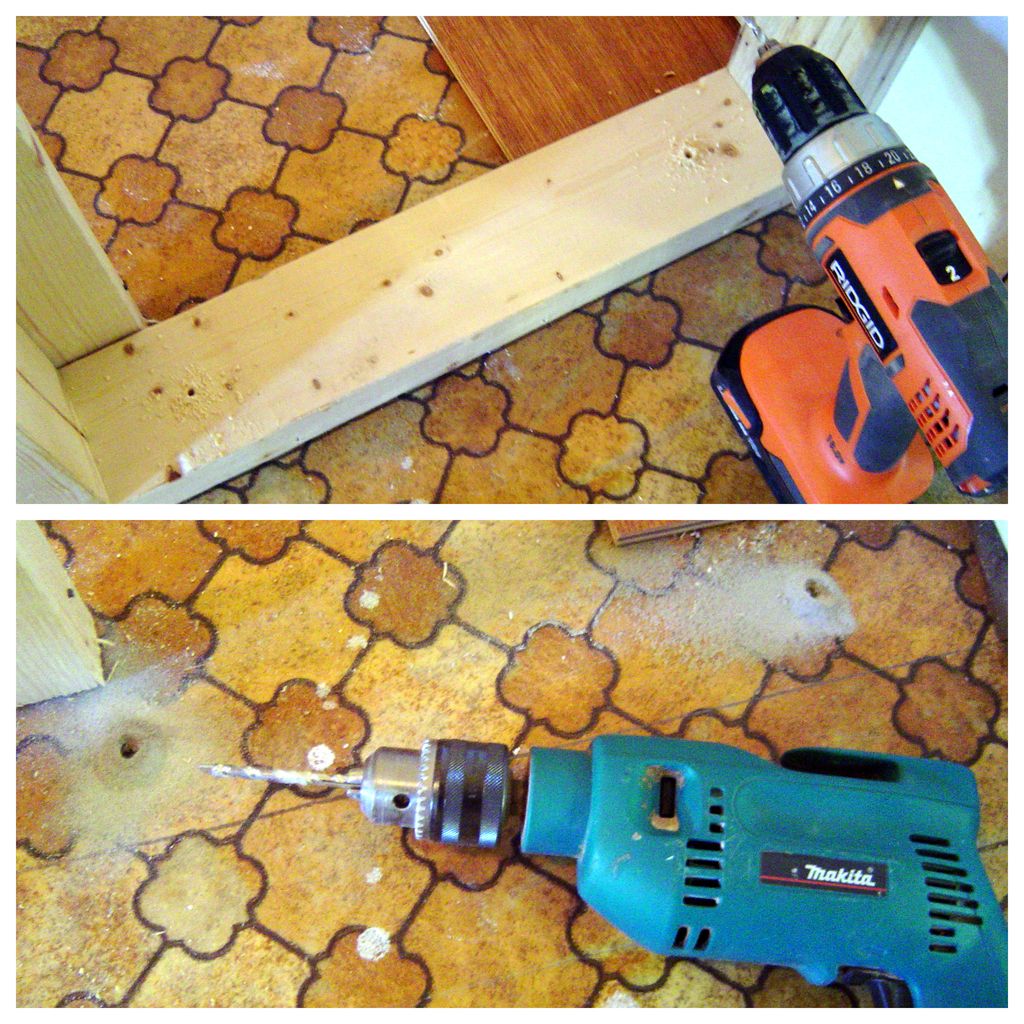
Before installation, assemble all the necessary tools for the device cabinets:
- electronic range finder or tape measure;
- level;
- electric jigsaw for cutting;
- screwdriver;
- a screwdriver;
- electric drill for holes in the wall;
- hammer.
Before starting work, it is useful to look at the installation instructions for the built-in wardrobes.
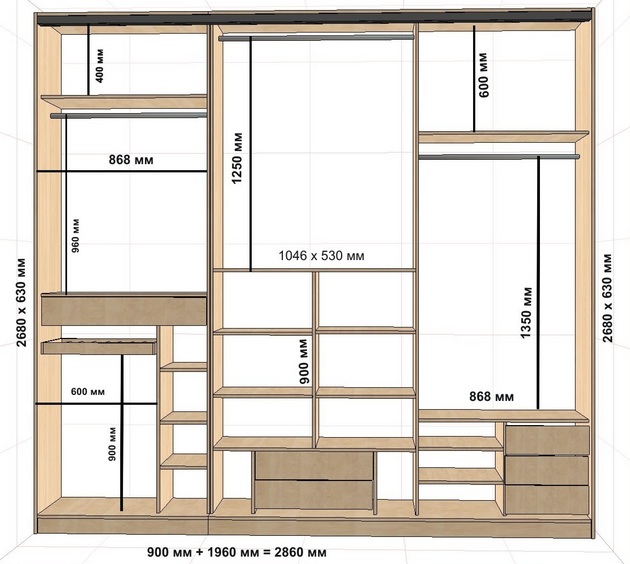
Design and drawing development
Before you take on the drawings of the cabinet, you need to understand how to make measurements correctly. Not always the niche in which it is planned to install the wardrobe will have the correct geometric shape. That is why measurements in a niche must be carried out according to the rules:
- First, measurements are made on the back wall: on top, at an average level, on the bottom;
- then we also measure indented the “frontal part”;
- height measurement also takes place in three positions from the rear and from the front.
Installing a built-in sliding wardrobe without such measurements can lead to the fact that the hull made without taking into account errors and differences will either not enter, or serious gaps will be detected when trying to assemble the structure. It will be a shame if the cut shelf is smaller than the right size and just fails. Before embedding, carefully consider all errors to leave an allowance for installation. Sometimes it happens that in the end the drawing of the shelves resembles a trapezoid, and not the expected rectangle. It all depends on the quality of the walls, the density of the plaster on the inner corners of the niche.
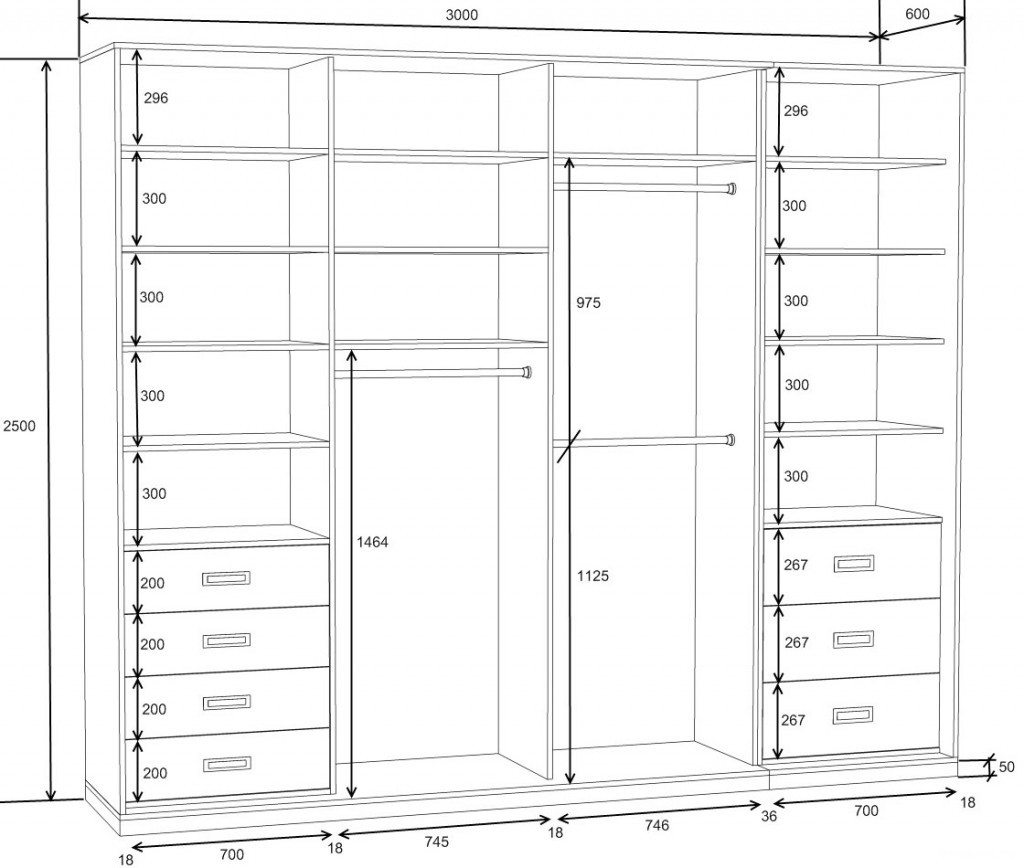
Next, go to the drawing. If you do not have drawing skills, it is better to contact the designer. Based on your data and wishes regarding the material, you will be given a drawing of a future closet in a niche. In this work, you must not forget to take into account the thickness of the material, the edges, if you want to thoroughly close the cut points, and the margin for the mechanism of the compartment itself, on which it is also necessary to lay about 10 cm.
Having detailed schemes on hand, you can be sure that the manufacture of cabinet parts will be more accurate. The allowances left when considering wall errors will make embedding more accurate.
Now, with regard to the design of the future cabinet: not having much experience in drawing up drawings and installation, abandon complex radial facade designs. Here you need not just skills, but good professional experience to calculate, and then correctly assemble such a design. Limit yourself to a simpler cabinet option, which is guaranteed to be able to be controlled during assembly. All decorative elements must be ordered strictly in accordance with the drawing.
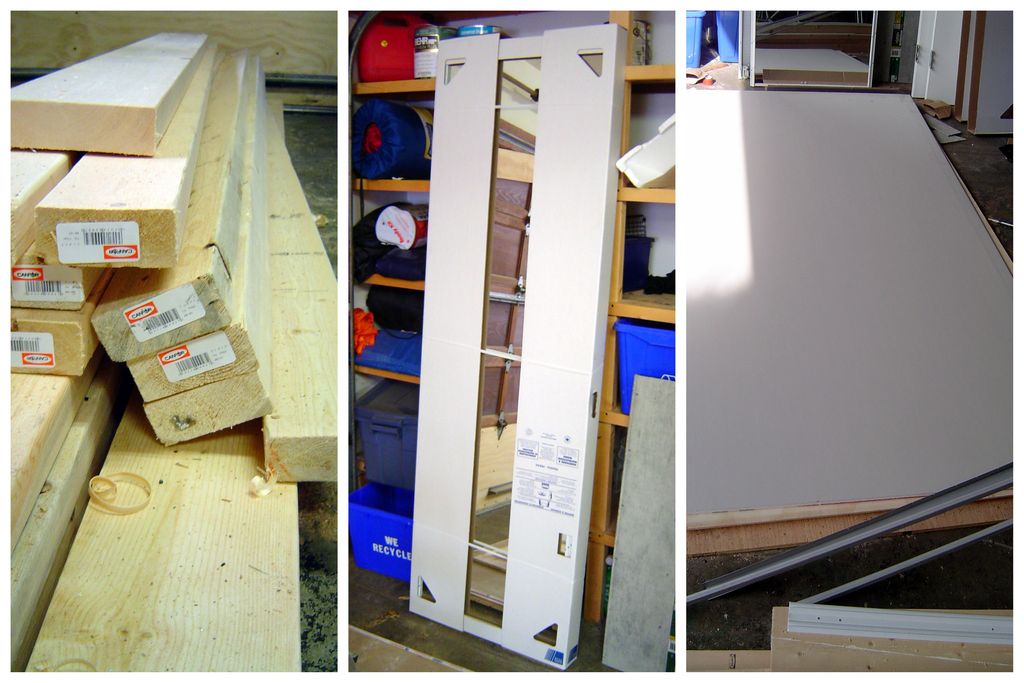
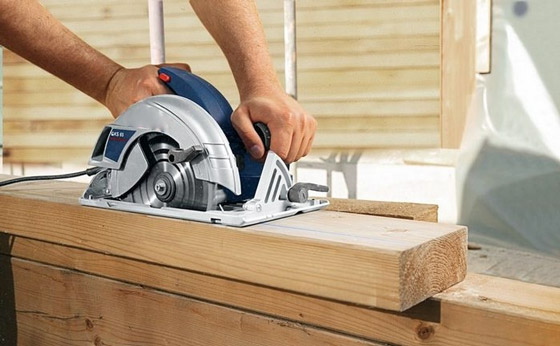
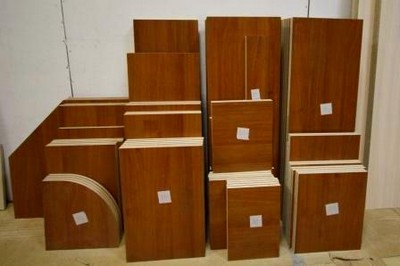
Sawing up and accessories
Having decided to independently assemble the built-in closet, provide the sawing to a professional furniture workshop. To build a high-quality drawing is half the battle, another question is whether there are enough skills to cut out all the necessary details and how long it will take you. Attracting assistants in this situation is more than justified:
- furniture makers purchase materials at a wholesale price, you will have to do the same at retail, and this is an overpayment of at least 20 percent;
- according to your drawings, specialists using computerized equipment will cut parts - quickly and with fewer defects. A cut on the machine is better than doing it manually, albeit with the best saw;
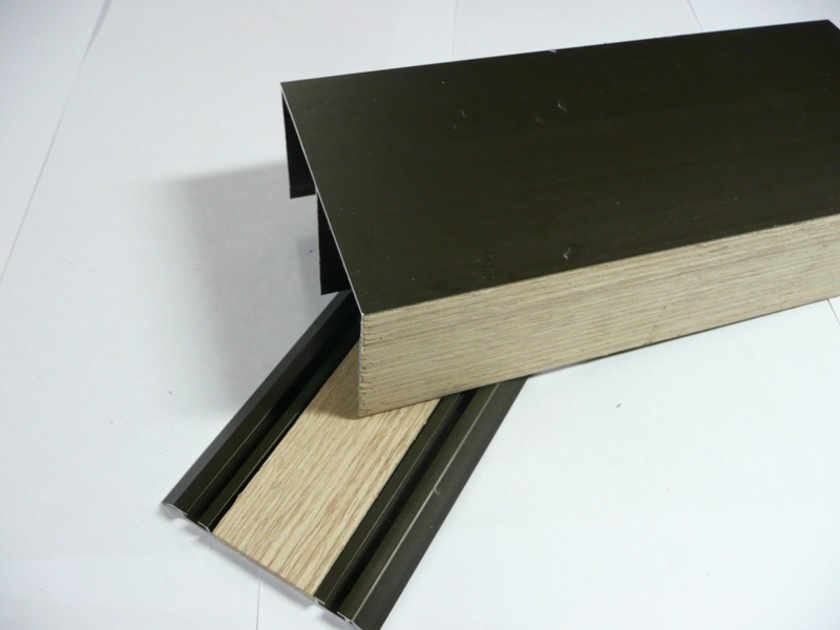
- you will be hemmed slices. This will help protect parts of the built-in cabinet from moisture and excessive swelling of materials. For details that will be in sight, this will give an additional decorative effect.The hem can be simple and thickened with chamfers.
If you take a laminate or MDF for the product, then for the case the thickness should be at least 16 mm, and for doors - 25 mm.
As for the accessories, it can be purchased at specialized furniture stores. Before proceeding with installation, make sure that you have everything you need.
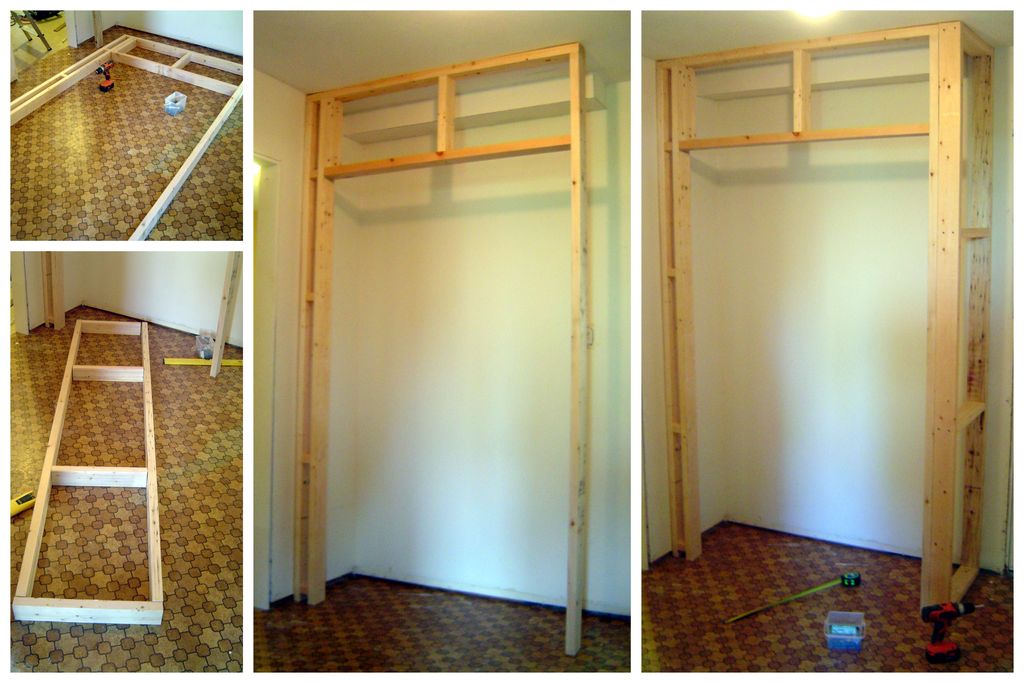
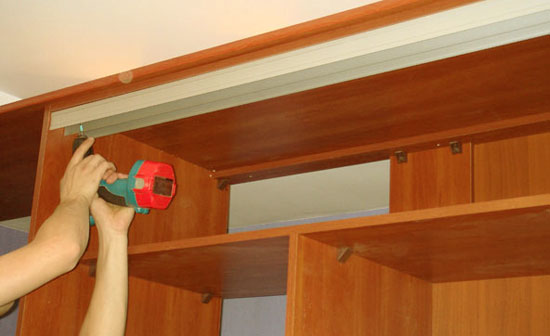
Frame mount
Before proceeding with the installation of the case, it is useful to watch a step-by-step video of the built-in closet with your own hands. Even professionals periodically watch training programs. If you have basic experience, then this will help to build a consistent algorithm of actions. A detailed description of the procedure will indicate the important nuances that the built-in furniture implies. Installation instructions will allow you to comply with the installation procedure and get a functional result.
Built-in wardrobes differ in that in fact they do not have their own frame. The floor, walls and ceiling of the cabinet are created in the niche itself. Under the frame in this case will be meant a false panel to which the guide rails are mounted.
When attaching such a frame, it is very important to compensate for unevenness if the ceiling, floor or walls form a slope. If this is not done, the sliding door guide will receive a roll and the movement of the wings may not be possible.
To compensate for the existing gaps, MDF or laminate tabs are used. The frame is leveled and fixed with screws to the walls along with the tabs. The decoration of the cracks is carried out using friezes - decorative strips that are mounted on double-sided tape or glued. The frieze is pre-cut from chipboard of the same tone with the rest of the cabinet with allowances that are already cut directly during installation.
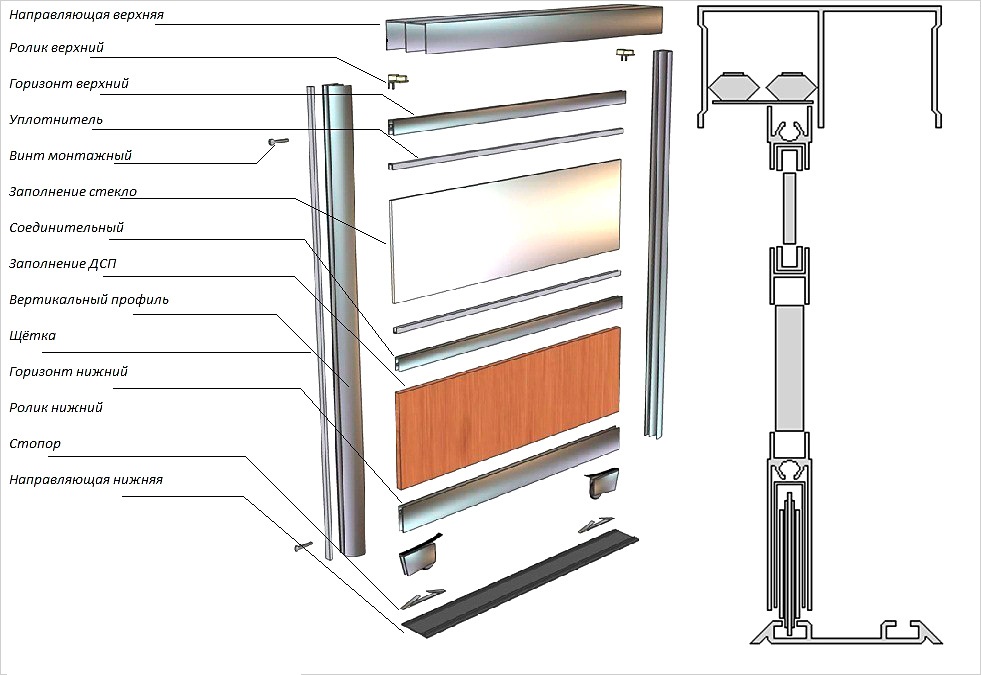
Door preparation
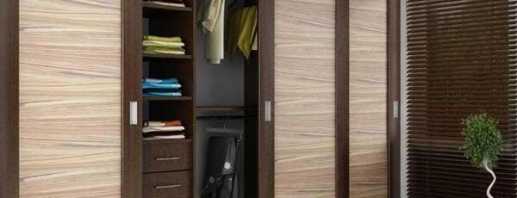
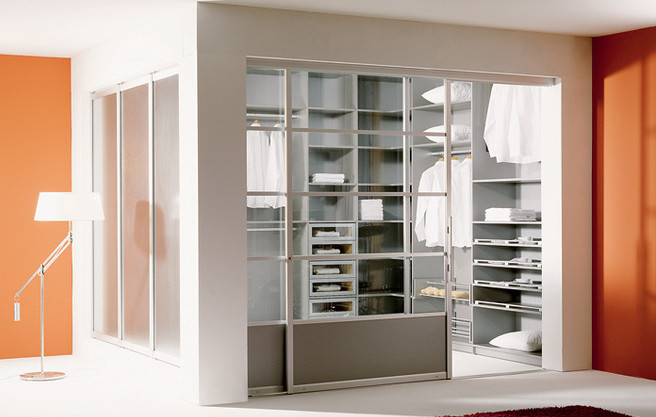
For built-in furniture, the doors are the facade. The most common configuration of a compartment is a door with a device of guides according to the internal type. Driving rollers can be located both above (suspended), and below (persistent). The floor version is quieter and more reliable, but requires maintenance. Owners will need to regularly clean their grooves from dust. The upper design of the built-in rollers is less reliable than the first, but does not require special supervision, since the grooves are not clogged.
We assemble the door, depending on your choice, the rollers are mounted directly to the canvas or using special frames. It can only be attached to the canvas when wood or chipboard is used. The facade can be made of plastic, glass, plates, mirrors. Some boast a wardrobe with a precast facade.
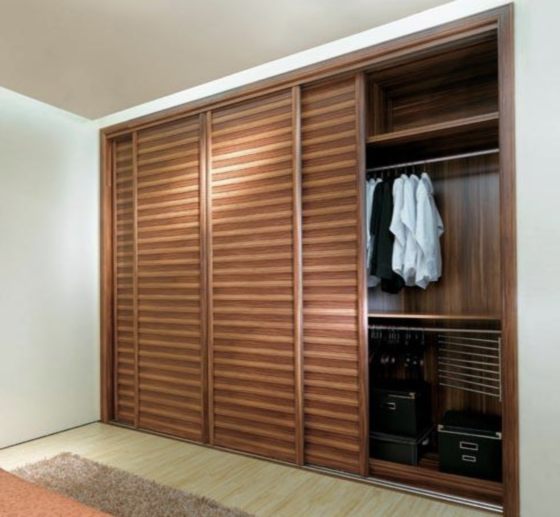
Most often, doors are installed along two or three parallel rails. Having assembled the rails in this way, you will get several doors, which during the use of the cabinet will move overlapping each other. The minimum overlap with such an installation when closed will be 2 cm.
If the number of door leafs is even, then they are distributed in a checkerboard pattern along the guides, and if the number is even, then you can leave them joined. The lack of a coupe system is considered by many to be the inability to access immediately the entire built-in design. If, according to the description, the cabinet has sashes of different sizes, it is likely that hard-to-reach dead zones occur.
Another option for mounting rails is external. It is used much less often, since not often built-in cabinets leave room for laying guides along the wall. Such an installation is suitable for samples embedded in a niche, otherwise the door leafs will sag. With this installation, dead zones are excluded, but you need to leave free space for the doors. If you want the doors to be cleaned, it will be necessary to mount a special box. It makes sense to be puzzled by such an idea when planning a major overhaul.
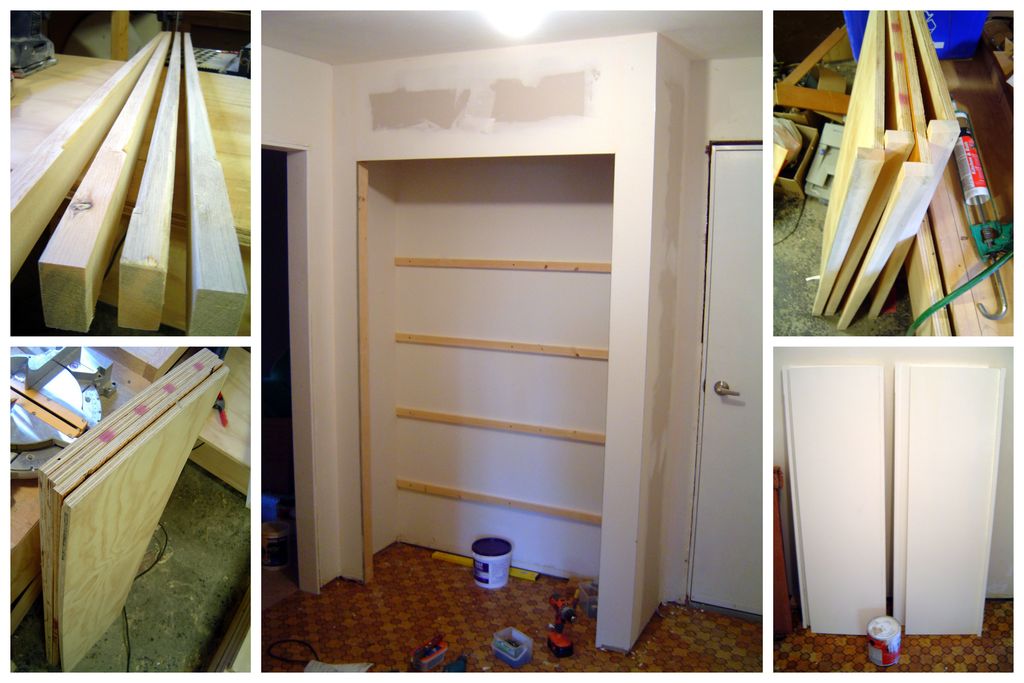
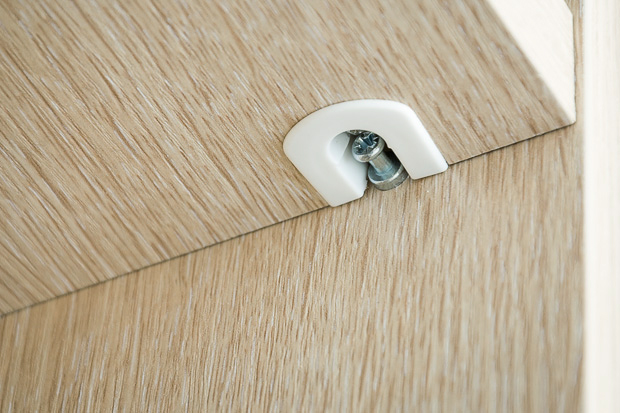
Shelf fixing
Installation of shelves is carried out before the doors are fixed. When you assemble the raised frame panels, proceed to mark the interior space to secure the mounting corners. It is recommended to use the level so that the shelves of the cabinet are set strictly horizontally. Directly during installation, thanks to the left allowances, the parts can be adjusted to the inside of the cabinet. This is a normal procedure, but proceed carefully so as not to cut off too much:
- if the shelf is longer than 800 mm, be sure to install additional mounts in the center area. The fact is that such a length under load contributes to the deflection of the material, so the design should be strengthened;
- if you plan to install cellular shelves (trellised), use furniture clips;
- to install cross-shaped structures when dividing shelves into sections, dowels are used with additional mounting on PVA.
When assembling corner models of the compartment, the fastening of the shelves can be carried out by means of a rack in the corner. This option helps maximize the use of space in the corner and prevent the formation of a dead zone.
Painting and installation of doors
If your plans include painting cabinet doors, then do the coloring before installing the shelves. Thus, door leafs will have time to dry out while you are installing the interior of the cabinet. Acrylic enamels are very good for sliding wardrobes. They give a beautiful color, a shiny surface and, if necessary, wash perfectly. It will be a practical choice if your closet is designed to store outerwear. Some prefer to cover the construction with linseed oil. Before painting, it is better to prime the surface, then the paint will lie evenly and hold well.
For painting the interior surfaces of the cabinet it is also better to choose a paint that will be easy to wash and leave no residue on things. Be sure to choose a quality option, otherwise you will have to repaint the cabinet very soon.
After all the parts of the cabinet have dried, you can install the doors in place. If during the installation of the guides there is no skew, the mechanism will move smoothly, without jamming.

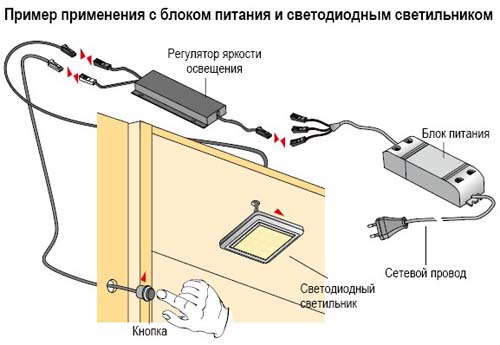
Light and finish
After the design of the cabinet is fully assembled, it is necessary to take care of the finish department and the lighting device. Make sure that there are no defects on the internal surfaces of the cabinet structure that could further damage things. Close all the hats of self-tapping screws, eliminate cosmetic flaws.
A large cabinet needs lighting. It is recommended to use LED devices for backlighting. They save energy, do not heat up and do not burn things when heated. At the same time, they give enough light so that you can easily find the necessary thing inside the cabinet.
Independent manufacture of a sliding wardrobe built into a niche is a good idea for lovers of self-assembly of structures that can not only make measurements and draw up a drawing, but also read it when they receive it from a specialist. Despite the apparent simplicity, work still requires certain skills, so it’s worth taking a responsible approach to solving a cabinet with a cabinet yourself. Sometimes independent work can be cheaper than the work of professionals and vice versa. Video will help to make such a built-in wardrobe with sliding doors, and the process of embedding is not as complicated as it might seem.
Video


 (votes: 10, average rating: 3,80 out of 5)