DIY manufacturing methods for country furniture, popular ideas
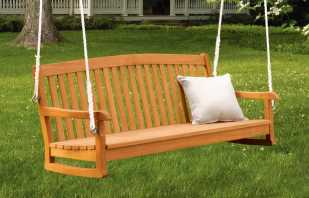
You can hide away from the bustle of the city, fully relax or spend time in a cozy atmosphere with family at the cottage. At the same time, I want to impress guests not only with beautiful flower beds, an abundance of berries and vegetables, but also with comfort. Furniture for a summer house with your own hands is something that will not leave indifferent either households or guests. Of course, the modern market is replete with an abundance of furniture, but not everyone can afford it. And if you want to create an original design, while investing your soul in interior items, then self-production of country furniture is the only right decision.
Necessary items and materials
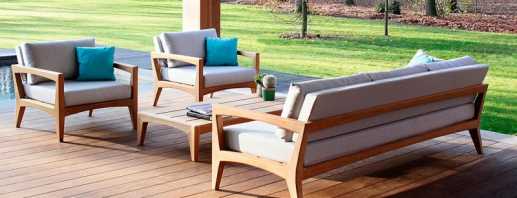
The optimal material for the manufacture of furniture for the garden is wood. It is easy to process, and the appearance remains original and natural even without additional finishing work. But the main advantage of wood in the manufacture of furniture is its environmental friendliness. After varnishing, decorating with firing or artificial aging, wood furniture becomes real masterpieces. Having shown imagination and adding decorations from ribbons, flowers and other plants to the interior, you can get a cozy summer cottage corner for a comfortable stay.
Wood can be combined with other materials. The most common options are stone and metal. Also, one cannot fail to note an alternative version of wood products - wicker furniture. But only professionals can make such beauty with their own hands.
To ensure the quality of the furniture made, it is necessary to know the secrets of the choice of material and the nuances of working with wood. An important technology for assembling country furniture with your own hands.
So, in order not to get a number of troubles later, it is worth adhering to such rules:
- The strongest species of wood, which is preferred by the master for the manufacture of country furniture - oak and beech;
- When using softwood blanks, it is necessary to further process them. This is due to the fact that the needles are a resinous tree. If you do not get rid of the resins, then the products will be sticky for a very long time. And the rest, pine is an excellent material for country furniture;
- Teak is one of the best options for creating furniture. Wood is so good that it is used even in shipbuilding. The teak is resistant to moisture, and the appearance of the finished objects differs in the original pattern;
- To make furniture easier, it is better to buy already sawn timber, slats, boards and other elements;
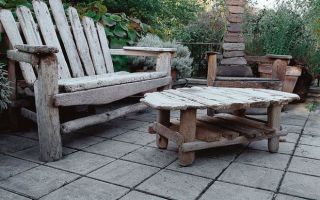
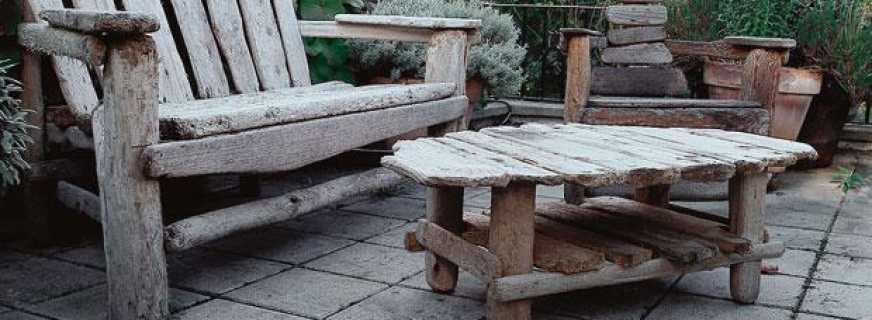
- Very often, logs or massive stumps are used to make garden furniture, and as a result they get their own small corner of nature;
- If you dare to make wicker country furniture, then for this purpose it is better to use bird cherry branches.Because of their softness and suppleness, the weaving process is simplified.
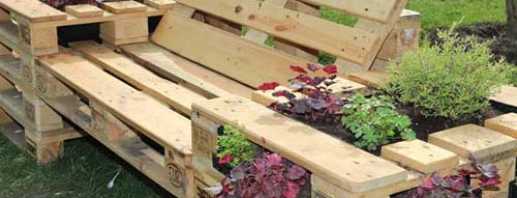
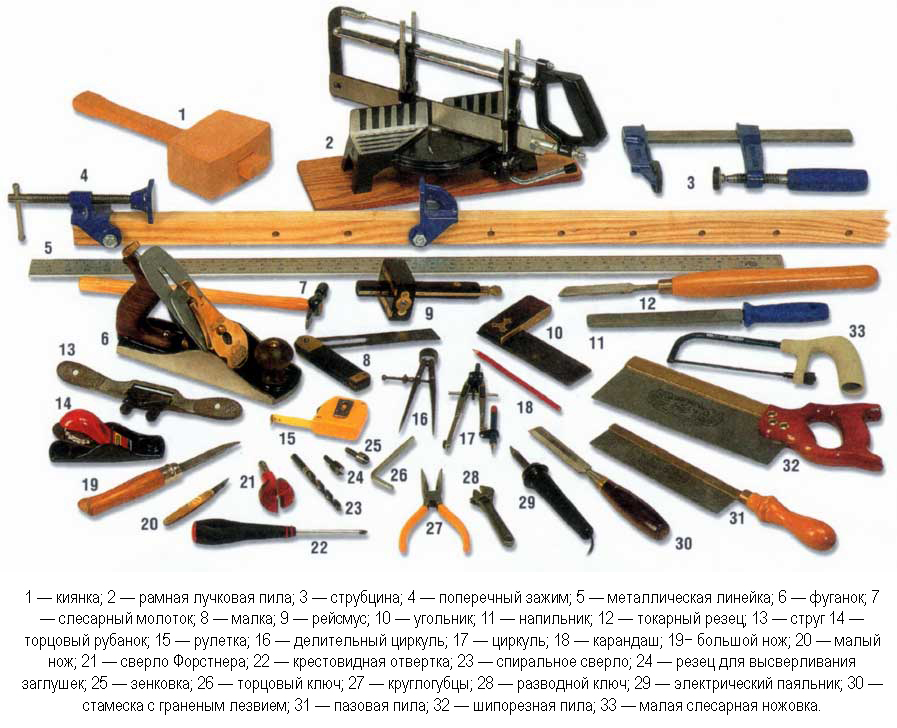
With your own hands you can make furniture for the cottage from improvised materials. Their list is quite large. Finished projects can be seen in the photo on the Internet - products from logs, stumps, metal pipes, barrels, tires, plastic bottles and more. We now pay attention to the tools that may be needed in the manufacture of country furniture with your own hands. It is necessary to prepare:
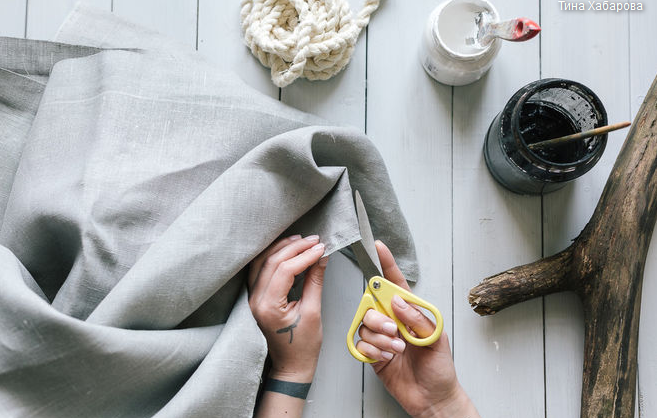
- A tool for sawing wooden elements - a hacksaw or an electric jigsaw;
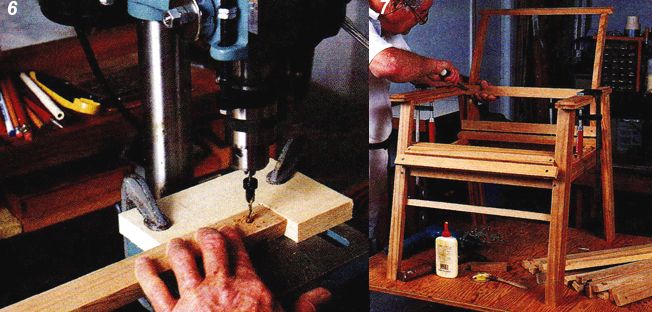
- A drill with a set drilled on a tree of different diameters;
- Screwdriver;
- Set for measuring and marking - tape measure, marker or pencil, square with a right angle;
- Joiner's glue;
- A set of sandpaper with varying degrees of graininess or a grinder;
- Fasteners;
- Set of wrenches;
- Hammer;
- Impregnation, primer and paintwork materials for protection, as well as finishing of wooden structures.
Step-by-step instruction
DIY furniture is made according to certain rules. First, you need to draw up a plan that contains a diagram and dimensions of the structure. Ideally, if the interior of the room in which the manufactured item will be placed is previously painted, together with other elements. After the drawings are ready, proceed to the procurement of material. According to the calculations, they acquire the necessary number of wooden elements from which they make blanks for furniture. General requirements for parts:
- Parts must be ground and cleaned at all joints;
- Be sure to check the dimensions and consistency of the same elements.
If you mean the decorative processing of furniture with your own hands, then on some elements it can be done in advance. If the experience with a tree is small, then experts recommend pre-training on unnecessary details. Suitable trimmings remaining after cutting parts of the furniture. The manufacture of each type of furniture has its own characteristics. Below are step-by-step instructions with a detailed description of the most common furniture designs for a summer cottage.
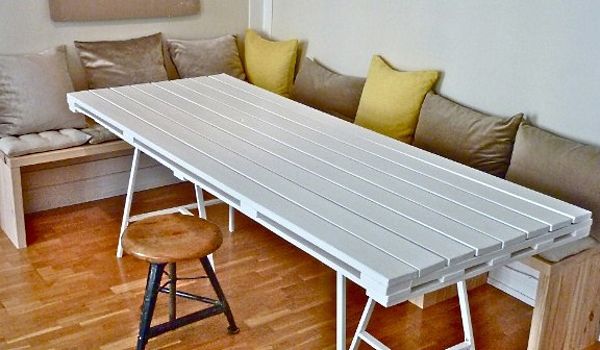
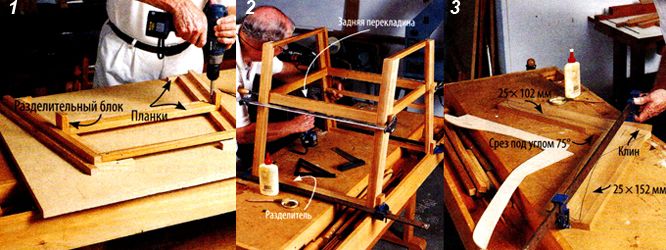
Table
An indispensable element of furniture is a dining table at the cottage. For its manufacture it is necessary to purchase the following materials:
- Wood for countertops - boards at least 3 cm thick. It is such a board that can withstand the load exerted on the countertop. The length of the boards depends on the size of the countertop. Most often, it is 150-200 cm. The width should ideally be 30 cm;
- Wooden legs with a cross section of 50 by 50 mm are suitable for legs. Length from 70 to 80 cm;
- Additionally used for joints and supports are wooden boards 8 cm wide and 2 cm thick.
After the material is acquired, we proceed to the direct implementation of the work:
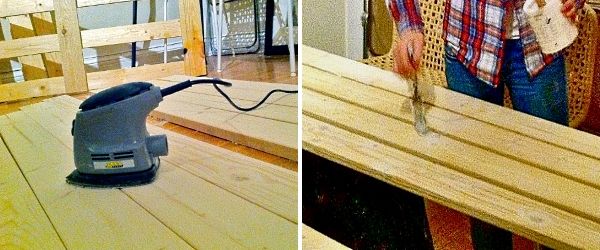
- Harvested elements must be cleaned and sanded until all irregularities and microcracks disappear. Do this with a grinder or sandpaper. The material must be processed on all sides, including the ends of the workpieces. On the parts for the legs we cut the chamfers.
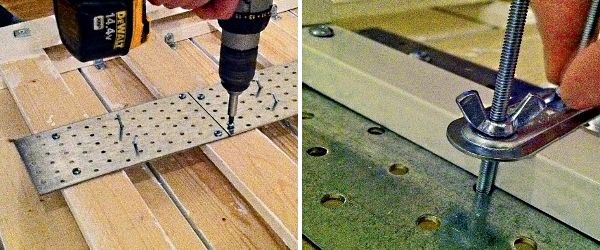
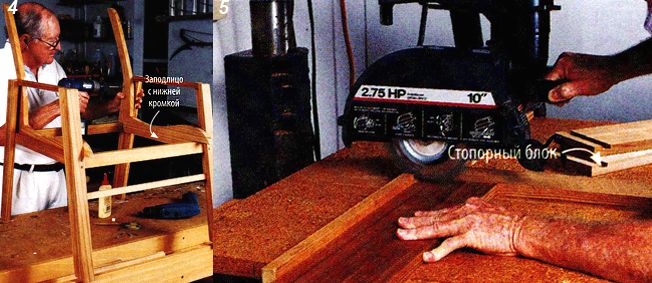
- The next step is the assembly of the countertop. Here you need to perform several steps: making a frame for the countertop. Thanks to her, the design will be more stable. A rectangular frame is assembled from four boards, the dimensions of which determine the dimensions of the future countertop. In any case, the size of the frame should be 20-25 cm smaller by the countertop itself. To assemble the frame, the boards are mounted on a rib at a right angle to each other and are connected by means of a coupler with self-tapping screws 50 mm long. After the frame is assembled, proceed to the installation of the transverse bars. There should be 6 such cross-pieces. We mark the location of the transverse slats. In the marked places we drill holes for fasteners. We process the ends of the strips with PVA glue and fix them with self-tapping screws that deepen 2-3 mm deep into the prepared holes.Be sure to ensure that the crossbars are located strictly perpendicular to the frame. Worktop blanks are laid out on a flat surface, face down. The assembled frame is placed on top in such a way that all the cross-beams fit snugly against the countertop. Next, we prepare the holes in the transverse strips with a depth of not more than 30 mm and connect all the elements with screws of the same length. The number of screws for each bar is at least 6 pieces;
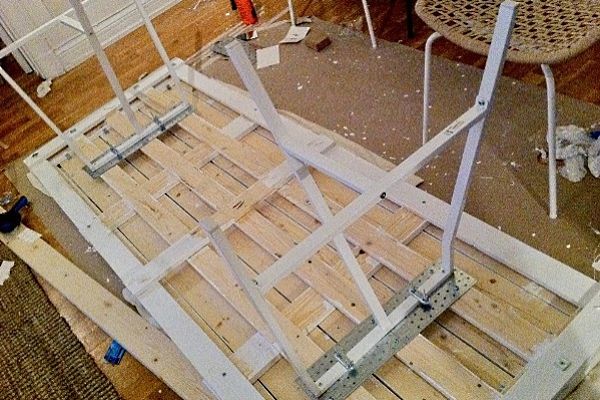
- Fixing the legs. Each leg is installed in the corner of the tabletop frame and fixed with metal corners from the inside. On the outside of the frame, holes for self-tapping screws are drilled again. For more reliable fastening, that part of the leg that is adjacent to the frame is coated with PVA glue;
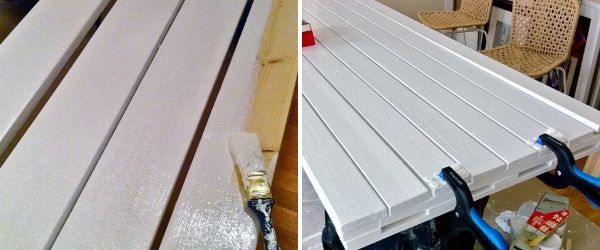
- Finishing work. After all installation work is completed, the table is installed on the legs and the finish of the countertop according to the intended design begins. For example, you can round the corners and edges of the countertop, make chamfers and clean. If chips or scratches are formed during the work, they are repaired with putty on wood and then ground. Finishing is coating the product with a stain and several layers of varnish.
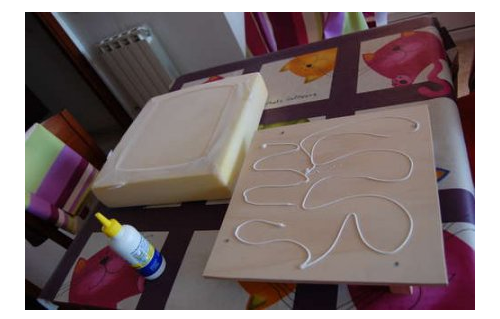
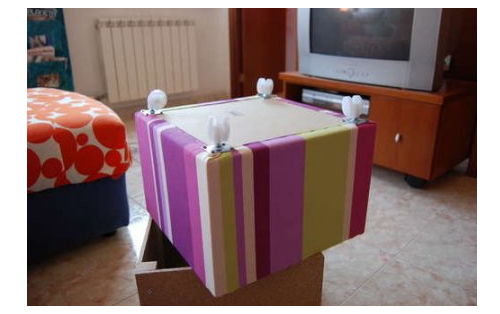
Ottoman
A ottoman for a summer residence can also be made of wood. But the product from improvised materials, for example, plastic bottles, will become no worse.
The following materials are required for work:
- Plastic containers of the same shape with a volume of 1.5 -2 liters in an amount of 40 pieces;
- Thick cardboard sheets;
- Foam blanks;
- Wide adhesive tape;
- Upholstery fabric.
What form the ottoman will be made, we provide a choice of the performer. It can be rectangular, square, round, oval. Options for ottomans with their own hands are presented in the photo.
We give an example of a piece of furniture of a round shape. We perform the actions in the following order:
- Connecting bottles is necessary starting from the center. We put one bottle and gradually attach new ones in a circle with adhesive tape;
- We proceed to the pattern of two circles of cardboard. The lower circle is cut out with a larger diameter than the upper one. And the top should be the same size as the blank of plastic bottles;
- We attach cardboard circles to the bottle blank with adhesive tape in several layers;
- We turn to the casing of the ottoman. To do this, we cut out blanks identical to the circles made of cardboard from foam rubber. Then glue the foam to the cardboard;
- From the upholstery we cut a rectangle with which the side part of the workpiece will be sheathed, and two circles on the upper and lower part of the pouf;
- We sew the cover from the prepared parts of the upholstery. At the bottom of the case we sew in a zipper in diameter. We dress the finished cover on the workpiece and get a beautiful ottoman.


Armchair
The next element of the interior - the chair - we will try to make from tires. Almost any furniture can be assembled from tires, and it will be functional and convenient. It will not take a lot of time to complete the work. We provide a general diagram of the device of a chair from tires with your own hands, which, if desired, can be improved to your taste. Many different furniture options can be seen in the photo.
The execution scheme consists of the following steps:
- We connect two identical tires together, laying them on top of each other, using self-tapping screws and a screwdriver. Inside one of the tires we screw in;
- We sew the lower part of the structure with felt, which is cut to fit the tire. Thanks to felt, the chair will be easier to move on the floor. Mounting is carried out using a stapler. If desired, you can screw the legs;
- The next stage is the construction of the back of the chair. To perform this part, you need a flexible plywood, from which you can bend a shape of the required shape. The formed back is attached with screws to the blank of tires.The distance between the mounts should not exceed 15 cm;
- We proceed to the refinement of the design. To do this, fill the void in the tires with foam rubber. Also from this material we make a pattern for the seat and back of the chair. Prepared patterns are attached for strength at several points with a construction stapler;
- At the final stage, a cover is made of any upholstery fabric and put on a chair. To make it more convenient, you can sew in padding from synthetic winterizer.
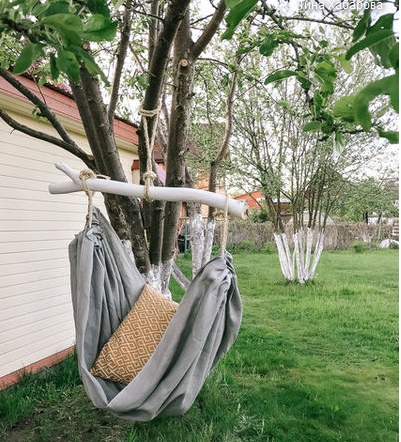
Hammock
Usually a hammock is built from a net. Here is an example of how to make a hammock in the country with your own hands using a tarp. To implement this idea you will need:
- Canvas or other durable fabric measuring 2.5 m by 0.8 m;
- Eyelets in the amount of 22 pieces;
- Two metal rings;
- Two wooden bars with a cross section of 30 mm by 50 mm, a length equal to the width of the finished hammock.
Step-by-step instructions on how to make a hammock with your own hands:
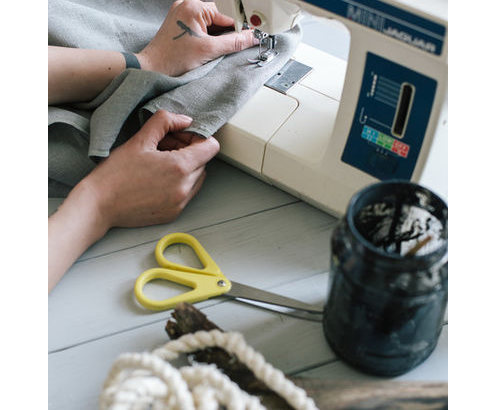
- At the prepared fabric, it is necessary to process the edges with a sewing machine. Moreover, we tuck the edges 3 cm in length and 6 cm in width, twisting the fabric twice;
- Next, proceed to the installation of the grommets. The places of their fastening are initially marked. They should be at the same distance from each other across the width of the hammock. 11 grommets are mounted on each side. To begin with, small holes are cut in the designated places, and then grommets are inserted;
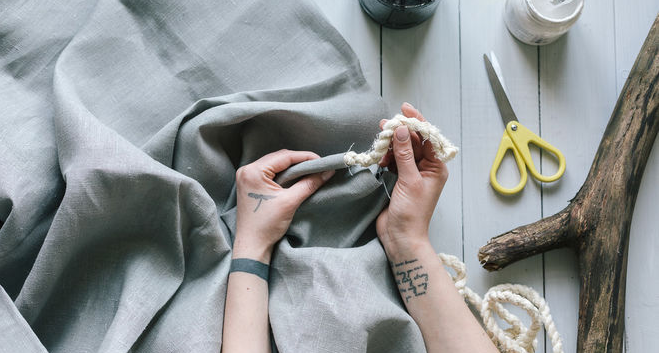
- At the next stage, using a strong rope, we fasten the canvas to the bars. We pass the rope through the holes of the grommets and weave it around a wooden block;
- We pull the rope with the grab bar and connect them, stretching the ends through a metal ring. Make sure that the mount is secure.
The hammock is ready to use. It remains to find a suitable place in the garden and attach rings between two trees. You can also independently mount the supports for attaching a hammock.
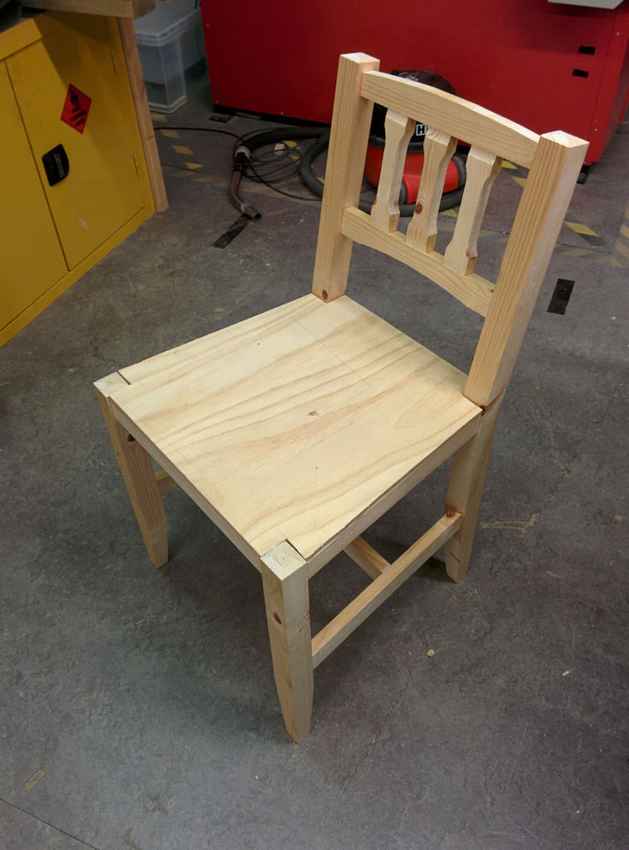
Chairs
You can make chairs for the garden with your own hands from improvised materials - stumps, barrels, tires and other things. But we will present instructions for making a classic wooden stool. To complete the work you need to stock up:
- 4 bars with a cross section in section 40 cm by 40 cm;
- 8 whetstones 40 cm by 20 cm;
- A blank for seating with parameters of 35 cm by 35 cm. It can be purchased ready-made, or it can be built from two parts of the board. An alternative can be dense plywood or a sheet of chipboard.
Further we carry out the following actions:
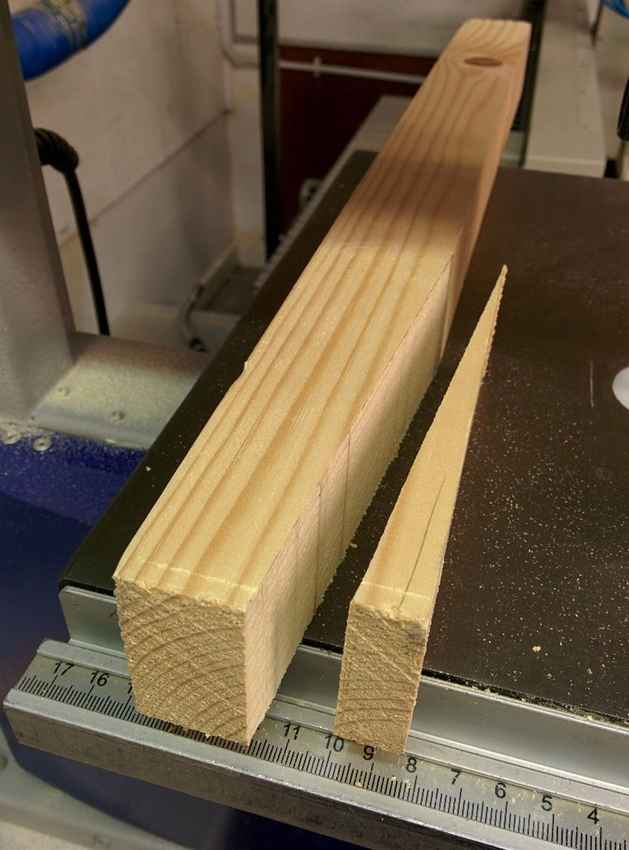
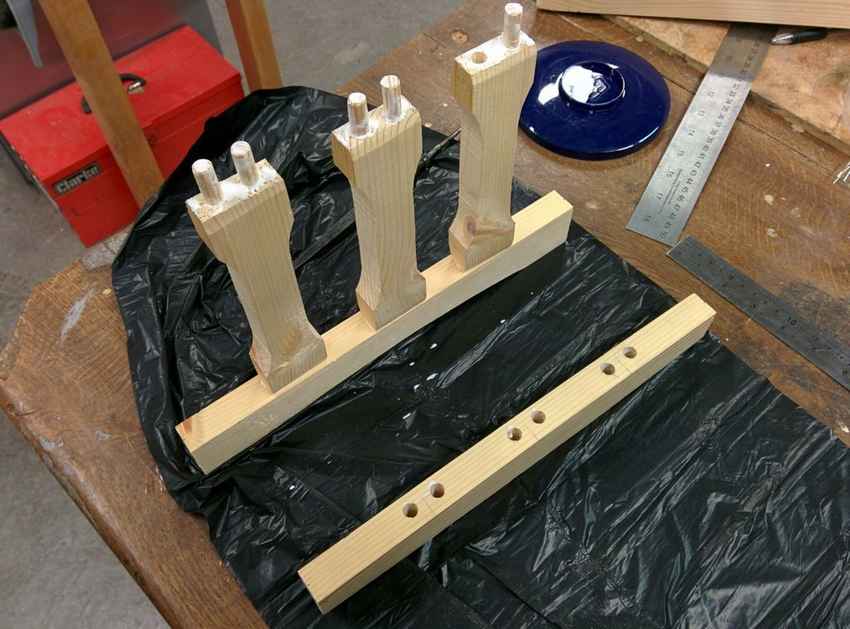
- From bars with a section of 40 × 40 we make legs. We pre-grind, clean, cut chamfers. The standard length of the legs is 42 cm;
- From smaller bricks we make crossbars with dimensions of 21 cm each;
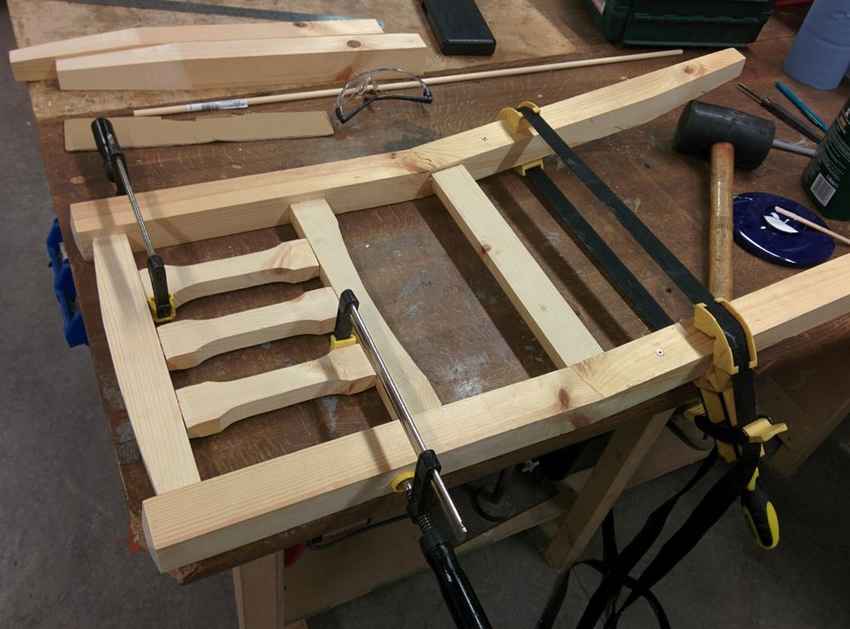
- After that, we proceed to the assembly of the frame. We attach the crossbars to the legs in two places - at the level of the upper edge of the legs and at the level of 15 cm from the previous crossbar. Fastening must be carried out using self-tapping screws;
- We attach a blank for sitting to the finished frame. You can mount it directly to the legs, and attach the mounting points with special overlays;
- We finish the work with finishing grinding and painting.
Summing up, it should be noted that creativity knows no boundaries. Using a variety of photos on the Internet, it will not be difficult to develop schemes and implement any projects for the production of country furniture. It all depends on the desire and flight of imagination.

Video